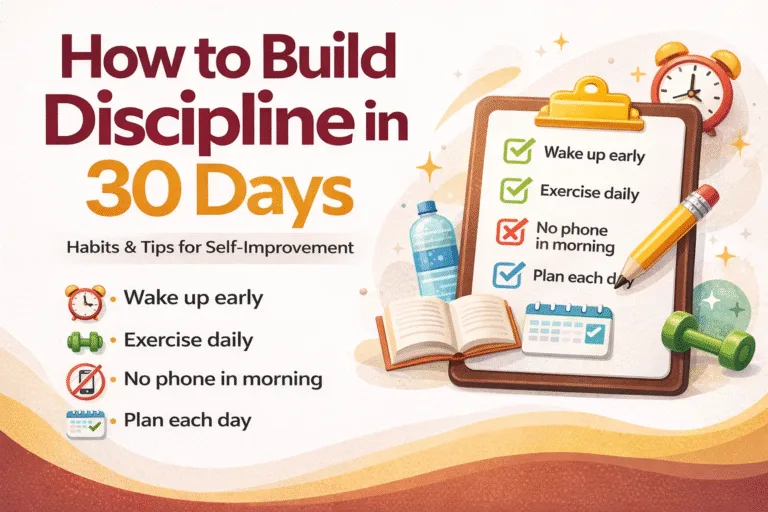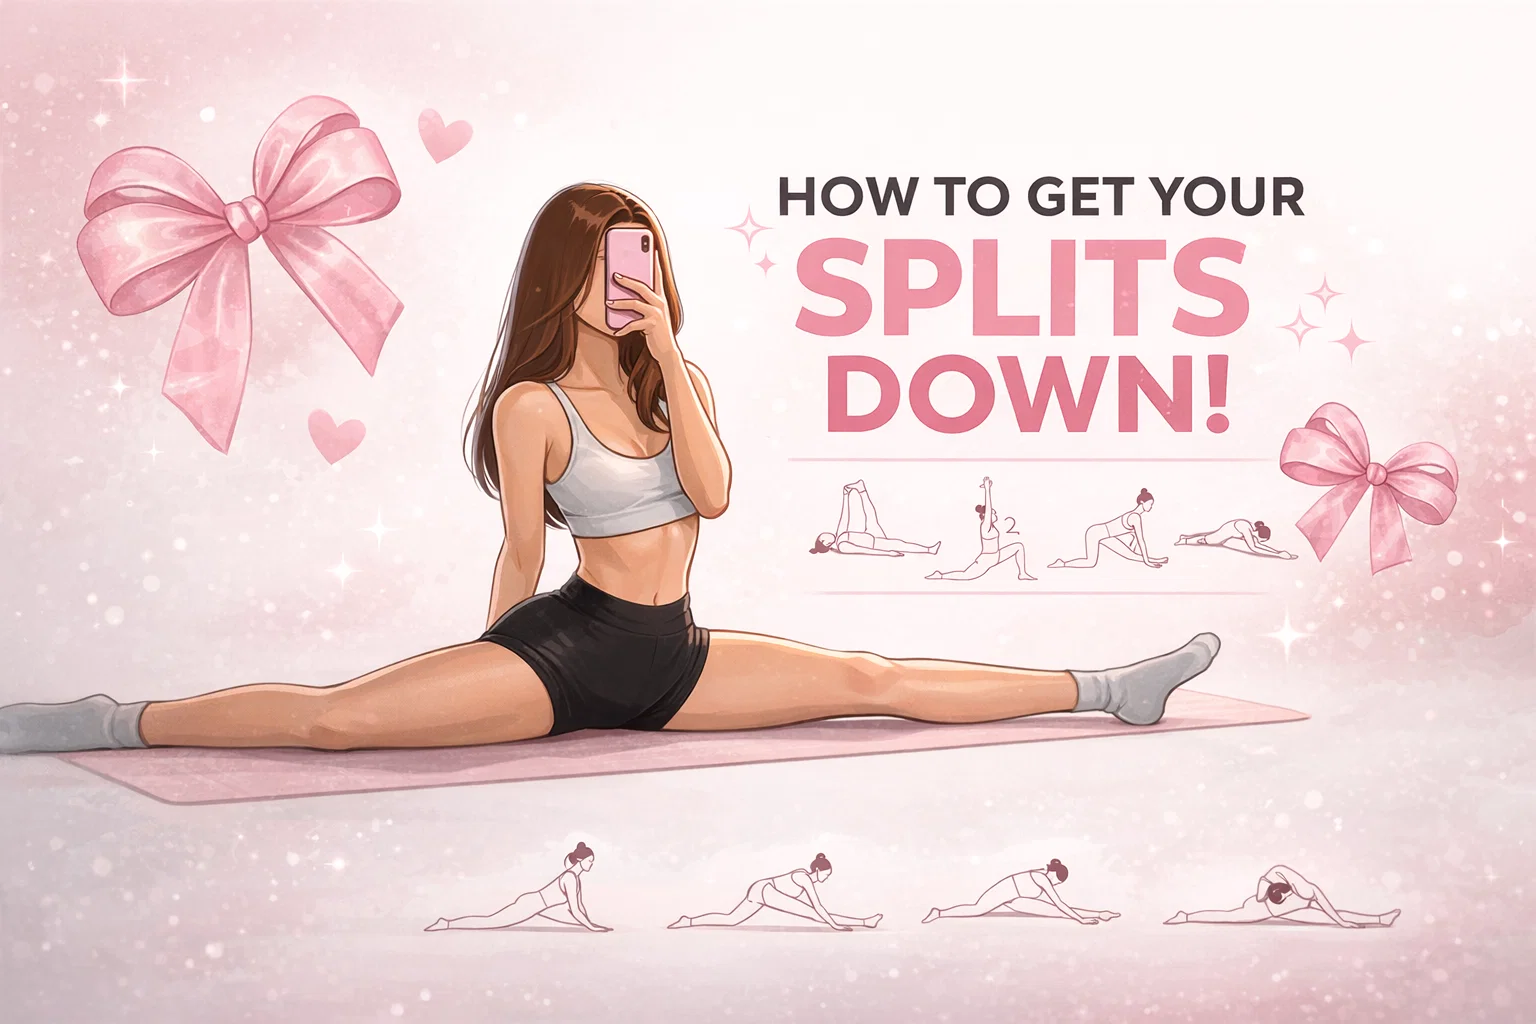
15-Step Stretching Routine to Get Your Splits Down
Have you ever watched a dancer or gymnast effortlessly slide into the splits and wondered if you could ever do the same? You are certainly not alone. Achieving the splits is a massive fitness milestone for many people. It represents the pinnacle of flexibility, patience, and dedication. While it might look impossible right now, getting your splits down is entirely achievable with the right stretching routine and a healthy dose of consistency.
Whether you are starting from scratch or you are just a few inches away from the floor, following a structured sequence is the secret to success. This comprehensive guide will walk you through a highly effective 15-step stretching routine designed specifically to open your hips, lengthen your hamstrings, and safely guide you into a full front split.
Why You Should Work on Your Flexibility
Working toward the splits is not just about a cool party trick. Deep flexibility training offers incredible benefits for your overall physical health. First, it drastically improves your hip mobility. In our modern world, we spend hours sitting at desks, driving, or relaxing on the couch. This constant sitting causes our hip flexors to shorten and tighten, which often leads to lower back pain and poor posture.
By regularly practicing the stretches required for the splits, you are actively reversing this damage. You will lengthen your hamstrings, open your hip flexors, and increase the range of motion in your lower body. This improved mobility can enhance your performance in other physical activities like running, weightlifting, and even daily tasks. Furthermore, dedicated stretching routines act as an excellent form of stress relief, allowing you to connect with your breath and quiet your mind.
Essential Rules Before You Begin
Before diving into the 15-step routine, there are a few golden rules you absolutely must follow to prevent injury and ensure steady progress.
- Never stretch cold muscles: Jumping right into deep stretches is a recipe for a pulled muscle. Always do a light cardiovascular warm up for five to ten minutes. Jumping jacks, high knees, or a brisk walk will increase blood flow to your muscles and prepare them for deep work.
- Focus on active breathing: Holding your breath makes your muscles tense up. You want the exact opposite. Inhale deeply through your nose to prepare, and exhale slowly as you sink deeper into the stretch.
- Listen to your body: Stretching should feel like a deep, challenging pull, but it should never cause sharp pain. If you feel a pinching sensation or intense pain, back out of the pose immediately.
- Consistency over intensity: You will see much better results stretching for fifteen minutes every day rather than one hour once a week. Make this a regular habit.
The Ultimate 15-Step Splits Routine
This routine is designed to systematically target all the muscle groups involved in a front split. For the best results, hold each of these poses for thirty to sixty seconds on each side, breathing deeply throughout.
Phase 1: Waking Up the Hamstrings and Hip Flexors
Step 1: Supine Hamstring Stretch
Start your routine lying flat on your back to protect your spine. Keep your left leg extended straight on the floor. Lift your right leg straight up toward the ceiling. Gently interlace your fingers behind your right thigh, calf, or ankle depending on your current flexibility. Pull the leg gently toward your chest while keeping the knee as straight as possible. This isolates the hamstring safely.
Step 2: Low Lunge (Anjaneyasana)
Transition onto your hands and knees. Step your right foot forward between your hands. Lower your left knee to the floor and untuck your back toes. Lift your torso and reach your arms up toward the ceiling. Sink your hips forward and down. You should feel a deep stretch in the front of your left hip and thigh. Keep your core engaged to protect your lower back.
Shutterstock
Explore
Step 3: Half Split (Ardha Hanumanasana)
From your low lunge, shift your hips backward until they are stacked directly over your left knee. Straighten your right leg in front of you and flex your right foot so your toes point up. Walk your fingertips to the floor on either side of your right leg. Fold your torso over your straight right leg. This is an intense and highly effective hamstring stretch.
Step 4: Low Lunge Quad Stretch
Shift your weight back forward into the low lunge position. Keep your left hand planted on the floor for stability. Bend your left knee, bringing your heel toward your glutes. Reach back with your right hand and grab your left foot. Gently pull the foot closer to your body while sinking your hips forward. This intensely targets the quadriceps and hip flexors.
Phase 2: Deepening the Hip Opening
Step 5: Lizard Lunge
Release your back foot and bring both hands to the inside of your right foot. Walk your right foot out toward the right edge of your mat. Keep your arms straight and your palms flat on the ground. Sink your hips low. This pose opens the inner hips and groin area, which are crucial for achieving the splits.
Step 6: Forearm Lizard Lunge
If you feel comfortable in the standard lizard lunge, you can take it a step further. Slowly lower yourself down onto your forearms. Keep your chest reaching forward and your spine long. If your forearms do not reach the ground, you can rest them on yoga blocks. Hold this deep stretch and focus entirely on your breath.
Step 7: Pigeon Pose
From lizard lunge, walk your right foot across your mat toward your left wrist. Lower your right knee down behind your right wrist. Your right shin should be resting on the mat. Extend your left leg straight back behind you. Sit up tall, squaring your hips to the front of the room. You can stay upright or slowly fold forward over your front leg. This is the ultimate stretch for your glutes and external hip rotators.
Shutterstock
Step 8: King Pigeon Quad Stretch
Walk your hands back up to lift your torso. Bend your left knee so your foot points up toward the ceiling. Reach back with your left hand and grab the inside of your left foot. Gently draw the foot in toward your body while keeping your chest facing forward. This combines a deep hip opener with a powerful quad stretch.
Phase 3: Total Leg and Back Body Lengthening
Step 9: Downward Facing Dog
Release your back foot and plant your hands firmly on the mat. Step your front foot back to meet your left foot, lifting your hips high into the air to form an inverted V shape. Press your heels down toward the mat and push the floor away with your hands. This is an active resting pose that lengthens the entire backline of your body, from your calves to your shoulders.
Step 10: Wide-Legged Forward Fold (Prasarita Padottanasana)
From downward dog, walk your hands back to your feet and step your feet wide apart. Turn your toes slightly inward and your heels slightly outward. Hinge at your hips and fold forward, letting your head hang heavy. You can place your hands on the floor in line with your feet or grab your ankles. This deeply stretches the inner thighs and hamstrings simultaneously.
Step 11: Standing Split
Walk your hands to the front of your mat, framing your right foot. Shift your weight entirely into your right foot and lift your left leg high into the air behind you. Keep your hips as square to the ground as possible. Do not worry about how high the back leg goes. Focus instead on keeping the standing leg straight and folding deeply over it.
Shutterstock
Explore
Step 12: Standing Forward Fold (Uttanasana)
Lower your left foot down to meet your right foot. Keep your feet hip width apart. Let your upper body completely relax over your legs. You can bend your knees slightly if your lower back feels tight. Grab opposite elbows or let your hands sweep the floor. This provides a gentle, continuous lengthening for the hamstrings and calves.
Phase 4: Seated Deep Stretches and The Final Goal
Step 13: Seated Forward Fold (Paschimottanasana)
Come down to a seated position on your mat. Extend both legs straight out in front of you. Sit up tall, reach your arms up, and hinge at your hips to fold forward. Reach for your toes, ankles, or shins. Keep your spine as long as possible instead of rounding your back to reach further. This targets the lower back and the entire length of the hamstrings.
Step 14: Seated Straddle Fold (Upavistha Konasana)
Open your legs as wide as they will comfortably go into a V shape. Flex your feet so your toes point up. Sit up straight, place your hands on the floor in front of you, and slowly walk your hands forward. Keep your chest lifted. You will feel a profound stretch along your inner thighs and groin.
Step 15: The Full Front Split (Hanumanasana)
You have prepared your muscles, and now it is time for the final goal. Start in a kneeling position. Extend your right leg straight in front of you and your left leg straight behind you. Place your hands on the floor on either side of your hips for support. Slowly slide your right heel forward and your left knee backward. Keep your hips square to the front. Lower yourself down as far as your body allows today. If you are not entirely flat on the floor, place a yoga block under your front thigh for support. Do not force it. Breathe, relax, and celebrate how far you have come!
Shutterstock
Common Mistakes to Avoid on Your Journey
As you incorporate this 15-step routine into your daily life, be mindful of these common pitfalls.
First, avoid squaring your hips incorrectly. In a true front split, your hips should face directly forward, like headlights on a car. Many people cheat the stretch by opening their back hip to the side. While this makes it easier to get closer to the ground, it defeats the purpose of the stretch and can torque your lower back. Keep those hips square.
Second, stop bouncing. Ballistic stretching, which involves bouncing in and out of a stretch, triggers a reflex in your muscles that actually causes them to tighten up to prevent injury. Instead, use static stretching. Ease into the pose, find your edge, and hold it completely still while breathing deeply.
Finally, do not compare your chapter one to someone else’s chapter twenty. Everyone has a different anatomical starting point. Some people have naturally open hips, while others have naturally tight hamstrings. Your progress is your own.
Conclusion: Embrace Your Flexibility Journey
Getting your splits down is an incredibly rewarding process that teaches you a lot about your own body. The 15-step sequence outlined above provides a safe, logical progression to open up every muscle required for the full pose. Remember that flexibility is a marathon, not a sprint. Celebrate the small victories along the way. Notice how your lower back feels looser in the mornings, or how you can reach just a little bit further in your forward fold.
Stay dedicated, keep your stretching sessions consistent, and always treat your body with kindness and patience. Roll out your mat, turn on some relaxing music, and start your stretching journey today. The splits are absolutely within your reach!