3 Easy Chocolate Mousse Recipes Quick Dark, Milk White Chocolate Dessert Ideas
There is something undeniably magical about a perfectly executed chocolate mousse. It is the kind of dessert that feels sophisticated and expensive, yet at its core, it relies on the simplest of culinary transformations. When you dip a spoon into that airy, cloud-like texture and feel it melt instantly on your tongue, you are experiencing the result of just a few high-quality ingredients working in total harmony. Whether you are hosting a formal dinner party or simply want to elevate your Tuesday night, mastering the art of the mousse is a genuine superpower in the kitchen.
The Three Pillars of Chocolate Perfection
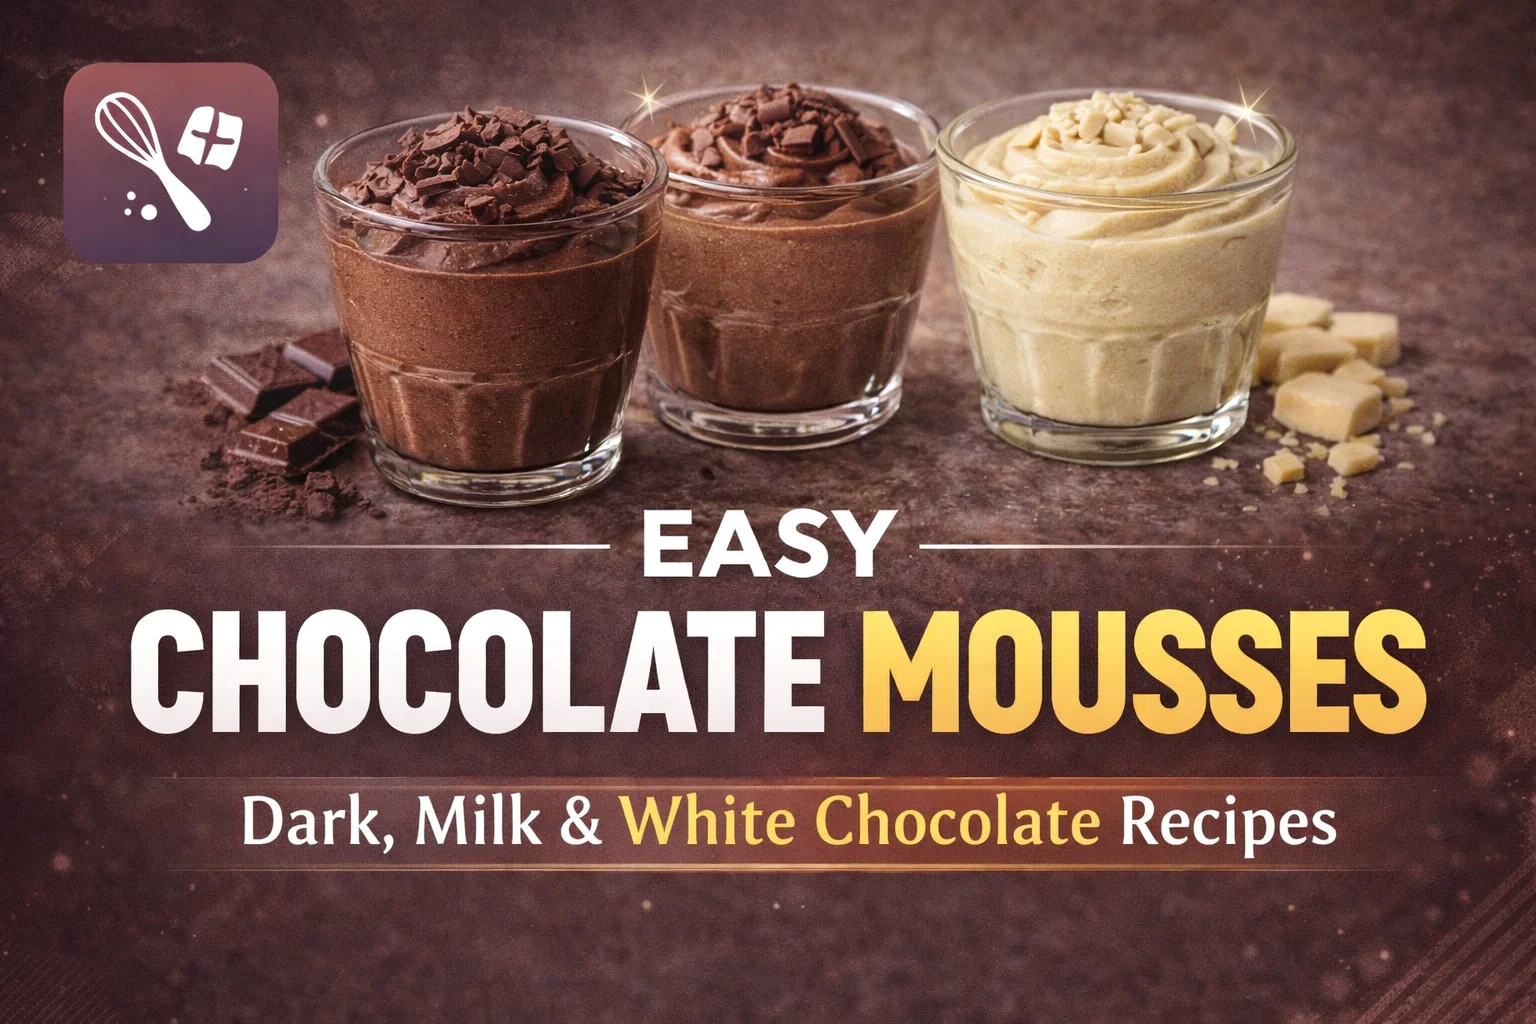
Most people have a very specific chocolate personality. Some crave the intense, nearly bitter depth of a 70 percent dark cocoa. Others find comfort in the nostalgic, creamy sweetness of milk chocolate. And then there are those who adore the buttery, vanilla-forward profile of white chocolate. The beauty of the recipes we are exploring today is that the fundamental technique remains the same across all three varieties, allowing you to cater to every preference at the table without spending the entire day in the kitchen.
Why These Recipes Work
Traditional French mousse often involves separating eggs and folding in whipped egg whites. While that method is classic, it can be intimidating for beginners and carries the concern of using raw eggs. The recipes featured here use a stabilized whipped cream base. This approach creates a structure that is just as light but much more foolproof. By focusing on the interaction between melted chocolate and heavy cream, you get a rich mouthfeel that remains stable in the refrigerator for hours or even days.
Mastering Dark Chocolate Mousse: The Sophisticate
Dark chocolate mousse is for the true connoisseur. Because dark chocolate has a lower sugar content and a higher percentage of cocoa solids, it provides a sturdy structure for the mousse. This version is often the most intense and pairs beautifully with a pinch of sea salt or a handful of tart raspberries to cut through the richness.
- The Ingredient Profile: Use 150 grams of high-quality dark chocolate (60 percent to 70 percent cocoa is the sweet spot). Combine this with 2.5 cups of heavy cream, a quarter cup of powdered sugar, and a splash of vanilla extract.
- The Melting Process: Dark chocolate can be temperamental. Melt it slowly using a double boiler or in short 20 second bursts in the microwave. The key is to let it cool slightly before introducing the cream. If the chocolate is too hot, it will deflate your whipped cream instantly.
- Achieving the Fold: When you fold your whipped cream into the cooled chocolate, use a silicone spatula. Move in a circular motion, cutting through the center and lifting from the bottom. This preserves the air bubbles you worked so hard to create.
The Crowd Pleaser: Silky Milk Chocolate Mousse
Milk chocolate mousse is the ultimate comfort food. It reminds us of childhood treats but with a refined, velvety texture. Because milk chocolate contains milk solids and more sugar than its dark counterpart, the resulting mousse is softer and lighter in color.
Balancing the Sweetness
Since milk chocolate is naturally sweeter, you might find that you want to adjust the powdered sugar slightly. The recipe calls for a quarter cup, but if you are using a very sweet commercial brand of milk chocolate, you can reduce this to two tablespoons. The vanilla extract is crucial here as it bridges the gap between the dairy notes of the cream and the cocoa notes of the chocolate.
When piping milk chocolate mousse, it often looks best with a garnish of shaved chocolate on top. This adds a bit of texture to an otherwise perfectly smooth dessert. It is the kind of dish that disappears in seconds at a family gathering.
The Elegant Alternative: Creamy White Chocolate Mousse
White chocolate mousse is often misunderstood. Technically, white chocolate isn’t chocolate at all because it lacks cocoa solids, consisting instead of cocoa butter, sugar, and milk. However, in the world of mousse, it provides a luxurious, buttery canvas that is incredibly versatile.
A Different Set of Rules
You will notice that white chocolate requires a slightly different touch. It has a lower melting point and can “seize” or become grainy more easily than dark chocolate. When making this version, let the melted white chocolate cool all the way to room temperature. If it is even slightly warm, the high fat content can cause the whipped cream to turn to butter.
White chocolate mousse is the perfect base for experimentation. Try adding a teaspoon of matcha powder, a bit of orange zest, or even a drop of peppermint extract for a seasonal twist. It also looks stunning when layered with dark chocolate mousse in a glass for a high-contrast tuxedo effect.
Essential Tips for Mousse Success
Regardless of which flavor you choose, there are a few universal truths that will ensure your dessert turns out like it came from a professional patisserie. Kitchen temperature, tool selection, and ingredient quality all play a role in the final result.
The Importance of Heavy Cream
Do not attempt these recipes with half-and-half or whole milk. You need the high fat content of heavy whipping cream (usually 36 percent or higher) to create the structural foam that holds the chocolate in place. Ensure your cream is ice-cold, straight from the back of the fridge. Cold cream whips faster and creates tighter, more stable bubbles.
Sifting the Sugar
It might seem like an extra step, but sifting your powdered sugar is vital. Powdered sugar often contains small clumps of cornstarch or compacted sugar. If these get into your mousse, they won’t always dissolve, leaving you with tiny white spots or a gritty texture. A quick pass through a fine-mesh sieve makes all the difference.
Creative Serving and Presentation Ideas
We eat with our eyes first. While a bowl of mousse tastes great, the presentation can turn a simple dessert into a memorable event. Since these recipes are easy to pipe, you have plenty of options for how to display your work.
Glassware Matters
Using clear glass is the best way to show off the texture of the mousse. Small mason jars give a rustic, farmhouse feel, while martini glasses or crystal tumblers add a touch of modern elegance. For a fun party idea, try serving the mousse in espresso cups for “mini-indulgence” portions.
The Perfect Toppings
A garnish is the finishing touch that tells your guests you cared about the details. Consider these options:
- Fresh Berries: Strawberries, raspberries, and blueberries add a necessary acidity.
- Crushed Cookies: Graham crackers, Oreos, or ginger snaps add a satisfying crunch.
- Whipped Cream Peaks: Save a little bit of your whipped cream before folding it into the chocolate to use as a topping.
- Nutty Finishes: Toasted hazelnuts or slivered almonds pair beautifully with the milk chocolate version.
Storing and Making Ahead
One of the best things about chocolate mousse is that it actually benefits from time in the refrigerator. It needs at least two hours to set properly, but letting it sit overnight allows the flavors to deepen and the texture to become fully firm. If you are planning a big event, you can make these up to two days in advance. Just be sure to cover the glasses with plastic wrap to prevent the mousse from picking up any stray odors from the fridge.
Conclusion: Your New Favorite Dessert
Making a restaurant-quality dessert at home does not have to be a stressful endeavor involving complicated techniques or rare equipment. By following these simple methods for dark, milk, and white chocolate mousse, you can create a versatile dessert repertoire that works for any occasion. The combination of rich chocolate and airy cream is a timeless classic for a reason. Once you see how easy it is to whip up these three variations, you might find yourself looking for any excuse to celebrate. So, grab your favorite chocolate, chill your cream, and get ready to enjoy the most velvety, decadent treat you have ever made in your own kitchen.
Would you like me to generate some Pinterest-style image captions or a short social media teaser for this blog post?