7 Essential Survival Camping Tricks DIY Water Filter, Shelter Emergency Skills
Stepping into the wild is one of the most liberating experiences a human can have. There is something deeply grounding about leaving the concrete jungle behind and trading the hum of electricity for the rustle of leaves and the crackle of a campfire. However, nature is as unpredictable as it is beautiful. Whether you are a weekend warrior heading to a local state park or a seasoned trekker pushing deep into the backcountry, having a solid foundation of survival skills is not just about being prepared; it is about having the peace of mind to actually enjoy your surroundings. Knowing how to filter water, build a shelter, or signal for help can turn a potential crisis into a manageable hurdle.
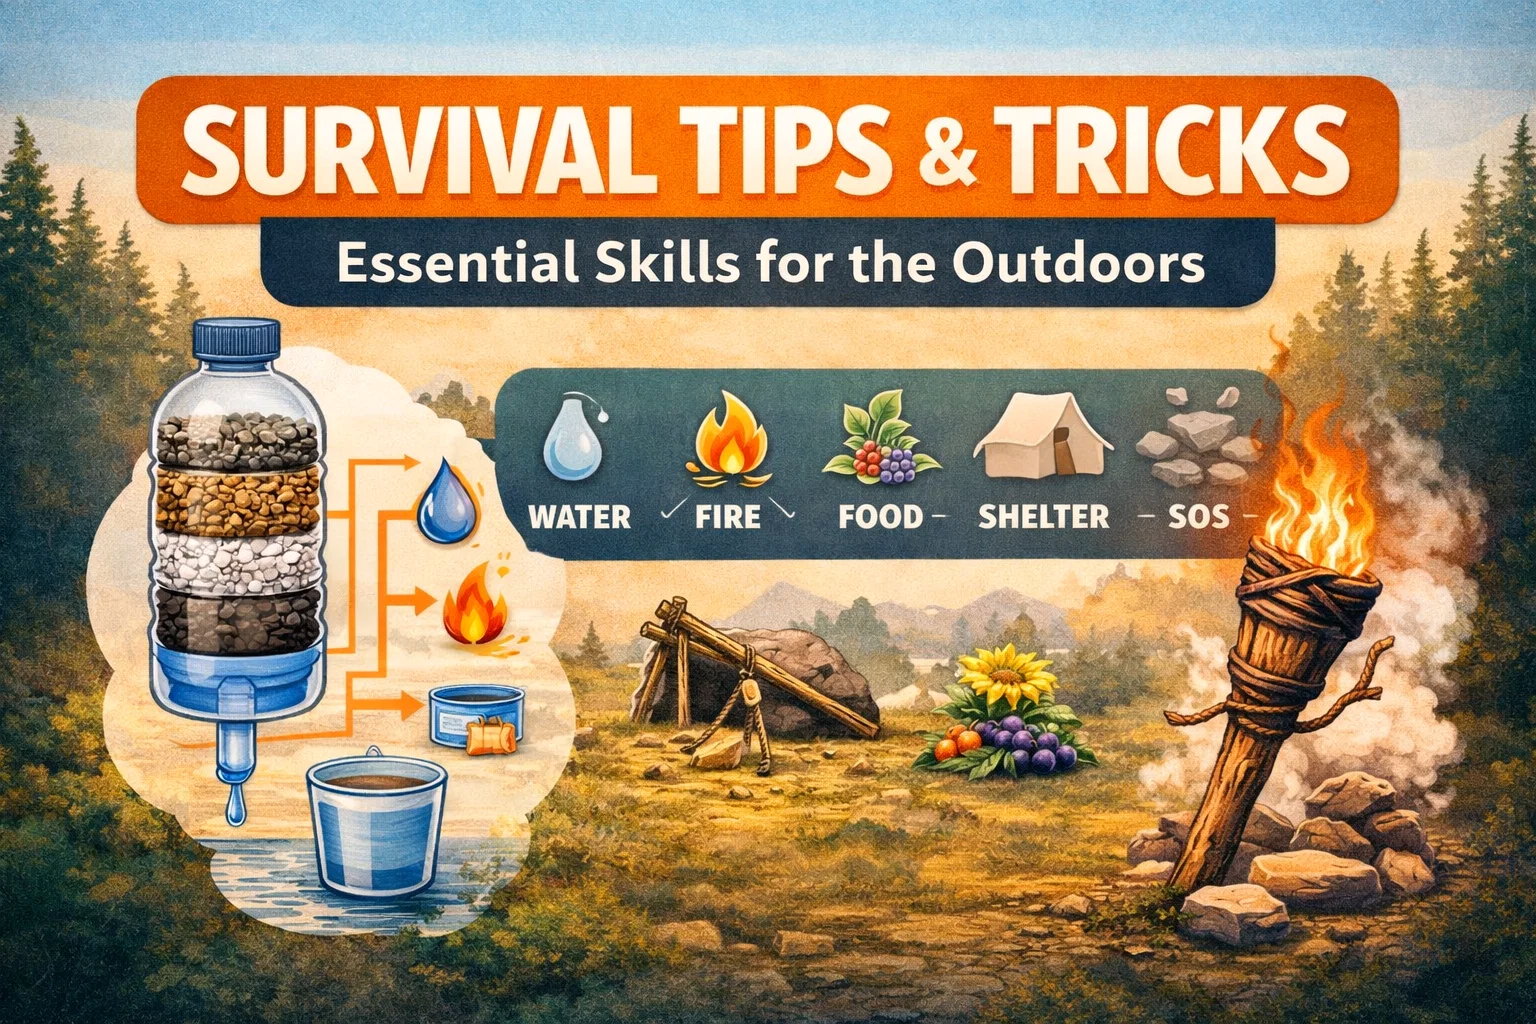
When we talk about survival camping, we are not necessarily talking about extreme scenarios where everything has gone wrong. Most survival situations start as simple inconveniences: a wrong turn on a trail, a sudden change in weather, or an unexpected drop in temperature. The following guide breaks down the most essential tricks and techniques shown in our survival infographic to ensure you are never caught off guard. From DIY water filtration to the art of the perfect fire starter, let’s dive into the skills that every modern explorer should have in their repertoire.
The Lifeblood of Survival: Master the DIY Water Filter
Water is your number one priority in any survival situation. While the human body can go weeks without food, it can only last a few days without hydration. The challenge is that water found in the wild is rarely safe to drink straight from the source. Bacteria, protozoa, and debris can cause serious illness, which is the last thing you want when you are miles away from help. If you find yourself without a commercial filter, you can build a highly effective one using a simple plastic bottle and materials found in your immediate environment.
The Anatomy of a Layered Filter
To create a gravity-fed filter, start by cutting the bottom off a plastic bottle and flipping it upside down so the neck acts as the spout. The secret to a successful filter lies in the layers. You want to start by stuffing a piece of cloth or a coffee filter into the neck. This acts as the final barrier to keep the filtration materials from falling out into your clean container. Above the cloth, add a thick layer of charcoal. If you have a campfire, the cooled bits of burnt wood are perfect for this. Charcoal is incredible because it uses a process called adsorption to trap chemicals and toxins that other materials might miss.
Above the charcoal, you will add a layer of fine sand, followed by a layer of gravel or small rocks. The sand acts as a fine mesh to catch tiny particles, while the gravel catches the larger debris like leaves and twigs. When you pour dirty water into the top, it slowly trickles through these layers, becoming clearer and cleaner with every inch. It is important to remember that while this filter removes debris and many impurities, boiling the water afterward is still the best way to ensure it is 100 percent safe from microscopic pathogens.
Building an Emergency Shelter: The Lean-To Method
Exposure is one of the leading causes of distress in the wilderness. If the sun goes down and the temperature drops, or if a sudden rainstorm hits, you need a way to keep your core body temperature stable. An emergency shelter does not need to be a masterpiece of architecture; it just needs to be functional. The Lean-To is the most iconic and easy to build shelter for quick protection.
Utilizing Natural Geometry
To build a lean-to, find a sturdy fallen log or a low-hanging branch that you can prop up against two trees. This horizontal piece acts as your ridgepole. Once your ridgepole is secure, lean long, sturdy branches against it at a 45-degree angle. This creates the “wall” of your shelter. To make this wall waterproof and windproof, you need to “shingle” it with smaller materials. If you have a tarp, drape it over the branches and secure it with rocks. If you are relying purely on nature, use thick layers of pine boughs, leafy branches, and even mud or moss to fill in the gaps. Always build your shelter with the back facing the wind to prevent smoke from your fire from blowing inside and to keep the interior warm.
Fire Starting Secrets: The Cotton and Vaseline Hack
Fire is more than just a source of heat. It is a tool for cooking, a way to purify water, a morale booster, and a signal to rescuers. However, starting a fire in damp or windy conditions can be incredibly frustrating. This is where a little bit of preparation goes a long way. One of the best survival “cheats” is the combination of cotton balls and Vaseline (petroleum jelly).
Creating an Indestructible Flame
Petroleum jelly is a fuel source, and cotton is a highly flammable fiber. When you coat a cotton ball in Vaseline, you are essentially creating a DIY candle wick that will burn for several minutes even in harsh conditions. To use this trick, pull the cotton ball apart slightly to expose the dry fibers inside. One spark from a ferrocerium rod or a single match will ignite those fibers, and the Vaseline will keep the flame going long enough to catch your kindling on fire. Stashing a few of these in a small film canister or a zip-lock bag is a lightweight way to guarantee fire whenever you need it.
The Solar Still: Harnessing the Power of Evaporation
What happens if you are in an area with no visible streams or lakes? You can still find water by looking toward the sun and the ground. A solar still is a classic survival technique that uses the greenhouse effect to pull moisture out of the soil or from green vegetation. It takes time, so it is best to set this up as soon as you establish your camp.
How to Collect Water from Thin Air
To build a solar still, dig a hole in a sunny spot. Place a collection container (like a cup or a bowl) in the center of the hole. If the ground is dry, you can add non-toxic green leaves around the container to increase the moisture output. Cover the entire hole with a clear plastic sheet and secure the edges with heavy rocks to create an airtight seal. Place a small pebble in the very center of the plastic sheet, directly over your container. This creates a cone shape. As the sun heats the air inside the hole, moisture evaporates from the ground, condenses on the underside of the plastic, and runs down the slope of the cone into your cup. This water is naturally distilled and very safe to drink.
Foraging and Trapping: Tapping into Natural Food Sources
While you can survive much longer without food than without water, hunger leads to fatigue and poor decision-making. Learning to identify wild edibles and set basic traps can keep your energy levels up. Knowledge of your local flora is essential here, as you should never eat anything unless you are 100 percent certain of its identity.
Identifying Common Edibles and Setting Snares
Many common plants that we consider weeds are actually nutritional powerhouses. Dandelions, for example, are entirely edible from the root to the flower and are packed with vitamins. Many wild berries are also safe, but you must be careful to distinguish them from poisonous lookalikes. Beyond plants, you can utilize the Rock Snare or Deadfall trap for small game. This involves propping up a heavy rock with a “trigger” made of sticks. When an animal like a squirrel or rabbit moves the bait stick, the rock falls. It is a primitive but effective way to secure protein without needing a fishing pole or a bow.
Improvising a Torch for Navigation and Safety
If you find yourself needing to move at night or wanting to scare off curious wildlife, a handheld torch is a vital tool. A simple flashlight is great, but batteries die. Knowing how to make a torch from a stick and cloth is a skill that dates back thousands of years but remains perfectly effective today.
To make a torch, find a thick, green branch that won’t burn through immediately. Take a long strip of cloth (cotton works best) and wrap it tightly around the end of the stick. If you have any type of flammable resin, oil, or even the Vaseline mentioned earlier, soak the cloth in it. Secure the cloth by tucking the ends or using a bit of wire. When lit, this will provide a bright, steady flame that is much more substantial than a small match. It provides visibility and serves as a powerful psychological deterrent against predators.
Signaling for Help: How to Be Seen and Heard
The goal of any survival situation is to get home safely. If you are lost or injured, you need to make it as easy as possible for search and rescue teams to find you. Rescuers often say that the hardest part of their job is finding someone who is stationary and blended into the woods. You need to create “unnatural” sights and sounds.
The Rule of Three
In the world of survival, the number three is the universal signal for distress. If you have a whistle, three short blasts are recognized globally as an SOS. If you are signaling visually, you can use three piles of smoke. Start three separate fires and once they are burning well, throw green leaves or damp pine needles on them to create thick, white billows of smoke. If you are in an open area, you can use rocks or logs to spell out SOS in large letters. The key is contrast; make the letters as big and bold as possible so they can be seen from an aircraft high above.
Conclusion: Preparation is the Ultimate Tool
Survival camping is not about fear; it is about empowerment. When you understand how to manipulate the elements around you to provide for your basic needs, the wilderness stops being a threatening place and starts being a home. The tricks we have discussed today, from filtering water with charcoal to signaling with the rule of three, are the building blocks of outdoor confidence.
Next time you head out on an adventure, take a moment to practice one of these skills. Build a small lean-to in your backyard, try starting a fire with a cotton ball, or identify the edible plants in your local park. The more familiar you are with these techniques, the more naturally they will come to you if you ever truly need them. Nature is a great teacher, but it expects its students to be prepared. Stay safe, stay curious, and keep exploring the beauty of the natural world.