DIY Wall Cleaner to Remove Old House Smells
Have you ever walked into a room, taken a deep breath, and noticed a lingering, stale scent that you just cannot seem to track down? You have vacuumed the carpets, taken out the trash, washed the linens, and even scrubbed the baseboards. Yet, that distinct “old house smell” persists. It can be incredibly frustrating to put so much effort into deep cleaning your space only to feel like it still does not smell truly fresh. The culprit is often a massive surface area that we look at every single day but rarely think to actually clean. We are talking about your walls.
It is easy to forget that walls are not just structural boundaries. They are essentially giant canvases that absorb the environment around them. Over time, walls can waft an old house smell right back into your living space. This is because they collect a microscopic layer of daily life. From cooking grease and airborne dust to pet dander and hidden mildew, your wall surfaces and wallpaper act like sponges for household odors. But do not worry! You do not need to hire a professional or resort to heavy, toxic chemicals to fix this issue. Today, we are going to dive deep into a simple, highly effective, and entirely natural DIY wall cleaning routine that will completely transform the scent and feel of your home.
The Hidden Science of Household Odors
To understand why washing your walls is so important, it helps to understand how odors work in an indoor environment. Indoor air quality is a crucial component of our overall wellness. When we cook, microscopic particles of oil and food become airborne and eventually settle on the largest available surfaces. When we burn candles, have pets, or simply leave the windows open on a breezy day, particles circulate and cling to the vertical spaces in our rooms. Over months and years, these microscopic layers build up.
This buildup creates a thin film that you might not even be able to see. However, your nose will definitely notice it. Moisture in the air interacts with this organic matter, creating a breeding ground for stale smells and even invisible mildew. Wallpaper is particularly susceptible to this because the paper fibers and the glue backing can absorb moisture and odors even more readily than painted drywall. By ignoring your walls during your regular cleaning routine, you are essentially leaving the largest odor-trapping surface in your home untouched.
Why Choose a Natural DIY Cleaner?
When faced with a tough cleaning job, it is tempting to reach for the strongest commercial cleaner available. However, many conventional cleaning products are packed with artificial fragrances, harsh solvents, and volatile organic compounds. These chemicals can irritate your respiratory system and leave behind an artificial smell that merely masks the underlying odors instead of eliminating them. If you are passionate about wellness and maintaining a healthy home environment, natural alternatives are always the best route.
Creating your own cleaning solution puts you in complete control of the ingredients. You can effectively cut through grease, banish dust, and neutralize mildew without introducing harsh chemicals into the air you and your family breathe. The recipe we are focusing on today uses everyday pantry staples that are incredibly powerful when combined.
The Magic of Distilled White Vinegar
Distilled white vinegar is arguably the most versatile natural cleaning agent in existence. Its secret lies in its mild acidity. Vinegar contains acetic acid, which makes it a phenomenal solvent. It easily breaks down the greasy film left behind by cooking and everyday life. But vinegar is true superpower is its ability to neutralize odors at the source. Instead of just covering up a bad smell with a heavy perfume, the acetic acid actually alters the chemical makeup of alkaline odor molecules, neutralizing them completely. Furthermore, vinegar creates an environment that is hostile to mold and mildew, making it a fantastic preventative measure for damp areas like bathrooms and kitchens.
The Uplifting Power of Lemon Essential Oil
While vinegar does the heavy lifting when it comes to cutting grease and neutralizing bad smells, it does have a distinct, pungent scent of its own. This is where lemon essential oil comes to the rescue. Lemon essential oil is not just added for a pleasant fragrance, although it certainly provides a beautiful, bright aroma. Lemon oil contains natural antibacterial and antiviral properties. It acts as a gentle degreaser, working in perfect harmony with the vinegar. From a wellness perspective, the scent of citrus is known to be uplifting and energizing. As you wipe down your walls, you will be treating yourself to a subtle aromatherapy session that boosts your mood and leaves your home smelling crisp and naturally clean.
Your Ultimate DIY Wall Cleaning Recipe
You do not need complicated measurements or expensive tools to get started. You probably already have everything you need in your kitchen cabinets. Here is the foolproof, highly effective recipe to banish that old house smell for good.
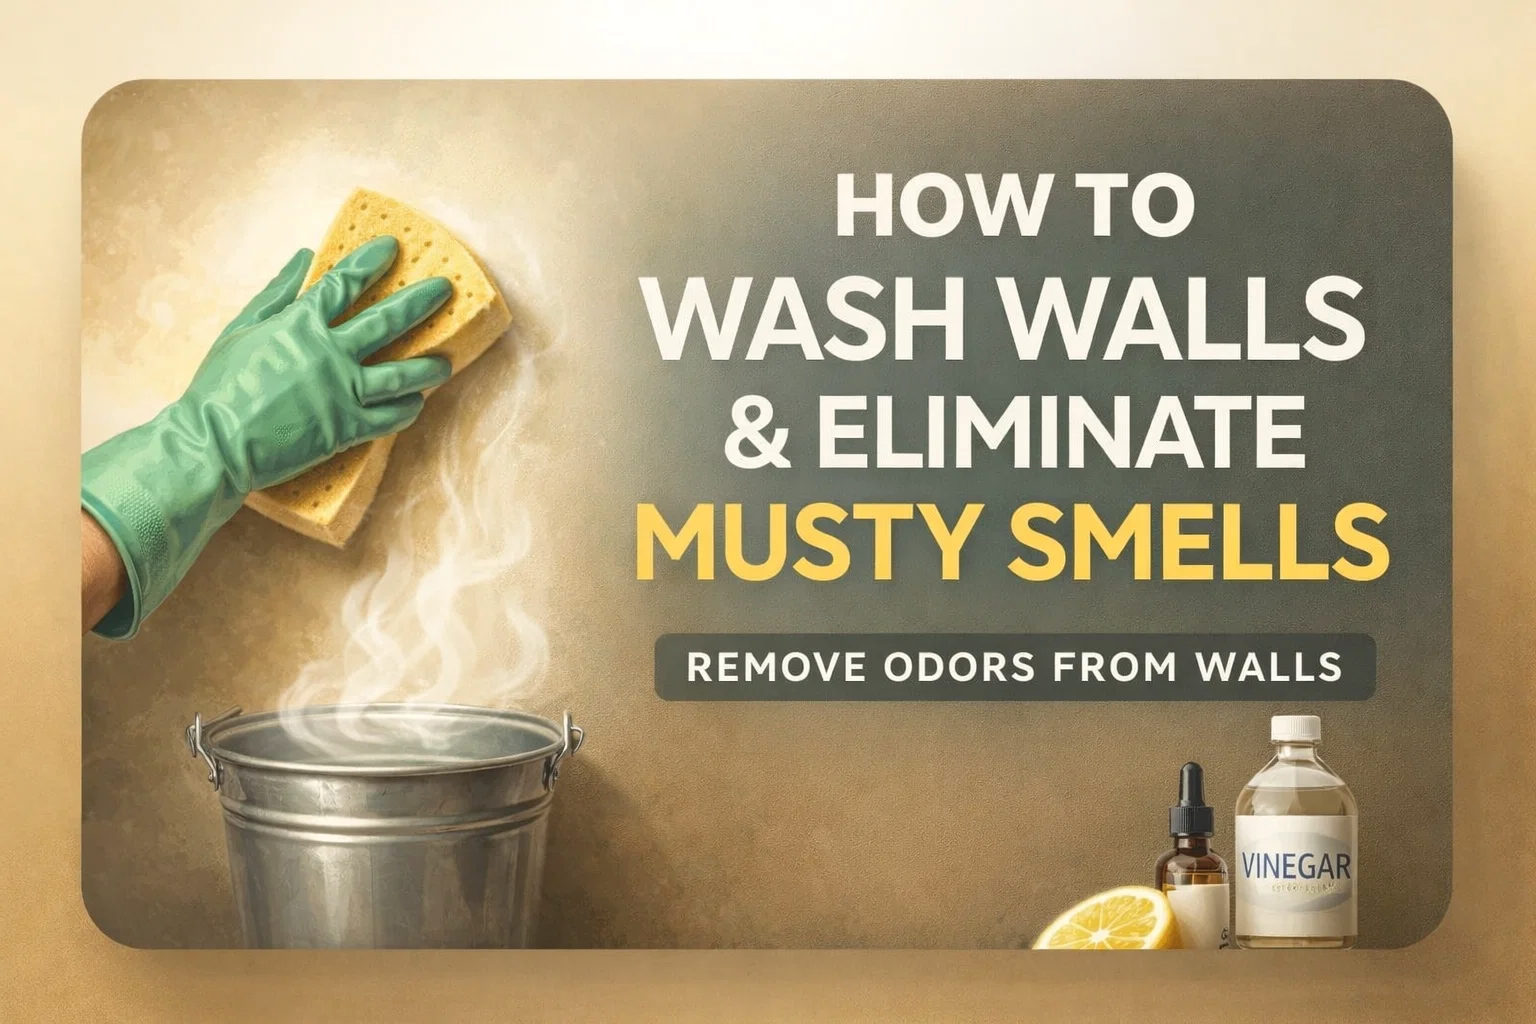
- Hot Water: 32 ounces (about 4 cups). The heat is crucial for helping to dissolve grease and loosen stubborn dust.
- Distilled White Vinegar: 2 cups. This is your primary odor neutralizer and degreaser.
- Lemon Essential Oil: Just a few drops. This cuts the vinegar scent and adds a beautiful, fresh finish.
That is it! Three simple ingredients are all it takes to refresh your entire living space.
Step-by-Step Guide to Washing Your Walls Like a Pro
Having the right solution is only half the battle. Using the correct technique is essential to ensure you are actually removing the dirt rather than just moving it around, and to protect your paint or wallpaper from damage. Follow these steps for the best results.
Step 1: Preparation is Key
Before you mix your solution, take a few minutes to prep the room. Move furniture a few feet away from the walls to give yourself a clear path. Lay down a few old towels or a drop cloth along the baseboards to catch any stray drips. It is also a great idea to take down picture frames or artwork so you have a completely blank canvas to work with.
Step 2: Dry Dusting First
Never apply a wet sponge to a dusty wall. If you mix water with heavy dust, you will just create mud, which makes the cleaning process much harder and can leave stubborn streaks. Use a microfiber cloth, a long-handled duster, or the brush attachment on your vacuum cleaner to gently remove loose dust and cobwebs from the top of the wall all the way down to the baseboards. Pay special attention to the corners and the areas above doorways where dust loves to hide.
Step 3: Mix the Solution
Grab a sturdy metal or plastic bucket. Pour in your 32 ounces of hot water. Carefully add the 2 cups of distilled white vinegar. Finally, sprinkle in a few drops of your lemon essential oil. Give it a gentle stir. The room will instantly smell like a fresh, clean lemon grove.
Step 4: The Bottom-Up Technique
This is a crucial tip that surprises many people. When washing walls, you should always start at the bottom and work your way up. If you start at the top, dirty water will drip down over the dry, unwashed sections of the wall, creating long, dirty streaks that are incredibly difficult to remove. Dip a clean, soft sponge into your bucket and wring it out very well. You want the sponge to be damp, not dripping wet. Wipe a section of the wall near the baseboard, then gradually move upward. Use gentle, circular motions. You do not need to scrub aggressively.
Step 5: Rinse and Air Dry
For most lightly soiled walls, the vinegar solution will not require a heavy rinse. However, if your walls were particularly dirty, you might want to do a quick pass with a second sponge dampened only with plain water. Once you have wiped down the area, simply let the walls air dry. Open a window or turn on a ceiling fan to promote air circulation. The vinegar scent will dissipate completely as the wall dries, leaving behind nothing but the faint, cheerful hint of lemon and a truly neutralized space.
Understanding Your Paint Finish
It is important to note that different types of paint finishes react differently to being washed. Always test your DIY cleaner on a small, inconspicuous area first, perhaps behind a piece of furniture, to ensure it does not lift the paint or alter the finish.
- Flat or Matte Paint: These finishes do not reflect light, which makes them great for hiding imperfections, but they are the most delicate when it comes to cleaning. Wring your sponge out extremely well and use very gentle pressure. Do not scrub, or you may rub the paint right off.
- Eggshell or Satin Paint: These finishes have a slight sheen and are slightly more durable than flat paint. They can handle a gentle wipe down with your vinegar solution without much fuss.
- Semi-Gloss or Gloss Paint: Typically found in kitchens, bathrooms, and on trim, glossy paints are highly durable and designed to withstand regular washing. They can easily handle this hot water and vinegar solution.
If you have wallpaper, exercise extreme caution. Traditional uncoated wallpaper should usually not be washed with heavy water, as it can warp or peel. Vinyl-coated wallpaper, however, is generally safe to wipe down with a well-wrung, damp sponge. Always check the manufacturer guidelines for your specific wallpaper if you are unsure.
When Should You Wash Your Walls?
You might be wondering how often this chore needs to be done. You certainly do not need to wash your walls every week. A good rule of thumb is to incorporate this into your deep spring cleaning routine or your pre-winter home prep. However, the best advice is simply to repeat the process whenever you catch a whiff of a stale smell.
There are also specific times when wall washing is highly recommended. If you have recently moved into a new home, washing the walls is a wonderful way to establish a fresh baseline and remove the lingering scents of the previous occupants. If you have just recovered from an illness in the house, a wipe down with this antibacterial mixture can help clear the air. Additionally, if you have cooked a particularly fragrant meal with heavy oils or spices, washing the kitchen walls the next day can prevent those aromas from embedding themselves permanently into your environment.
Maintaining a Beautifully Fresh Home
Washing your walls is a powerful reset button for your home’s scent profile. To maintain that freshness between deep cleans, there are a few simple habits you can adopt. First, prioritize ventilation. Opening your windows for just ten minutes a day, even in the colder months, allows stagnant indoor air to escape and fresh air to circulate. Second, keep up with routine dusting. The less dust that settles on your walls, the less organic matter there is to trap odors. Finally, consider running an air purifier with a HEPA filter in your main living areas to capture airborne particles before they ever have a chance to reach your walls.
Final Thoughts on Revitalizing Your Space
It is amazing how a simple bucket of hot water, some white vinegar, and a splash of lemon essential oil can completely revitalize the energy of a room. By taking the time to care for the vertical surfaces in your home, you are not just cleaning; you are actively improving your indoor air quality and creating a more welcoming, vibrant environment. The next time you find yourself battling an unidentifiable stale odor, do not just light another candle or spray a chemical air freshener. Look to your walls. Grab your sponge, mix up this easy natural recipe, and watch as the old house smell completely vanishes, leaving you with a home that feels incredibly clean, bright, and truly refreshed.