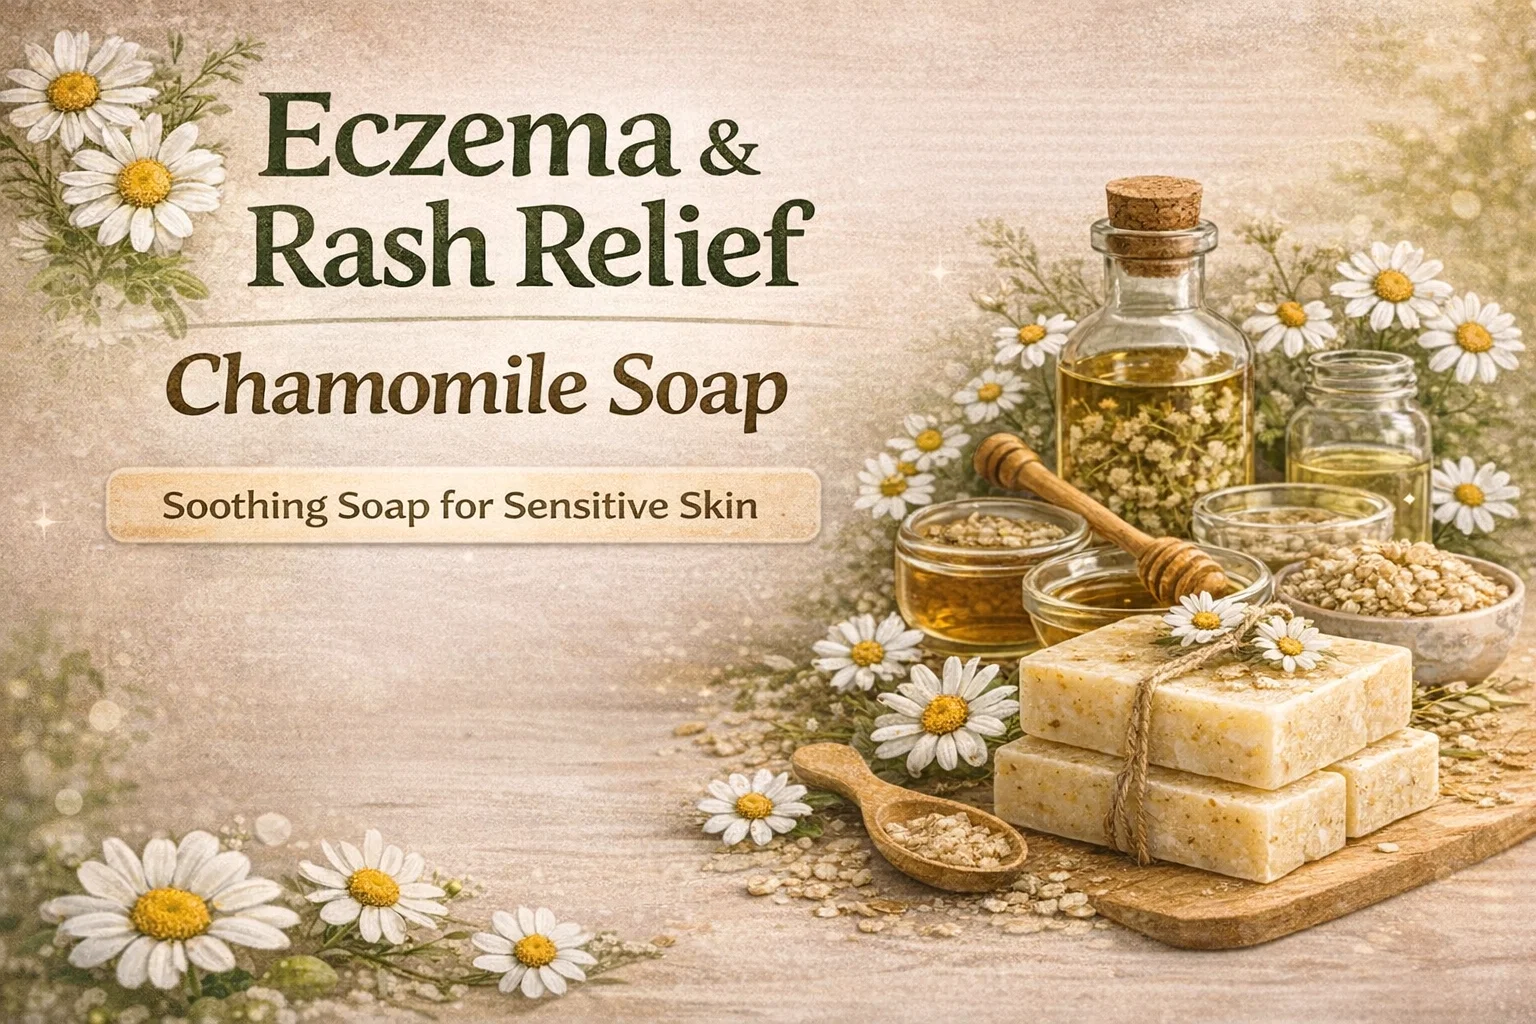
DIY Chamomile Soap for Eczema Rash Relief Natural Melt and Pour Soap Recipe
Finding relief for sensitive skin can feel like a never-ending quest. If you or your little ones struggle with eczema, dry patches, or sudden rashes, you know that the ingredient labels on store-bought soaps can be more intimidating than helpful. Synthetic fragrances, harsh sulfates, and mysterious preservatives often do more harm than good, leaving skin tighter and itchier than before. That is why turning to nature is such a breath of fresh air. Today, we are diving into a soothing DIY project that combines the ancient healing power of chamomile with the simplicity of the melt and pour soap method. This recipe is designed specifically to calm inflammation and provide a gentle cleanse that respects your skin’s natural moisture barrier.
The Magic of Chamomile for Sensitive Skin
Chamomile is far more than just a relaxing tea to sip before bed. In the world of herbalism, it is revered as a powerhouse for topical skin care. The flower contains a unique compound called chamazulene, which is known for its incredible anti-inflammatory properties. When applied to the skin, chamomile works to penetrate deep into the pores to soothe irritation and reduce the angry redness often associated with eczema flares.
What makes chamomile particularly special for rash relief is its hypoallergenic nature. It is one of the safest herbs for infants and those with hyper-sensitive skin conditions. By incorporating chamomile into a daily use soap, you are essentially giving your skin a calming treatment every time you step into the shower. It helps to repair damaged skin tissue and acts as a mild antiseptic, ensuring that scratched or broken skin stays clean and recovers quickly.
Why Choose the Melt and Pour Method?
If you are new to soap making, the idea of handling lye can be a bit daunting. That is where the melt and pour method saves the day. This process uses a pre-saponified soap base, meaning the chemical reaction between fats and lye has already happened in a controlled environment. You get to skip the goggles and the heavy safety gear and go straight to the creative and therapeutic part of the process.
The beauty of this method is the speed and safety. You can create a professional-quality, therapeutic bar of soap in less than an afternoon. It allows you to focus entirely on the additives—like our soothing oils and botanicals—without worrying about the chemistry of the base. For those making soap for children or as a quick remedy for a sudden skin flare-up, this is the most efficient and reliable route to take.
Essential Ingredients for Eczema Relief
To make a truly effective soap for eczema and rashes, every ingredient must serve a purpose. We aren’t just looking for bubbles; we are looking for healing. Here is a breakdown of what makes this specific recipe so potent:
Selecting the Right Soap Base
Your base is the foundation of your soap. For eczema sufferers, stay away from clear glycerin bases which can sometimes be drying. Instead, look for creamy bases like goat milk, shea butter, or oatmeal. Goat milk is particularly amazing because it contains lactic acid which helps gently exfoliate dead skin cells while providing deep moisture. Shea butter bases add an extra layer of fatty acids that protect the skin’s surface.
Chamomile Infused Oil
The star of the show is the chamomile-infused oil. While you can use chamomile tea in a pinch, an oil infusion carries the fat-soluble healing properties of the plant much more effectively. This oil acts as the delivery system for the chamomile’s calming benefits, ensuring they stay on the skin even after rinsing. It adds a silky texture to the lather that feels incredibly luxurious on irritated areas.
The Power of Colloidal Oatmeal
Colloidal oatmeal is just finely ground oats, but its impact on itchy skin is legendary. It creates a protective film on the skin that helps lock in moisture. If you have ever taken an oatmeal bath to soothe a rash, you know how instantly it can stop the “itch-scratch” cycle. Adding this to the soap bar provides a very mild, non-abrasive exfoliation that clears away debris without causing micro-tears in the skin.
Honey and Aloe Vera: The Healing Duo
Honey is a natural humectant, meaning it draws moisture from the air into your skin. It also has antibacterial properties that are vital if eczema has caused the skin to crack. Aloe vera, on the other hand, provides an instant cooling sensation. It is famous for treating burns, and it brings that same heat-reducing energy to a red, angry skin rash.
Step-by-Step Guide: Making Your Chamomile Soap
Ready to start crafting? Follow these steps to ensure your soap turns out perfectly every time. Accuracy and temperature control are the keys to a beautiful, functional bar.
Step 1: Preparing the Base
Begin by taking your 500g of soap base and cutting it into uniform one-inch cubes. Cutting the base into smaller pieces ensures that it melts evenly. If you leave large chunks, you risk overheating the edges of the melted soap while waiting for the center of the block to liquify. Use a clean, sharp knife and a dedicated cutting board for your soap projects.
Step 2: Gentle Melting
You have two options here: a double boiler or a microwave. If you use a microwave, do so in 30-second intervals. Stir gently between each heat burst. Avoid stirring too vigorously, as this creates air bubbles that will mar the smooth finish of your final soap. If you prefer the double boiler method, keep the heat on low to medium. You want the soap to reach a liquid state without ever coming to a boil. Overheating the base can cause it to become rubbery or lose its moisturizing properties.
Step 3: Incorporating the Actives
Once the base is completely liquid and smooth, remove it from the heat source. This is the moment to add your chamomile-infused oil, honey, aloe vera gel, and colloidal oatmeal. Stir slowly and consistently. You want to ensure the oatmeal is fully incorporated and not clumping at the bottom. If you are using chamomile essential oil, wait until the base has cooled slightly so the heat doesn’t evaporate the therapeutic aromatic compounds.
Step 4: The Pour and Set
Slowly pour the mixture into your soap moulds. If you see small bubbles forming on the surface, you can lightly spritz them with rubbing alcohol to make them disappear instantly. Let the soap sit undisturbed at room temperature. Depending on the humidity and the size of your moulds, this usually takes about 2 to 4 hours. Resist the urge to move the moulds or touch the surface before they are fully hardened.
Quick Version: How to Make Chamomile Infused Oil
If you don’t have infused oil ready, you can make a quick batch using the heat method. Combine two tablespoons of dried chamomile flowers with half a cup of a carrier oil like olive oil or sweet almond oil. Place them in a double boiler and heat gently on the lowest setting for about an hour. The oil should take on a golden hue and a sweet, hay-like aroma. Strain the flowers out using a fine mesh sieve or cheesecloth, and your infused oil is ready for the soap base.
Important Safety Tips and Variations
When making products for sensitive skin, it is always better to err on the side of caution. Even natural ingredients can cause reactions in some individuals. Here are a few tips to keep your soap-making safe and effective:
- The Patch Test: Always test a new soap on a small area of skin, like the inside of the wrist, before using it all over the body.
- Baby Safe: If you are making this soap for a baby or an infant, it is best to skip the essential oils entirely. The infused oil and oatmeal provide plenty of benefits without the risk of sensitizing a baby’s developing skin.
- Broken Skin: If the skin is severely cracked or bleeding, stick to the most basic version of the recipe. Avoid essential oils until the skin has closed up to prevent stinging.
- Storage: Store your finished bars in a cool, dry place. Since handmade soap contains natural humectants like honey, it can “sweat” in humid environments. Wrapping the bars in wax paper or airtight containers helps keep them fresh.
Customizing Your Soap for Different Needs
While this recipe is a fantastic baseline, you can adjust the ingredients based on what your skin needs most at the moment. If your skin is extremely dry but not necessarily itchy, you might increase the amount of shea butter or add a teaspoon of Vitamin E oil. If you find the soap is for a child who loves bubbles, you can look for a “High Lather” goat milk base to make bath time more fun while still staying gentle.
You can also experiment with the texture. Some people prefer a very smooth bar, while others like the feel of whole dried chamomile flowers pressed into the top of the soap for a rustic, botanical look. Just remember that anything added to the top of the soap will eventually wash off, so keep the core ingredients inside the bar for the best therapeutic results.
Conclusion: Embrace the Ritual of Natural Healing
Taking control of what goes onto your skin is an empowering step toward holistic wellness. This Chamomile Eczema and Rash Relief Soap is more than just a cleaning product; it is a tool for comfort and self-care. By spending a little time in the kitchen crafting these bars, you are providing yourself and your family with a gentle, effective alternative to synthetic chemicals. The soothing scent of chamomile and the creamy lather of oatmeal will transform a painful skin flare-up into a manageable, calming ritual. Give this recipe a try and feel the difference that thoughtful, natural ingredients can make for your skin’s health and happiness. Happy soap making!
Would you like me to generate a different variation of this post, such as one focused more on gifts or a specific soap base like Shea Butter?