DIY Homemade Teeth Whitening at Home Baking Soda Lemon Glow Up Tips Pt.3
Creating a radiant, confident smile does not always require a trip to the dentist or an expensive chemical whitening kit. In fact, some of the most effective ways to enhance your appearance and boost your self-esteem can be found right in your kitchen pantry. This guide focuses on a popular homemade teeth whitening remedy that has taken the beauty community by storm as part of the ultimate glow up journey. If you are looking to brighten your smile using simple, accessible ingredients, you have come to the right place. We are diving deep into the science, the application, and the safety measures of using baking soda and lemon juice for a whiter smile.
The Power of a Glow Up Routine
A glow up is about more than just physical appearance; it is a holistic approach to becoming the best version of yourself. While the phrase often trends on social media alongside dramatic transformations, the heart of a glow up is self-care and confidence. Your smile is one of your most prominent features, and feeling good about it can change the way you interact with the world. Incorporating natural beauty hacks into your weekly routine is a sustainable way to maintain your aesthetic goals without breaking the bank.
Understanding the Ingredients: Baking Soda and Lemon Juice
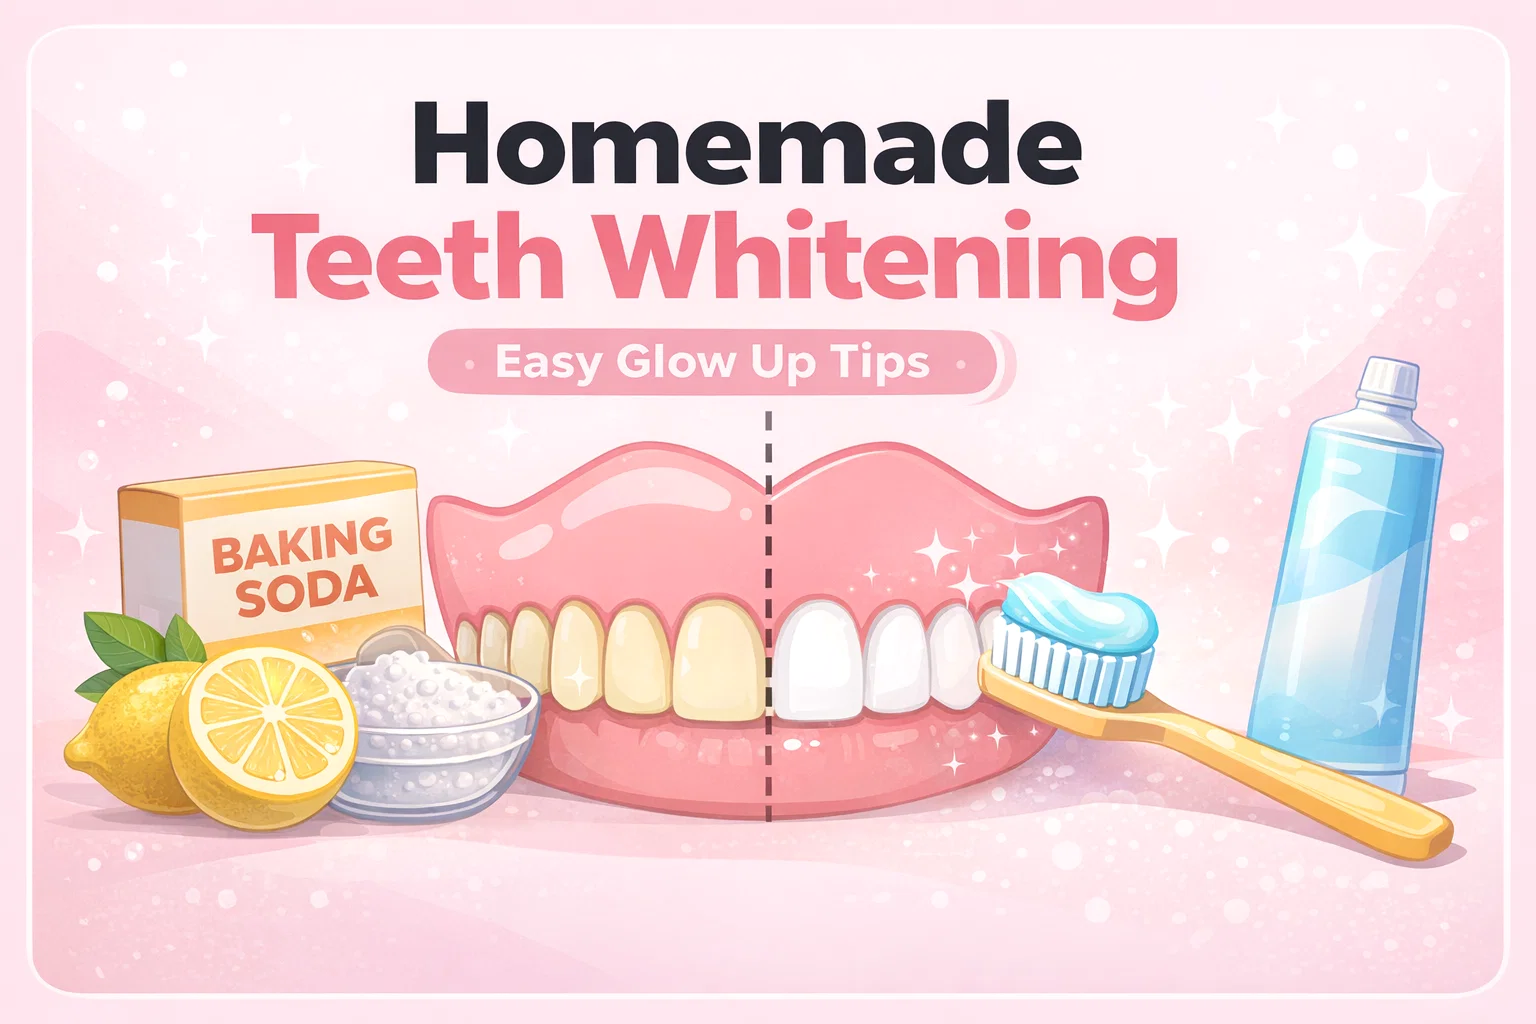
To understand why this specific mixture works, we need to look at the properties of the two primary ingredients. Baking soda, or sodium bicarbonate, is a mild abrasive. Its crystalline structure allows it to physically scrub away surface stains caused by coffee, tea, or food pigments. Additionally, it is alkaline, which helps to neutralize acids in the mouth and create an environment that is less hospitable to stain-causing bacteria.
Lemon juice, on the other hand, acts as a natural bleaching agent due to its high citric acid content. When combined with baking soda, a chemical reaction occurs that creates the bubbling effect you see. This effervescence helps to lift debris from the tiny pores in your tooth enamel. However, because both ingredients are potent, they must be used with care and precision to avoid damaging the protective layers of your teeth.
Step by Step Guide to Homemade Teeth Whitening
If you are ready to try this at home, follow these steps carefully to ensure you get the best results while keeping your oral health a priority. This mixture is meant to be fresh, so only make what you need for a single application.
Step 1: The Base Mixture
Start by measuring out one teaspoon of baking soda and placing it into a small, clean bowl. Slowly add one teaspoon of fresh lemon juice. You will immediately notice the mixture begin to bubble and fizz. This is the carbon dioxide being released, and it indicates that the ingredients are active and ready to work.
Step 2: Adding the Carrier
To make the mixture easier to apply and to add a familiar cleaning element, stir in approximately one tablespoon of your regular toothpaste. This helps create a paste-like consistency that adheres better to your toothbrush and your teeth. It also introduces fluoride or other protective minerals found in your daily toothpaste to the process.
Step 3: Proper Application
Use a wet, unused toothbrush or one that you have dedicated specifically to this whitening treatment. Apply a generous amount of the paste to the brush. Gently brush your teeth using circular motions, paying extra attention to the areas with visible staining. Do not scrub too hard; let the chemical properties of the mixture do the heavy lifting.
Frequency and Safety Precautions
When it comes to DIY dental care, more is not always better. Because the mixture is acidic and abrasive, overusing it can lead to enamel erosion or tooth sensitivity. Enamel is the hard, protective outer layer of your teeth, and once it is worn away, it cannot grow back. To stay safe, limit this treatment to once a week or even once every two weeks depending on your tooth sensitivity.
- Monitor Sensitivity: If your teeth begin to feel tingly or painful during or after the process, rinse immediately and discontinue use.
- Avoid Open Sores: Do not use this mixture if you have cuts, canker sores, or gum irritation, as the lemon juice will cause significant stinging.
- Rinse Thoroughly: After brushing with the mixture, rinse your mouth several times with plain water to ensure all acid and grit are removed.
The Science of Tooth Discoloration
To make the most of your whitening efforts, it helps to know what causes yellowing in the first place. There are two main types of stains: extrinsic and intrinsic. Extrinsic stains are on the surface and are usually caused by lifestyle choices like smoking or drinking dark liquids. Intrinsic stains occur within the tooth structure and may be caused by aging, certain medications, or excessive fluoride exposure during childhood.
The baking soda and lemon juice method is excellent for extrinsic stains. By consistently removing the top layer of film and pigment, your natural tooth color can shine through. However, if your discoloration is internal, you may need to consult a professional for deeper whitening treatments that can penetrate the enamel safely.
Complementing Your Whitening with Healthy Habits
A white smile is only half the battle; a healthy smile is the real goal. To maintain the results of your homemade whitening paste, consider adopting these daily habits:
Stay Hydrated with Water
Drinking water throughout the day, especially after eating, helps wash away food particles and acids before they have a chance to settle on your enamel. It also promotes saliva production, which is the body’s natural defense against tooth decay.
Use a Straw
When drinking iced coffee, tea, or soda, using a straw can significantly reduce the amount of liquid that comes into direct contact with your front teeth. This simple switch can prevent new stains from forming after you have worked hard to remove the old ones.
Wait Before Brushing
It might seem counterintuitive, but you should wait about 30 minutes after eating acidic foods (like citrus or berries) before brushing your teeth. Acid softens the enamel temporarily, and brushing too soon can actually scrub the enamel away while it is in its weakened state.
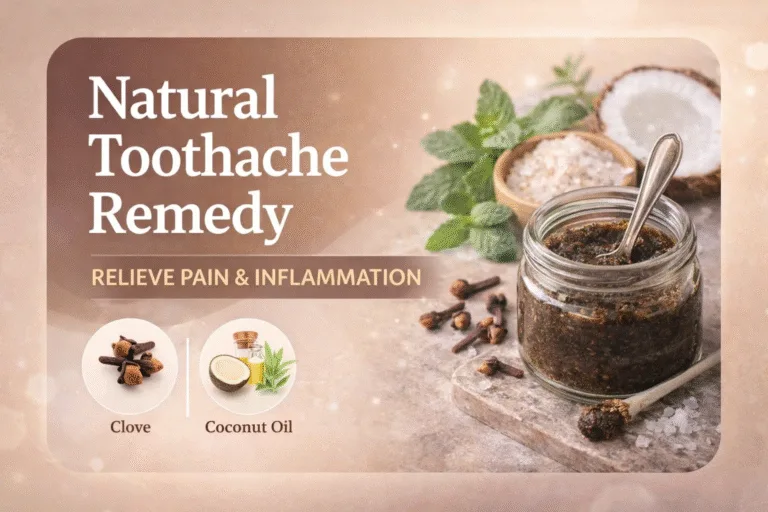
Natural Alternatives for Sensitive Teeth
If the lemon juice and baking soda mixture feels too harsh for your mouth, there are other natural ways to support a bright smile. Oil pulling with coconut oil is an ancient practice that involves swishing a tablespoon of oil in your mouth for 15 to 20 minutes. While it may not bleach teeth as quickly, it is excellent for removing bacteria and improving gum health, which contributes to a cleaner looking smile.
Another option is eating crunchy fruits and vegetables like apples and carrots. These act as “nature’s toothbrushes,” physically scrubbing the teeth as you chew and stimulating saliva flow. They are the perfect addition to any glow up diet.
Embracing Your Unique Beauty
While we all strive for that Hollywood sparkle, it is important to remember that natural teeth are rarely perfectly white. They often have a slight yellowish or grayish hue based on your genetics and the thickness of your enamel. The goal of a glow up is to enhance your natural beauty, not to chase an impossible standard. As the saying goes, you are beautiful exactly as you are, and any changes you make should be for your own happiness and confidence.
Conclusion: Your Path to a Radiant Smile
Taking control of your beauty routine with homemade remedies is an empowering part of any self-improvement journey. By using the baking soda and lemon juice method responsibly, you can achieve a noticeably brighter smile while keeping your budget intact. Remember that consistency and safety are the keys to success. Pair your weekly whitening with strong daily hygiene habits, and you will be well on your way to a dazzling smile that reflects your inner glow. Happy whitening, and enjoy the confidence that comes with your brand new look!
Would you like me to generate a list of high-ranking keywords for this blog post to help with your WordPress SEO?