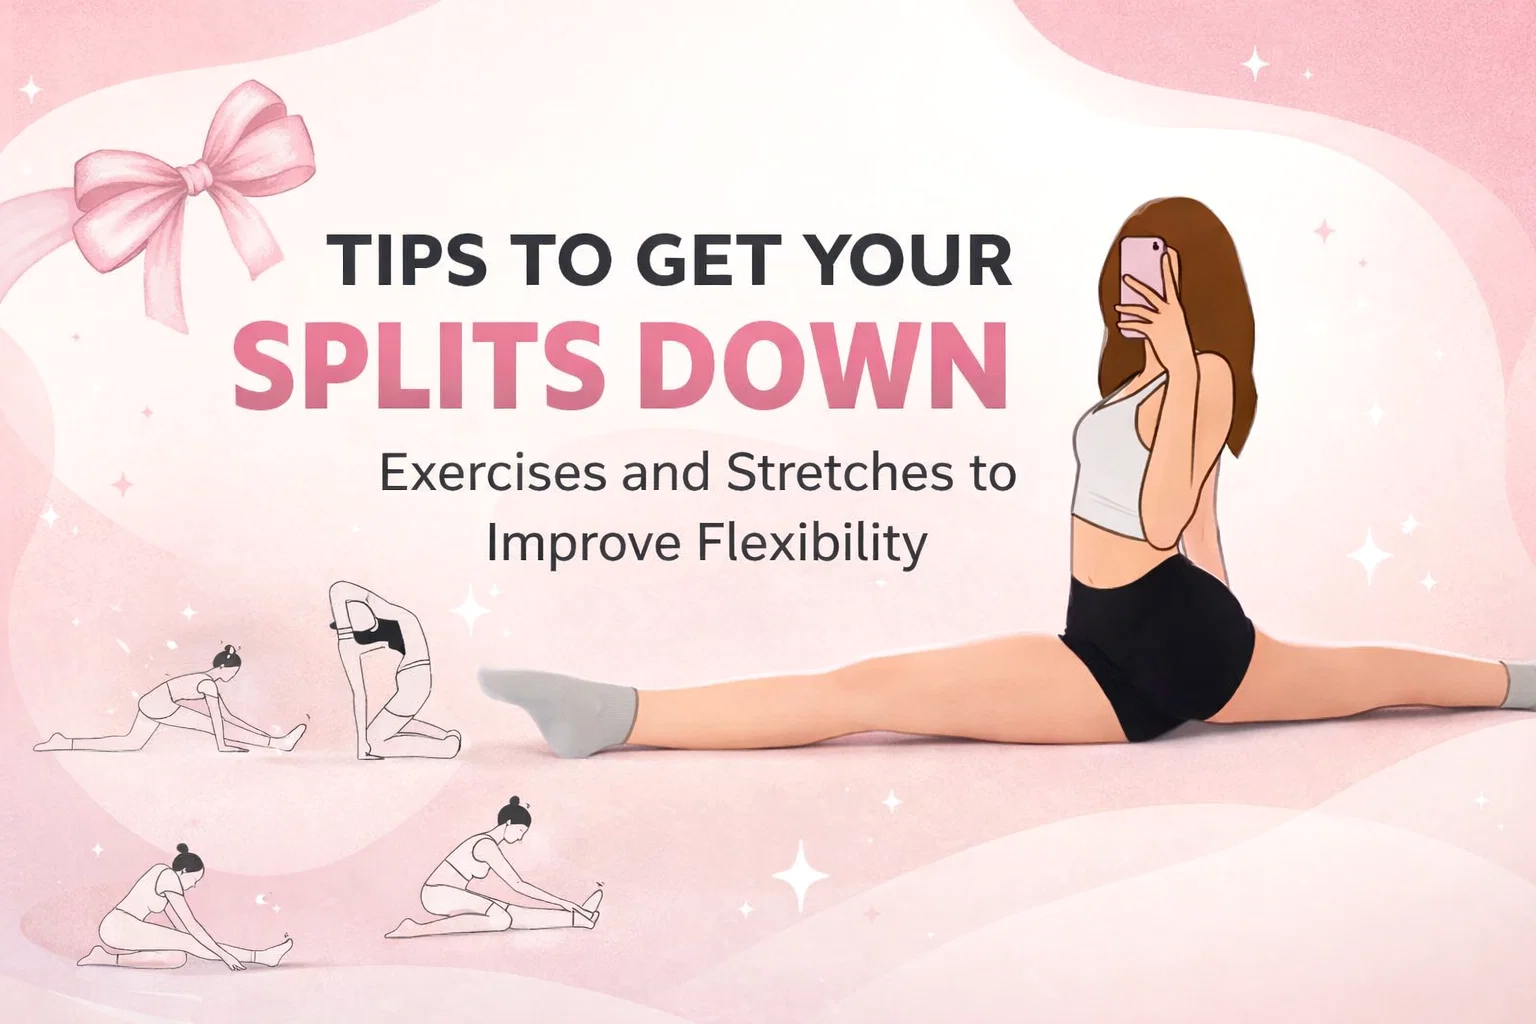
15 Best Daily Stretches to Get Your Splits Fast Total Flexibility Routine for Beginners
The dream of achieving a full split is more than just a impressive party trick or a cool photo op for social media. It represents a high level of functional mobility, core strength, and muscular health. Whether you are a dancer, a martial artist, or someone who simply wants to undo the tightness caused by hours of sitting at a desk, mastering the splits is a journey of patience and consistency. The image provided outlines a strategic 15-step sequence designed to open the hips, lengthen the hamstrings, and prepare the nervous system for deep flexibility. In this guide, we will break down exactly how to use these movements to transform your body and finally get your splits down to the floor.
Why Flexibility Training Matters for Everyone
Many people view flexibility as an optional part of fitness, but it is actually one of the four pillars of physical health alongside strength, endurance, and balance. When your muscles are tight, your range of motion is limited, which forces your joints to compensate in ways they aren’t designed to. This often leads to chronic lower back pain, knee issues, and poor posture. By dedicatedly working toward the splits, you are engaging in a comprehensive lower body overhaul. You are teaching your hip flexors to release, your glutes to stabilize, and your hamstrings to reach their full potential.
The Science of Stretching
To understand how to get into a split, you have to understand the stretch reflex. Your body has a built in safety mechanism that prevents muscles from overextending and tearing. When you go into a deep stretch, your nervous system often sends a signal to the muscle to contract to protect itself. Success in flexibility training comes from consistent, gentle exposure that teaches your brain it is safe to let the muscle relax. This is why breathing and relaxation are just as important as the physical position itself.
Preparing Your Body for the Journey
Before jumping into the 15 steps shown in the routine, you must prepare your environment and your mindset. Stretching cold muscles is a recipe for injury. Always start with five to ten minutes of light movement, such as jumping jacks, a brisk walk, or some dynamic leg swings. This increases blood flow and makes the muscle tissue more pliable, similar to how a piece of taffy is easier to pull when it is warm.
You should also consider your surface. Use a high quality yoga mat to protect your knees, especially for the lunging positions. If you find your hands cannot reach the floor in some of these poses, keep a pair of yoga blocks or even some sturdy books nearby. Using tools to bring the floor to you allows you to maintain proper alignment rather than rounding your back and putting unnecessary pressure on your spine.
Breakdown of the 15 Essential Split Stretches
The sequence provided in the visual guide is expertly curated to target every angle of the lower body. Let us look at how these specific movements work together to build the foundation for a perfect split.
Step 1 to 4: The Foundation of the Hips and Quads
- Reclined Leg Stretch: Starting on your back allows the floor to support your spine while you focus entirely on the hamstring of the raised leg.
- Low Lunge: This is the king of hip flexor openers. By pushing the hips forward, you target the psoas, which is often the tightest muscle in the body.
- Half Splits: Shifting the weight back and straightening the front leg begins the intense work on the posterior chain.
- King Pigeon Variation: Adding a quad stretch to the lunge ensures that the front of the rear leg is ready to extend fully behind you in a split.
Step 5 to 8: Deepening the Range of Motion
As you move into the middle of the routine, the focus shifts toward deeper lunges and lizard poses. These variations target the inner thighs and the deeper connective tissues of the hip socket. Pose number 7, the traditional Pigeon Pose, is essential for external rotation of the hip. If your hips are “squared” properly in a split, you will find it much easier to maintain balance and avoid strain.
Step 9 to 12: Standing Power and Hamstring Length
The standing poses, like the Wide Legged Forward Fold (Step 10) and the Standing Split (Step 11), use gravity to help pull you deeper into the stretch. These are excellent for building the active flexibility required to hold a split without the support of the floor. The standing split specifically mimics the exact shape of a full split but in a vertical orientation, making it a perfect benchmark for your progress.
Step 13 to 15: The Final Descent
The final three moves move back to the floor to finalize the lengthening. Seated forward folds (Step 13 and 14) ensure both legs are equally prepared. Finally, Step 15 is the goal itself. When you reach this stage, use your breath to sink a millimeter deeper with every exhale. Never bounce in this position; instead, stay still and let gravity do the work.
Common Mistakes to Avoid
When people are eager to see results, they often make mistakes that can set them back weeks or even months. One of the most common errors is “rounding the back.” In almost every stretch, you want to lead with your chest and keep a flat back. If you round your spine to reach your toes, you are actually taking the stretch out of your hamstrings and putting it into your ligaments and vertebrae, which is ineffective and potentially dangerous.
Another mistake is holding your breath. If you are grimacing or holding your breath, your body perceives a “fight or flight” state. This causes your muscles to tighten up in self defense. If you cannot breathe deeply and calmly, you are pushing too hard. Back off the intensity until you can maintain a steady, rhythmic breath.
How Often Should You Practice?
Consistency is the secret sauce. Stretching once a week for an hour will not yield the same results as stretching for fifteen minutes every single day. Your body needs constant reminders that this new range of motion is normal. Aim for at least five days a week. It is also helpful to track your progress. Take a “before” photo today. You might feel like you aren’t moving, but when you look back at a photo from four weeks ago, you will be amazed at the few inches of progress you have made.
The Role of Recovery
Just like weightlifting, flexibility training creates micro tears in the muscle fibers. You need to give your body the nutrients and rest it needs to repair that tissue in a longer, more flexible state. Stay hydrated, eat enough protein, and consider adding magnesium to your diet to help with muscle relaxation. If you feel a sharp, stabbing pain, stop immediately. Flexibility should feel like a “good hurt” or a deep tension, never an acute pain.
Creating a Lifestyle of Mobility
Achieving the splits is a fantastic goal, but the real benefit is the lifestyle change that comes with it. When you commit to a daily routine like the one in the image, you become more mindful of how you move throughout the rest of the day. You might find yourself standing taller, walking with more ease, and feeling less fatigued after a long day. This 15 step routine is not just a path to a photo; it is a path to a more capable and resilient body.
Conclusion: Your Path to Total Flexibility
Getting your splits down is a marathon, not a sprint. Some people may reach the floor in a few weeks, while for others, it may take a year of dedicated practice. Both outcomes are perfectly fine. The visual guide you have is a powerful roadmap, but your dedication is the engine that will get you to the finish line. Start today by performing these 15 moves with intention and care. Listen to your body, celebrate the small wins, and remember that every millimeter closer to the floor is a victory for your health and longevity. Keep pushing, keep breathing, and you will get there.
Would you like me to create a specific 30 day schedule based on these 15 moves or perhaps generate some Pinterest captions to help you share your progress?