Easy 1-Minute Microwave Mug Cookie Recipe
We have all been there. It is late at night, you are curled up on the couch watching your favorite television show, and suddenly, an undeniable craving for something sweet hits you. You want a warm, gooey cookie, but the thought of preheating the oven, mixing a huge batch of dough, and waiting twenty minutes feels like entirely too much work. Enter the ultimate solution: the microwave mug cookie. This brilliant creation is about to become your new favorite dessert hack, offering all the comfort of a freshly baked treat in under a minute. No sharing is required, and the cleanup is practically nonexistent.
Single-serve desserts have taken the culinary world by storm for a very good reason. They offer instant gratification without the temptation of a dozen leftover cookies sitting on your kitchen counter. Whether you are baking for one, looking for a fun culinary activity to do with kids, or simply needing a quick sugar fix after a long day, this easy microwave recipe is foolproof. Today, we are going to dive deep into exactly how you can whip up the perfect single-serve treat in your microwave, complete with three incredible flavor variations to suit whatever mood you are in.
Why Single-Serve Desserts Are Changing the Way We Bake
In today’s fast-paced world, finding the time to bake a full batch of treats from scratch is often a luxury. We are constantly juggling work, family responsibilities, and social commitments. By the time the evening rolls around, the desire to preheat an oven, pull out a heavy stand mixer, and dirty a sink full of baking sheets is completely gone. Single-serve desserts, particularly those made in a microwave, have revolutionized home baking by breaking down these barriers to entry. They democratize dessert, making it accessible to anyone with a few basic ingredients and a minute to spare.
Furthermore, portion control is a significant benefit. When you bake an entire dozen treats, the temptation to eat more than you intended is incredibly high. A mug recipe eliminates this issue entirely. You make one portion, you enjoy it fully, and there are no leftovers calling your name the next day. It is a mindful way to indulge your sweet tooth. It is also incredibly budget-friendly. Instead of buying an expensive pastry from a local bakery or committing to a whole bag of specialized ingredients, you are utilizing mere tablespoons of staples you already own in your pantry.
The Magic of Microwave Baking
Baking in a microwave might sound slightly unconventional to traditional bakers, but the science behind it is actually quite fascinating. Microwaves work by heating the water molecules inside your food. Because this dough contains moisture from the butter and the vanilla extract, the microwave cooks the batter rapidly from the inside out. This results in a wonderfully soft and tender texture that mimics a freshly baked good perfectly. While you will not get the crispy, golden-brown edges that an oven provides, you will achieve a dense, fudgy, and incredibly comforting center that is highly addictive.
Choosing the Perfect Mug or Ramekin
It might seem like a trivial detail, but the vessel you choose for your microwave baking actually plays a crucial role in how your dessert turns out. Not all dishes are created equal when it comes to conducting heat. You will want to look for a ceramic mug or a small porcelain ramekin that is explicitly labeled as microwave-safe. Avoid any cups with metallic accents, gold rimming, or delicate paint, as these can spark and cause a fire hazard in your appliance.
Size is also an extremely important factor. While this recipe only uses a few tablespoons of ingredients, the dough will expand and bubble up as the water turns to steam during the cooking process. A standard eight-ounce to twelve-ounce coffee mug provides ample room for this expansion. If you use a vessel that is too small, you run the risk of the bubbling butter and sugar spilling over the sides, creating a sticky mess on your microwave turntable. Wide, shallow mugs or ramekins tend to cook the dough more evenly than tall, narrow ones, resulting in a far superior texture.
The Core Ingredient Breakdown
The beauty of this recipe lies in its sheer simplicity. You do not need any fancy equipment or obscure ingredients. Everything you need is likely already sitting in your kitchen. Let us take a closer look at the components that make up the perfect base dough.
Butter for Richness
The foundation of any good baked good is fat, and butter is the undisputed champion of flavor. For this recipe, you will need two tablespoons of butter. You start by melting it directly in your microwave-safe mug. This not only saves you from dirtying an extra bowl but also gives the final product a dense, chewy texture similar to a blondie. Unsalted butter is usually best for baking, but if you only have salted butter on hand, simply omit the extra pinch of salt later in the recipe.
Brown Sugar for Moisture and Depth
While white sugar makes things crisp, brown sugar is the secret to a soft, chewy texture. It contains molasses, which adds a deep caramel flavor and extra moisture to the dough. Two tablespoons of brown sugar provide the perfect amount of sweetness. Make sure you pack the brown sugar into your measuring spoon so you get an accurate amount. If you only have white granulated sugar, you can use it, but be prepared for a slightly different texture and a lighter flavor profile.
Vanilla Extract and Salt for Balance
Never underestimate the power of these two flavor enhancers. A quarter teaspoon of vanilla extract brings out the warm, bakery-style aroma we all love. Meanwhile, one eighth of a teaspoon of salt is absolutely crucial. Salt cuts through the intense sweetness and elevates the rich flavors of the butter and sugar. Without it, your dessert might taste a bit flat and one-dimensional.
Flour for Structure
Three tablespoons of all-purpose flour provide the necessary structure. It is highly important not to over-measure your flour. Too much flour will result in a dry, crumbly mess rather than a soft, gooey treat. Spoon the flour into your measuring spoon and level it off with a butter knife for the most accurate measurement. Since we are not using baking soda or baking powder, this dough does not need to rise much, keeping it delightfully dense.
Three Irresistible Flavor Variations
Once you have mastered the base dough, the fun truly begins. The best part about single-serve desserts is that you can customize them exactly to your liking. Here are three phenomenal variations that will satisfy any specific craving you might have.
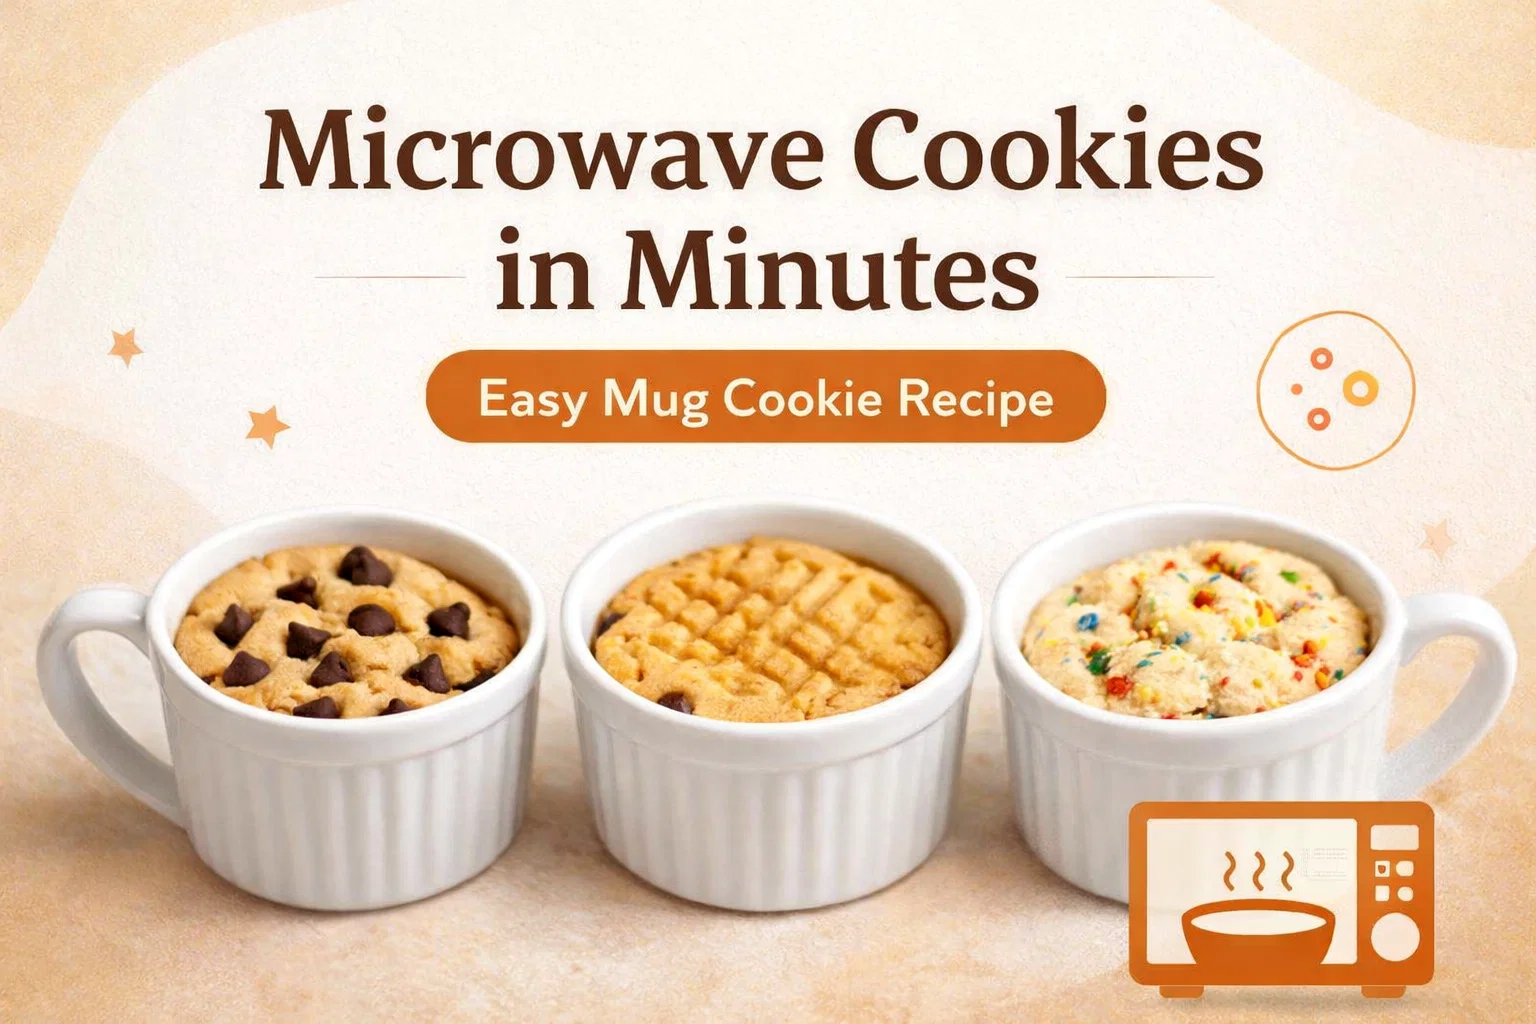
The Classic Chocolate Chip
You can never go wrong with a classic. The chocolate chip variation brings all the nostalgic feelings of childhood right to your kitchen. Once your base dough is mixed, simply fold in a generous handful of your favorite chocolate chips. Semi-sweet chips are traditional and balance the sweet dough beautifully, but you can absolutely experiment with milk chocolate, dark chocolate chunks, or even white chocolate. As the dough cooks in the microwave, the chips will melt into little pockets of molten chocolate perfection.
The Rich Peanut Butter
If you are a fan of the sweet and salty combination, the peanut butter variation is calling your name. To achieve this, you will add one tablespoon of creamy peanut butter into the dough right along with your flour. The peanut butter adds an incredible richness and a slightly crumbly, melt-in-your-mouth texture. For an extra special touch, you can use a fork to press a classic crisscross pattern into the top of the dough before microwaving it.
The Festive Funfetti
Sometimes you just need a little bit of joy in a mug, and nothing says joy quite like sprinkles. The funfetti variation transforms your basic dough into a celebratory treat. Stir one and a half teaspoons of colorful sprinkles into your mixture. Be sure to use standard jimmies or quins, as the tiny round nonpareils can bleed their color into the dough and make it look muddy. This variation tastes remarkably like a slice of birthday cake.
Dietary Substitutions and Modifications
One of the greatest joys of this microwave recipe is how adaptable it is to various dietary needs. You do not have to miss out on the fun if you follow a specific eating plan. With a few simple swaps, you can easily alter this recipe to fit your lifestyle.
Making It Gluten-Free
If you avoid gluten, you can easily substitute the all-purpose flour for a one-to-one gluten-free baking blend. Look for a blend that contains xanthan gum, as this helps mimic the structure that traditional gluten provides. Almond flour and coconut flour behave very differently in baking and absorb liquid at different rates, so they are not recommended as a direct substitution for this specific formula without further recipe adjustments.
Creating a Vegan Version
Transforming this into a vegan delight is incredibly straightforward. Swap out the dairy butter for your favorite plant-based butter or even melted coconut oil. If you use coconut oil, keep in mind it might impart a faint coconut flavor, which actually pairs beautifully with chocolate chips. For the mix-ins, ensure your chocolate chips or sprinkles are entirely dairy-free.
Step-by-Step Instructions for Microwave Perfection
Now that we have covered the ingredients, the variations, and the equipment, let us walk through the incredibly simple process of bringing this dessert to life. Follow these steps, and you will be enjoying a warm treat in mere minutes.
Step One: Melt and Combine the Wet Ingredients
Start by selecting your microwave-safe mug or ramekin. Place your two tablespoons of butter inside and microwave it in short bursts until it is completely melted. This usually takes about fifteen to twenty seconds depending on the wattage of your appliance. Carefully remove the mug. Add the two tablespoons of brown sugar, the eighth teaspoon of salt, and the quarter teaspoon of vanilla extract. Use a fork or a small spoon to mix everything together vigorously until it forms a smooth, caramel-like liquid. Making sure the sugar is well incorporated at this stage helps prevent a grainy texture later.
Step Two: Add the Dry Ingredients and Mix-Ins
Next, add your three tablespoons of all-purpose flour to the wet mixture. Gently stir the flour in until it is just combined. You want to mix it until no dry streaks of flour remain, but be careful not to overmix. Overmixing can develop the gluten in the flour and make your final product tough. Once the dough comes together, it is time to gently fold in your chosen mix-ins. Whether you are using chocolate chips, a swirl of peanut butter, or a shower of colorful sprinkles, ensure they are evenly distributed throughout the dough.
Step Three: The Microwave Magic
Place your mug back into the microwave. This is where you need to pay close attention, as microwave wattages vary wildly. Start by microwaving the dough for forty seconds. Open the door and check the texture. The top should look set, but it might still be slightly soft in the very center. If it looks completely raw, microwave it for another ten to twenty seconds. You want to cook it until it is just baked and set. Remember that it will continue to cook slightly from the residual heat of the mug once you take it out. Let it cool for a minute or two before diving in so you do not burn your tongue.
Troubleshooting Common Mistakes
While this recipe is incredibly straightforward, there are a few minor pitfalls you might encounter. Here is how to ensure your dessert turns out flawlessly every single time.
- The Texture is Too Hard or Rubber-Like: This is the most common issue and is almost always caused by overcooking. Because the cooking time is so short, even an extra ten seconds can turn a soft treat into a rock. Always err on the side of underbaking. Start with forty seconds and only add more time if absolutely necessary.
- The Dough is Too Dry: If your raw dough looks crumbly before you even microwave it, you likely added too much flour. Remember to spoon and level your flour carefully. You can try adding a tiny splash of milk or an extra drop of vanilla extract to bring the dough back together.
- The Mixture Overflowed: Make sure you are using a mug that is large enough. The dough will bubble and rise slightly as it cooks. A standard coffee mug or an eight-ounce ramekin should provide plenty of space.
Conclusion
There you have it: the ultimate guide to creating a phenomenal dessert in under a minute. This microwave recipe is a testament to the fact that you do not need hours in the kitchen to enjoy a high-quality, comforting sweet treat. With a simple base of pantry staples and endless possibilities for customization, this is sure to become a staple in your late-night snack rotation. Whether you lean toward the gooey chocolate chip, the rich peanut butter, or the cheerful funfetti, your cravings are about to be satisfied. Grab your favorite mug, head to the kitchen, and treat yourself today.
Would you like me to generate some SEO meta descriptions or alternative pin variations for this post?