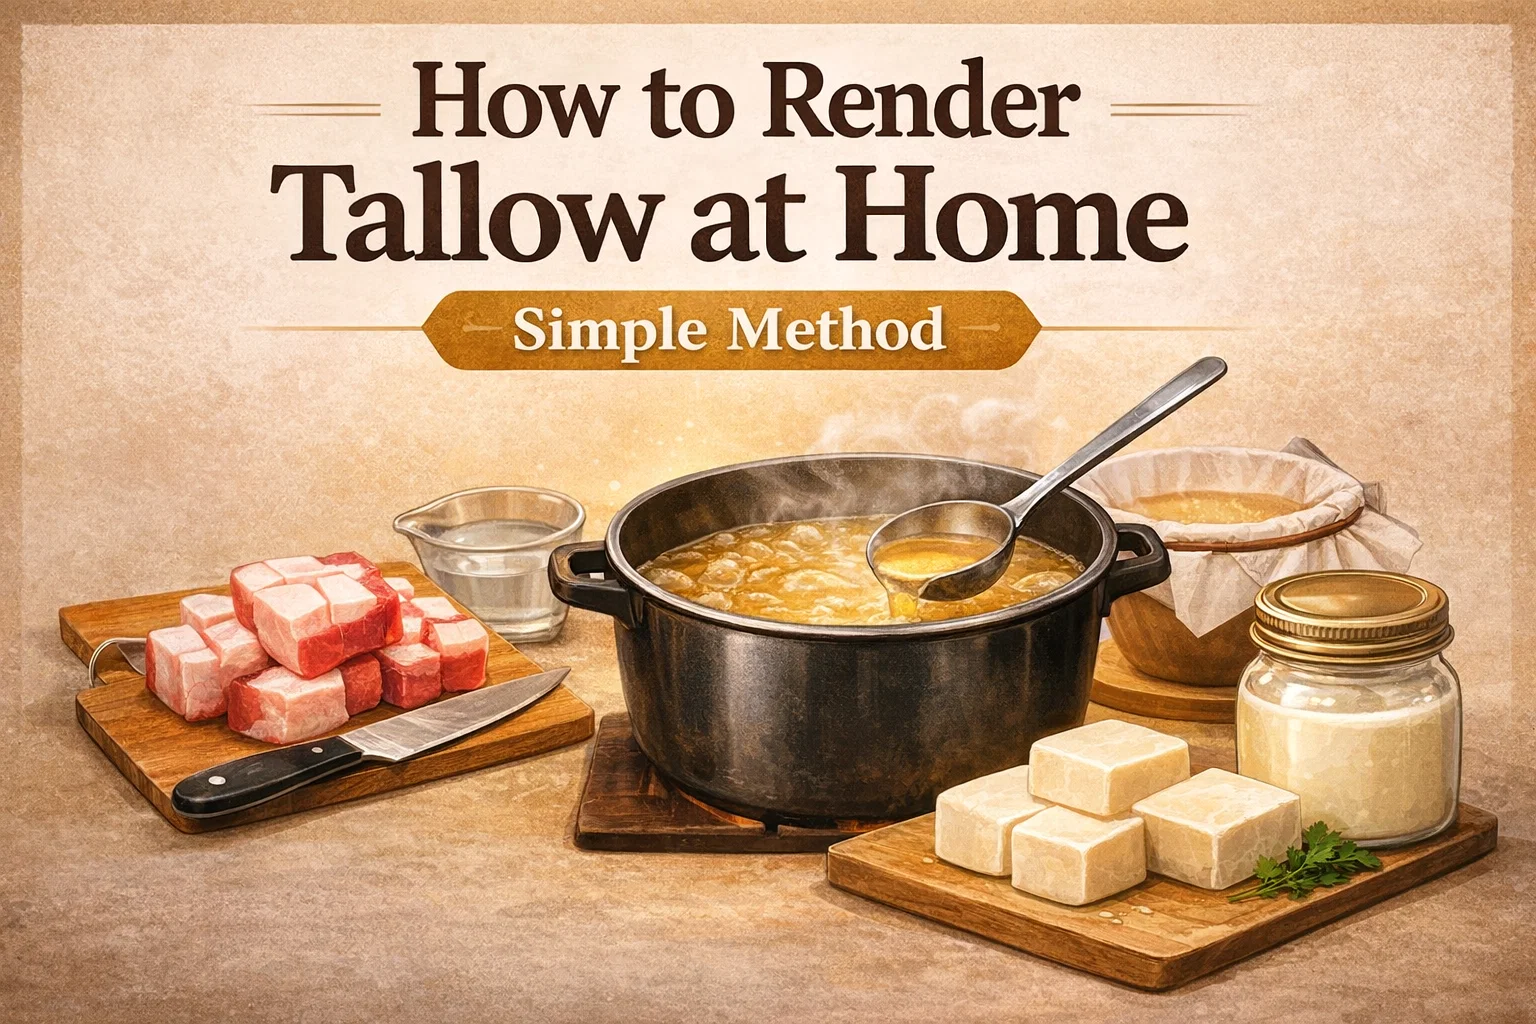
How to Render Beef Tallow at Home Simple DIY Guide for Skincare, Soap Healthy Cooking
Stepping into the world of traditional food preparation and natural skincare often leads to one incredible, versatile ingredient: beef tallow. While it might sound like something from your grandmother’s era, this nutrient-dense powerhouse is making a massive comeback in modern kitchens and beauty routines alike. Rendering your own tallow at home is not just an economical choice; it is a rewarding process that connects you to a more sustainable, nose-to-tail way of living. If you have ever wondered how to turn raw beef fat into a golden, purified oil that stays shelf-stable for months, you are in the right place.
What Exactly is Beef Tallow?
Before we dive into the rendering process, it is important to understand what we are actually making. Tallow is rendered fat, usually from cattle or sheep. Unlike the raw suet or fat trimmings you might get from a butcher, tallow has been processed through heat to remove moisture and impurities. This purification process is what makes it stable at room temperature and gives it that beautiful, creamy white appearance once it cools.
Historically, tallow was a staple in every household. It was the primary fat used for deep frying, the base for most soap making, and even the fuel for candles. In recent years, as people move away from highly processed seed oils and synthetic skincare chemicals, tallow has reclaimed its throne as a “liquid gold” for holistic wellness enthusiasts.
The Benefits of Making Your Own Tallow
Why bother rendering it yourself when you can buy it online? There are several compelling reasons to take the DIY route. First and foremost is the cost. Often, butchers will give you beef fat for a very low price, or even for free, because it is considered a byproduct. By rendering it yourself, you are getting a premium product for pennies on the dollar.
Secondly, you have complete control over the quality. When you render at home, you know exactly what is in your jar. There are no preservatives, no bleaching agents, and no mystery additives. If you source fat from grass-fed, pasture-raised cattle, your finished tallow will be packed with fat-soluble vitamins like A, D, E, and K, as well as conjugated linoleic acid (CLA), which has anti-inflammatory properties.
Tallow in the Kitchen
In terms of cooking, tallow has a high smoke point (around 400 degrees Fahrenheit), making it much safer and more stable for frying and roasting than butter or many vegetable oils. It adds a subtle, savory depth to roasted vegetables and produces the crispest, most delicious fried potatoes you will ever taste.
Tallow for Skincare
Because the molecular structure of tallow is strikingly similar to the sebum produced by human skin, it is incredibly biocompatible. It absorbs deeply without leaving a greasy residue, making it an elite moisturizer for dry skin, eczema, and even anti-aging balms. Many people find that it heals skin issues that expensive, store-bought lotions cannot touch.
What You Need to Get Started
One of the best things about rendering tallow is that you likely already have everything you need in your kitchen. You do not need specialized lab equipment to achieve professional results. Here is your checklist:
- Raw Beef Fat: Ideally suet, which is the hard fat found around the kidneys. It produces the hardest, purest tallow.
- A Sharp Knife: You will need this to trim away any bits of meat or blood.
- Slow Cooker or Large Pot: A slow cooker is preferred because it maintains a low, consistent temperature, but a heavy-bottomed pot on the stove works too.
- Water: This helps prevent the fat from scorching during the initial melting phase.
- Fine Mesh Strainer and Cheesecloth: To ensure your tallow is perfectly clear and free of debris.
- Glass Jars: Mason jars are perfect for storing the finished product.
Step 1: Preparing the Fat
The secret to high-quality, odorless tallow starts with the preparation. If your fat has a lot of red meat or blood attached to it, your tallow may end up with a “beefy” smell. While fine for cooking, a strong scent is usually undesirable for skincare.
Take your time to trim away any non-fatty bits. Once trimmed, cut the fat into very small pieces or cubes. Some people even prefer to pulse the fat in a food processor to create a “ground” texture. The more surface area you create, the faster and more efficiently the fat will render out.
Step 2: The Initial Melt
Place your chopped fat into your slow cooker or pot. Add about half a cup of water to the bottom. Do not worry; the water will not ruin the fat. It actually acts as a buffer to keep the fat from burning before it starts to melt. As the rendering progresses, the water will eventually evaporate or be separated during the straining process.
Set your heat to the lowest possible setting. Patience is the most important ingredient here. If the heat is too high, you will “cook” the fat rather than rendering it, resulting in a dark color and a strong toasted smell. You want the fat to gently weep its oils.
Step 3: The Rendering Process
As the hours pass, you will notice the solid white chunks beginning to shrink and float in a pool of clear, golden liquid. This liquid is your tallow. Give the pot a stir every hour or so to ensure even heating. Depending on how much fat you are processing, this can take anywhere from 4 to 8 hours.
You will know it is finished when the solid bits turn golden brown and slightly crispy. These are known as “cracklings.” Many people enjoy eating these with a bit of salt, as they are essentially beef versions of pork rinds. Once the cracklings have stopped releasing bubbles, the moisture is gone, and your tallow is ready.
Step 4: Straining for Purity
This is the most critical step for ensuring a long shelf life. Any leftover bits of protein or moisture can cause the tallow to spoil over time. Line your fine-mesh strainer with several layers of cheesecloth or a clean cotton cloth. Carefully pour the hot liquid through the strainer and into a clean bowl or directly into your glass jars.
The liquid should be a clear, amber color. If you want “extra-pure” tallow for skincare, you can perform a second “wet” render. This involves mixing the strained tallow with clean water and salt, letting it solidify, and then scraping the impurities off the bottom of the hardened fat cake. However, for most uses, a single thorough strain is plenty.
Step 5: Cooling and Setting
Leave your jars on the counter at room temperature to cool. As the temperature drops, you will see a beautiful transformation. The amber liquid will slowly turn into a solid, opaque, creamy white fat. Do not put the lids on until the tallow has reached room temperature to avoid condensation forming inside the jar, as moisture is the enemy of preservation.
How to Properly Store Your Tallow
Because tallow is a saturated fat, it is remarkably stable. However, how you store it depends on how quickly you plan to use it. Here is a quick guide to keeping your tallow fresh:
- Room Temperature: If kept in a cool, dark pantry, tallow can last for about 3 months. Always use a clean spoon to avoid introducing bacteria.
- Refrigeration: In the fridge, your tallow will stay perfect for 6 to 12 months. This is the best option for tallow used in cooking.
- Freezing: For long-term storage, tallow can be frozen for up to 2 years. You can freeze it in silicone molds or ice cube trays for easy portioning later.
Creative Ways to Use Your Homemade Tallow
Now that you have your jars of white gold, what should you do with them? The possibilities are nearly endless. In the kitchen, try using it as a replacement for shortening in pie crusts for an incredibly flaky texture. It is also the perfect fat for seasoning cast iron pans, as it creates a durable, natural non-stick surface.
For your beauty routine, you can use tallow as a simple one-ingredient moisturizer. If you want to get fancy, melt it down gently and whip it with a handheld mixer as it cools. This creates “whipped tallow,” which has the consistency of a light, airy buttercream and spreads easily over the skin. You can even add a few drops of your favorite essential oils, like lavender or frankincense, to customize the scent.
Making Tallow Soap
If you are interested in soap making, tallow is a legendary ingredient. It produces a hard, long-lasting bar with a creamy, stable lather. Unlike vegetable-based soaps that can sometimes feel “mushy,” tallow-based soaps hold their shape and provide deep cleansing without stripping the skin of its natural oils.
Final Thoughts on the Rendering Journey
Learning how to render tallow is more than just a kitchen skill; it is a step toward self-sufficiency and a deeper appreciation for the resources nature provides. It is a slow, meditative process that rewards you with an incredibly useful product that can be used from your head to your toes and from your breakfast plate to your dinner table. By taking what others might throw away and turning it into something valuable, you are participating in a beautiful tradition of thrift and wellness. Grab some beef fat from your local butcher this weekend and give it a try—your skin and your taste buds will thank you!
Would you like me to help you create a specific recipe for a tallow-based face balm or a set of SEO keywords to help this post rank higher?