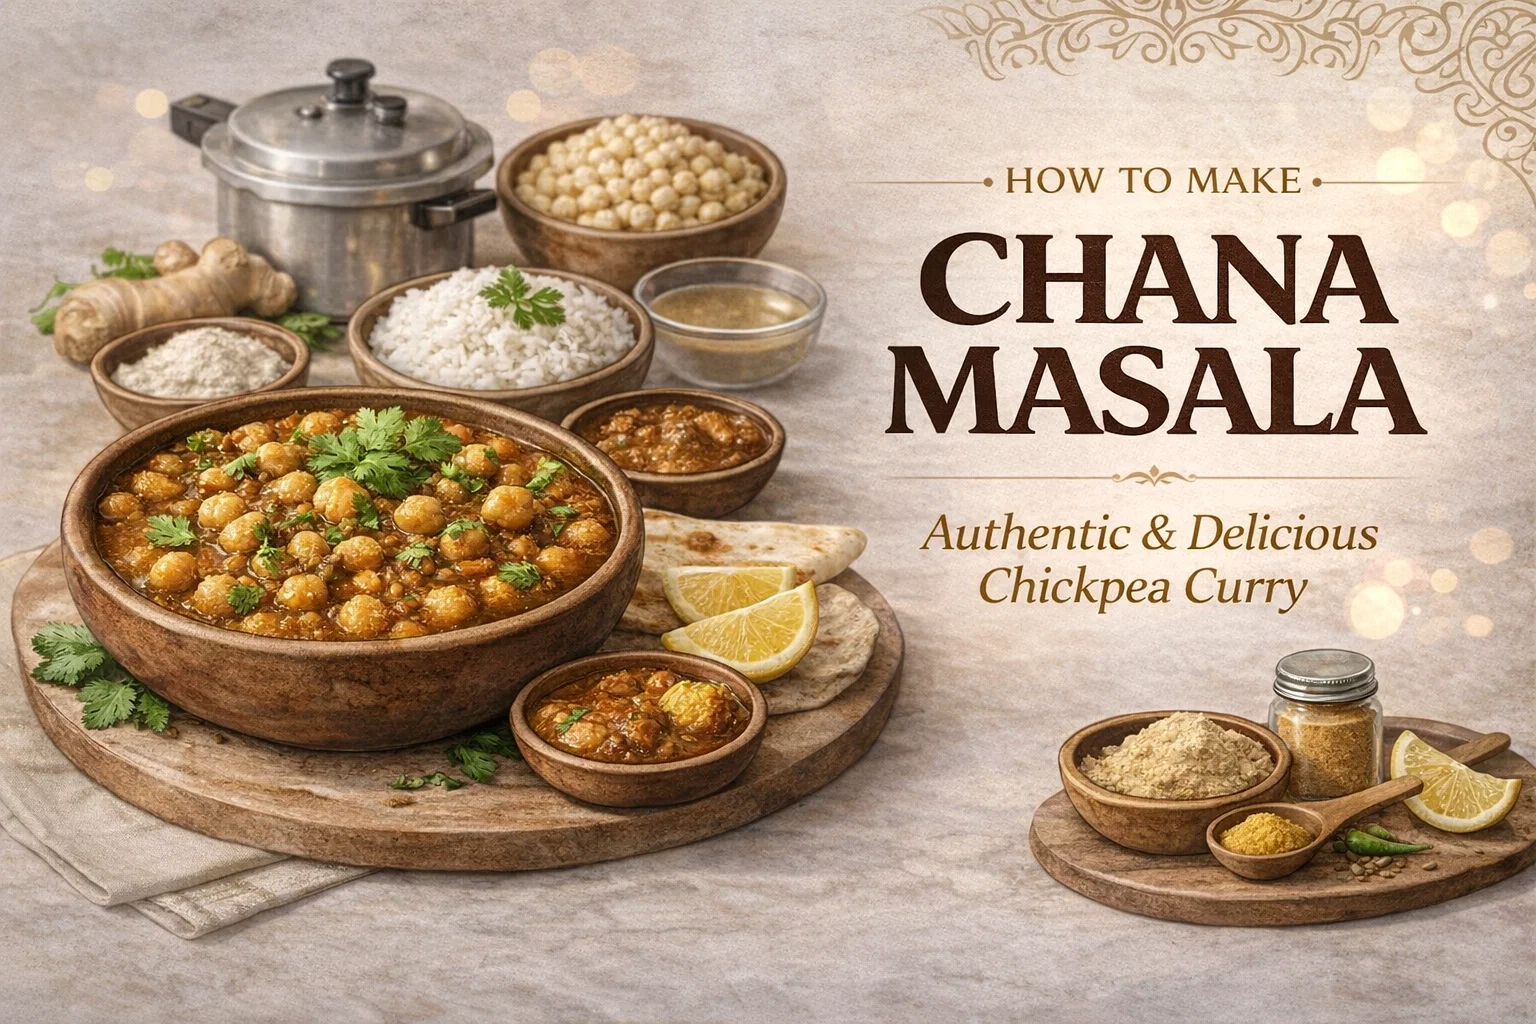
Spicy Tangy Chana Masala Recipe Step-by-Step Chickpea Curry
Are you craving a dish that perfectly balances intense spice, bright tanginess, and heartwarming comfort? Look no further than a classic, homemade Chana Masala. This iconic chickpea curry is a sheer powerhouse of flavor that transforms humble pantry staples into a culinary masterpiece. Whether you are a seasoned home chef or a complete beginner looking to expand your weeknight dinner repertoire, mastering this dish is a deeply rewarding experience. The aroma of toasted cumin seeds and simmering tomatoes alone is enough to bring everyone running to the kitchen. Today, we are diving deep into creating the ultimate spicy, tangy, and absolutely delicious chickpea curry right in your own home.
The Cultural Magic of Authentic Chana Masala
Before we turn on the stove, it is worth understanding the rich heritage behind this beloved recipe. Chana Masala, which translates simply to spiced chickpeas, originates from the northern regions of the Indian subcontinent. Over the decades, it has transcended borders to become a globally cherished vegetarian and vegan staple. You will find variations of this dish served everywhere from bustling street food carts in Delhi to high-end restaurants across the world.
What makes this specific curry so universally appealing is its remarkable versatility. It functions beautifully as a hearty main course, a protein-packed side dish, or even a celebratory festival meal. The secret lies in the masterful layering of spices, a cooking technique that builds incredible depth of flavor without requiring expensive or hard-to-find ingredients. By learning to balance the earthy heat of chilies with the acidic brightness of tomatoes, you unlock a fundamental skill in traditional cooking.
Nutritional Powerhouse: Nourishing Your Body Naturally
Beyond its undeniably incredible taste, this meal aligns beautifully with holistic wellness and nourishing your body from the inside out. When you prepare this recipe from scratch, you are creating a meal that is as healing as it is filling. Let us break down the remarkable health benefits hidden within this simmering pot.
The Champion Ingredient: Chickpeas
Chickpeas, also known as garbanzo beans, are a fantastic source of plant-based protein and dietary fiber. Consuming fiber-rich foods is essential for maintaining optimal gut health, stabilizing blood sugar levels, and keeping you feeling full and energized for hours. For those looking to incorporate more meatless meals into their weekly routine, chickpeas provide the perfect hearty texture and nutritional profile to replace heavy animal proteins.
Healing Spices and Aromatics
The spices used in this recipe do much more than just tickle your tastebuds. They act as natural remedies and potent antioxidants.
- Turmeric Powder: This vibrant yellow spice contains curcumin, a powerful compound celebrated in natural wellness circles for its strong anti-inflammatory properties.
- Cumin Seeds: Traditionally used to aid digestion, cumin adds a warm, earthy flavor while providing a great source of natural iron.
- Coriander Powder: Ground coriander brings a subtle citrus note to the dish and is known to help soothe the digestive tract.
- Ginger and Garlic: This dynamic duo forms the flavor base of many traditional curries. Both are revered for their immune-boosting properties and ability to fight off cold symptoms.
Gathering Your Essential Ingredients
The secret to a phenomenal curry lies in the quality and balance of its components. You do not need a massive grocery haul to make magic happen. Here is a detailed look at the essentials you will need to gather.
The Main Components
- Dried Chickpeas (Chana): While canned chickpeas offer great convenience for a quick meal, soaking dried chickpeas overnight and cooking them fresh is the traditional route. It yields a superior, tender texture that absorbs the spices much more effectively.
- Tomatoes: Two medium, ripe tomatoes are crucial. They melt down to create the tangy, thick body of the gravy.
- Onions: One finely chopped onion provides a sweet, caramelized foundation that balances the intense spices.
The Flavor Builders
- Ginger-Garlic Paste: One tablespoon of this pungent paste adds an irreplaceable earthy depth. You can make it fresh by blending equal parts ginger and garlic, or use a high-quality store-bought version.
- Green Chilies: One to two tablespoons of chopped green chilies give the dish its signature spicy kick. You can adjust this amount based on your personal heat tolerance.
- Cooking Oil: A neutral cooking oil is needed to carry these fat-soluble flavors.
The Dry Spices
- Cumin Seeds: One teaspoon of whole seeds.
- Coriander Powder: One teaspoon of ground powder.
- Turmeric Powder: Half a teaspoon for that gorgeous golden hue.
The Step-by-Step Cooking Method
Cooking this dish is all about patience and the art of layering flavors. Do not rush the process. Follow these simple, step-by-step instructions to build a rich, complex gravy from scratch.
Step 1: Preparing the Chickpeas to Perfection
Begin by taking your overnight-soaked chana and rinsing them thoroughly. Place them in a pressure cooker with fresh water and a generous pinch of salt. Cook them until they are perfectly soft and tender, but be careful not to turn them to mush. They should hold their shape but melt in your mouth when bitten. Once they are cooked to your liking, drain them carefully. However, you must reserve some of that starchy cooking water. This liquid is culinary gold and will help thicken and bind your final sauce.
Step 2: Tempering the Spices (The Blooming Process)
Place a heavy-bottomed pan or skillet on the stove over medium heat and add your cooking oil. Once the oil is shimmering and hot, drop in your whole cumin seeds. You want to sauté them just until they begin to splutter and pop, releasing their fragrant, nutty oils into the air. This rapid process, known as tempering or blooming, is absolutely crucial for waking up the dormant flavors in whole spices.
Step 3: Building the Aromatic Base
Immediately after the cumin seeds pop, add your finely chopped onions, the ginger-garlic paste, and the vibrant green chilies to the hot pan. Sauté this mixture patiently, stirring frequently to prevent burning. You are looking for the onions to soften and turn a beautiful golden brown color. This caramelization process is what gives the finished curry its underlying, complex sweetness.
Step 4: Creating the Rich Tomato Gravy
Once the onion mixture is golden, it is time to introduce the chopped tomatoes along with your ground dry spices. Add the coriander powder and turmeric powder. Stir everything together thoroughly. Cook this mixture down over medium-low heat. You will know it is ready when the tomatoes have broken down completely into a paste and you can see the oil starting to release and separate from the edges of the mixture. This visual cue guarantees that the raw flavor of the spices has been cooked out.
Step 5: The Final Simmer
Now, fold your perfectly cooked chickpeas into the spicy tomato base, stirring well to ensure every single chickpea is coated in the masala. Pour in a splash of that reserved starchy cooking water to achieve your desired gravy consistency. Bring the pot to a gentle boil, then reduce the heat, cover, and let the entire dish simmer gently for ten to fifteen minutes. This slow bubbling process is non-negotiable. It allows the chickpeas to absorb the spicy, tangy goodness of the sauce, ensuring flavor in every single bite.
Pro Tips for Elevating Your Curry
If you want to take your homemade dish from simply good to restaurant-quality unforgettable, there are a few expert secrets you should employ.
The Magic of Amchur Powder
For an extra layer of authentic flavor, you must try adding a little amchur to the pot. Amchur is a fruity, tart spice powder made from dried, unripe green mangoes. Stirring a small amount of dry mango powder into the curry at the very end of the cooking process provides a mouth-watering tanginess that fresh lemon juice simply cannot replicate. It instantly brightens the heavy spices and elevates the entire flavor profile.
The Importance of Resting
While it is tempting to eat this dish straight off the stove, curries actually taste significantly better if you let them rest. Allowing the pot to sit off the heat for about twenty minutes before serving gives the complex spices time to mingle and settle. In fact, you will often find that the leftovers taste even better the next day.
Garnishing Like a Professional
Never underestimate the power of a fresh garnish to wake up a cooked dish. A generous handful of freshly chopped cilantro sprinkled over the top just before serving adds a burst of herbal freshness and a pop of bright green color that contrasts beautifully with the deep red and gold hues of the curry.
Perfect Pairings: How to Serve Your Masterpiece
A spectacular, robust curry demands the perfect accompanying vessels to scoop up every last drop of the glorious sauce. To create a complete, satisfying meal, consider these traditional pairings.
Serve your masterpiece piping hot alongside freshly steamed, aromatic basmati rice. The long, fluffy grains of rice act as a blank canvas, perfectly soaking up the highly seasoned gravy. If you prefer dipping and scooping with bread, warm, buttery garlic naan is an absolute crowd-pleaser. For a slightly lighter, everyday option, a stack of fresh, whole-wheat roti is a must-have for wiping your bowl completely clean. You can also serve this with a side of cool cucumber raita to help balance the intense heat of the green chilies.
Wrapping Up Your Culinary Adventure
Creating a vibrant, nourishing, and deeply flavorful meal from scratch is an incredibly fulfilling endeavor. With just a handful of aromatic pantry spices, some wholesome ingredients, and a little bit of patience at the stove, you can serve up a bowl of pure, unadulterated comfort. Gather your ingredients, embrace the therapeutic process of cooking, and get ready to impress your family, your friends, and your own tastebuds with this phenomenal recipe. Enjoy the delicious journey!