Easy Creamy Custard Recipe Homemade Vanilla Custard Dessert Quick Delicious Treats
There is something undeniably nostalgic about a bowl of warm, velvety custard. It is the ultimate comfort food, a childhood staple that has stood the test of time and remains a favorite in kitchens across the globe. Whether you are pouring it over a fresh fruit crumble, layering it into a sophisticated trifle, or simply enjoying it on its own with a sprinkle of nutmeg, a perfectly made creamy custard is a masterpiece of simple ingredients coming together in harmony. If you have ever felt intimidated by the idea of making custard from scratch, this guide is designed to take the mystery out of the process and help you achieve professional results in your own kitchen.
Making homemade custard is an essential skill for any home baker. While store bought versions are convenient, they often lack the depth of flavor and the luxurious texture that comes from fresh milk and high quality custard powder. By following a few simple steps and understanding the science of thickening, you can create a dessert base that is versatile, delicious, and incredibly satisfying. Let us dive into the wonderful world of creamy custard and discover how you can elevate your dessert game today.
The Essential Ingredients for Perfect Custard
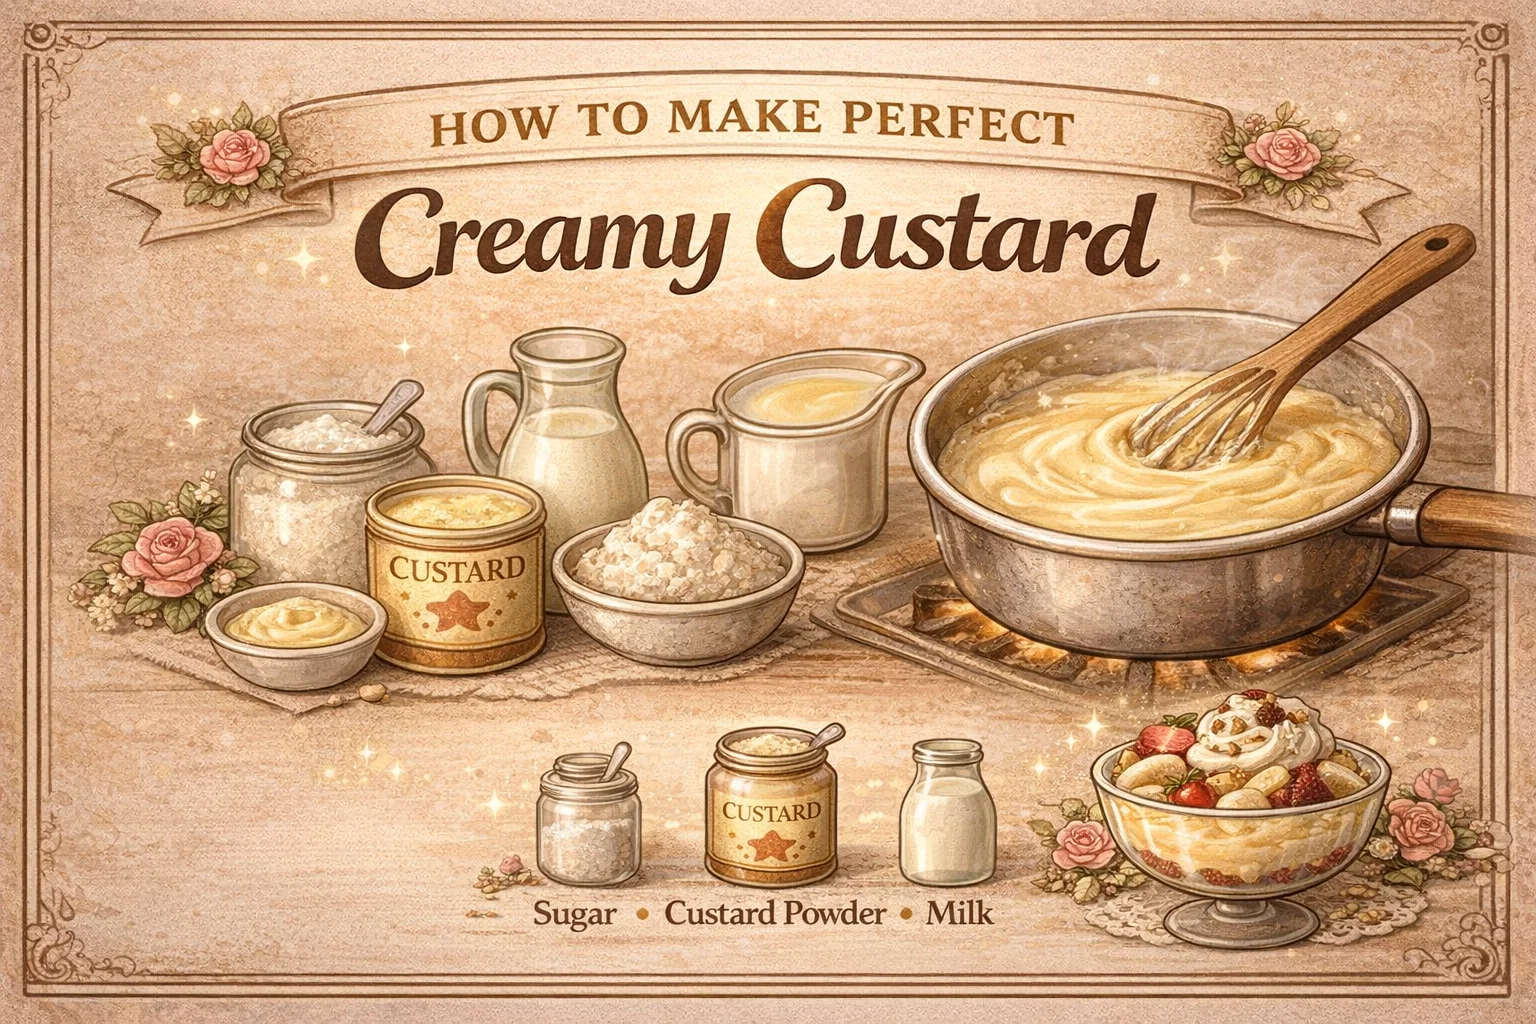
The beauty of a classic custard recipe lies in its simplicity. You do not need a pantry full of exotic items to create something spectacular. Most of what you need is likely already sitting in your refrigerator or cupboard. Let us break down the key components that make this recipe a success.
The Importance of Quality Milk
Milk is the foundation of your custard, providing the liquid base and a significant portion of the creamy texture. For the best results, using whole milk is highly recommended. The higher fat content ensures a richer mouthfeel and a more stable structure. However, if you prefer a lighter version, you can certainly use semi skimmed milk. Just keep in mind that the final result may be slightly less indulgent. Some enthusiasts even like to replace a small portion of the milk with heavy cream to create an even more decadent experience.
Sugar and Sweetness
Sugar does more than just sweeten the custard; it also helps to tenderize the proteins in the milk, contributing to a smoother finish. This recipe calls for about half a cup of sugar, but this is entirely adjustable. If you are serving your custard with a very sweet dessert like a caramel cake, you might want to reduce the sugar slightly. Conversely, if you are pairing it with tart berries, a little extra sweetness can provide a beautiful balance. White granulated sugar is standard, but some bakers enjoy using golden caster sugar for a subtle hint of caramel.
Custard Powder: The Secret Weapon
While traditional French custard (crème anglaise) relies solely on egg yolks for thickening, many home cooks prefer the reliability and flavor profile of custard powder. Usually cornstarch based and infused with vanilla flavoring, custard powder provides a beautiful golden hue and a consistent thickness that is easier to manage for beginners. It allows you to achieve that iconic, nostalgic taste that many of us associate with family gatherings and Sunday roasts.
Step by Step: Mastering the Mix
The process of making custard is relatively quick, but it requires your full attention. Success is all about heat management and constant movement. If you follow these steps carefully, you will avoid the common pitfalls of lumps or scorched milk.
Phase 1: Creating the Smooth Paste
The biggest mistake people make when using custard powder is adding it directly to hot milk. This almost always results in stubborn lumps that are impossible to whisk away. Instead, you must start by creating a slurry. Take your custard powder and mix it with about half a cup of cold milk in a small bowl or jug. Stir vigorously until it forms a smooth, liquid paste. This step ensures that the starch granules are separated and ready to expand evenly once they hit the heat. Keep this mixture aside until your main pot of milk is ready.
Phase 2: Heating and Incorporating
Pour the remaining milk into a heavy bottomed saucepan. The heavy base is important because it distributes heat more evenly, reducing the risk of the milk burning at the bottom. Heat the milk over a medium flame until it is hot but not yet boiling. Look for small bubbles forming around the edges of the pan. Once the milk is hot, slowly pour in your custard paste while whisking continuously. You will notice the mixture begin to change texture almost immediately as the starch reacts to the heat.
Phase 3: Thickening to Perfection
This is where the magic happens. Continue to cook the mixture over medium low heat. It is vital to stir constantly, reaching into the corners of the pan to ensure nothing sticks. As the custard reaches a gentle simmer, it will thicken into a glossy, creamy consistency. Once it reaches your desired thickness, stir in the sugar until it is fully dissolved. Remove the pan from the heat immediately. If you leave it on the stove too long, it can become overly thick or even start to separate.
Customizing Your Custard Consistency
Everyone has a different preference when it comes to how thick their custard should be. Some like it thin enough to pour like a sauce, while others prefer it thick enough to hold its shape on a spoon. The good news is that you can easily adjust the recipe to suit your needs.
- For Thinner Custard: Use only 1 and a half tablespoons of custard powder. This creates a light, pourable consistency that is perfect for drizzling over puddings or fruit salads.
- For Thicker Custard: Increase the custard powder to 2 and a half tablespoons. This results in a sturdy custard that works beautifully in trifles or as a filling for tarts.
- The Quick Fix: If you find your custard has become too thick after cooling, simply whisk in a splash of cold milk or cream until you reach the right texture again.
Delicious Serving Ideas and Variations
Once you have mastered the basic recipe, the possibilities are endless. Custard is a versatile canvas that can be adapted for any occasion.
The Classic Custard Trifle
Perhaps the most famous use for custard is in a traditional trifle. Layer sponge cake soaked in sherry or fruit juice at the bottom of a glass bowl, followed by a layer of fruit jelly or jam, a generous pouring of thick custard, and a final topping of whipped cream. The custard acts as a creamy bridge between the soft cake and the airy cream, creating a symphony of textures in every spoonful.
Fresh Fruit and Nuts
For a lighter dessert, serve your custard warm over a medley of fresh seasonal fruits. Berries, sliced bananas, and peaches all pair beautifully with the vanilla notes of the custard. For added texture, sprinkle some chopped walnuts, almonds, or pistachios on top. The crunch of the nuts provides a fantastic contrast to the silkiness of the cream.
The Pro Secret: The Creamy Finish
If you want to take your custard from everyday to extraordinary, try the pro tip of adding 1 to 2 tablespoons of fresh cream right at the end of the cooking process. This does not just add richness; it gives the custard a professional, glossy sheen and a more sophisticated flavor profile. It is a small addition that makes a huge difference in the final presentation.
Storage and Make Ahead Tips
Custard can be served either hot or cold, making it a great make ahead dessert option. If you are planning to serve it chilled, transfer the finished custard to a bowl and cover the surface directly with plastic wrap. This prevents a skin from forming as it cools. Store it in the refrigerator for up to two days.
When you are ready to serve, you can eat it cold straight from the fridge or gently reheat it on the stove. If reheating, do so over low heat and add a tiny bit of milk to loosen it up, as custard naturally firms up when it sits.
Conclusion: The Joy of Homemade Treats
There is a special kind of satisfaction that comes from creating something delicious from scratch. This creamy custard recipe is more than just a set of instructions; it is an invitation to slow down and enjoy the process of cooking. By using simple, wholesome ingredients and a little bit of patience, you can create a dessert that brings joy to your table and warmth to your soul.
Whether you are sticking to the classic version or experimenting with your own optional extras like dried fruits or whipped cream, the key is to have fun with it. Homemade custard is a testament to the fact that you do not need complicated techniques to produce gourmet results. So, grab your whisk, head to the kitchen, and start cooking. Your family and your taste buds will definitely thank you. Do not forget to save this recipe for your next cozy night in!