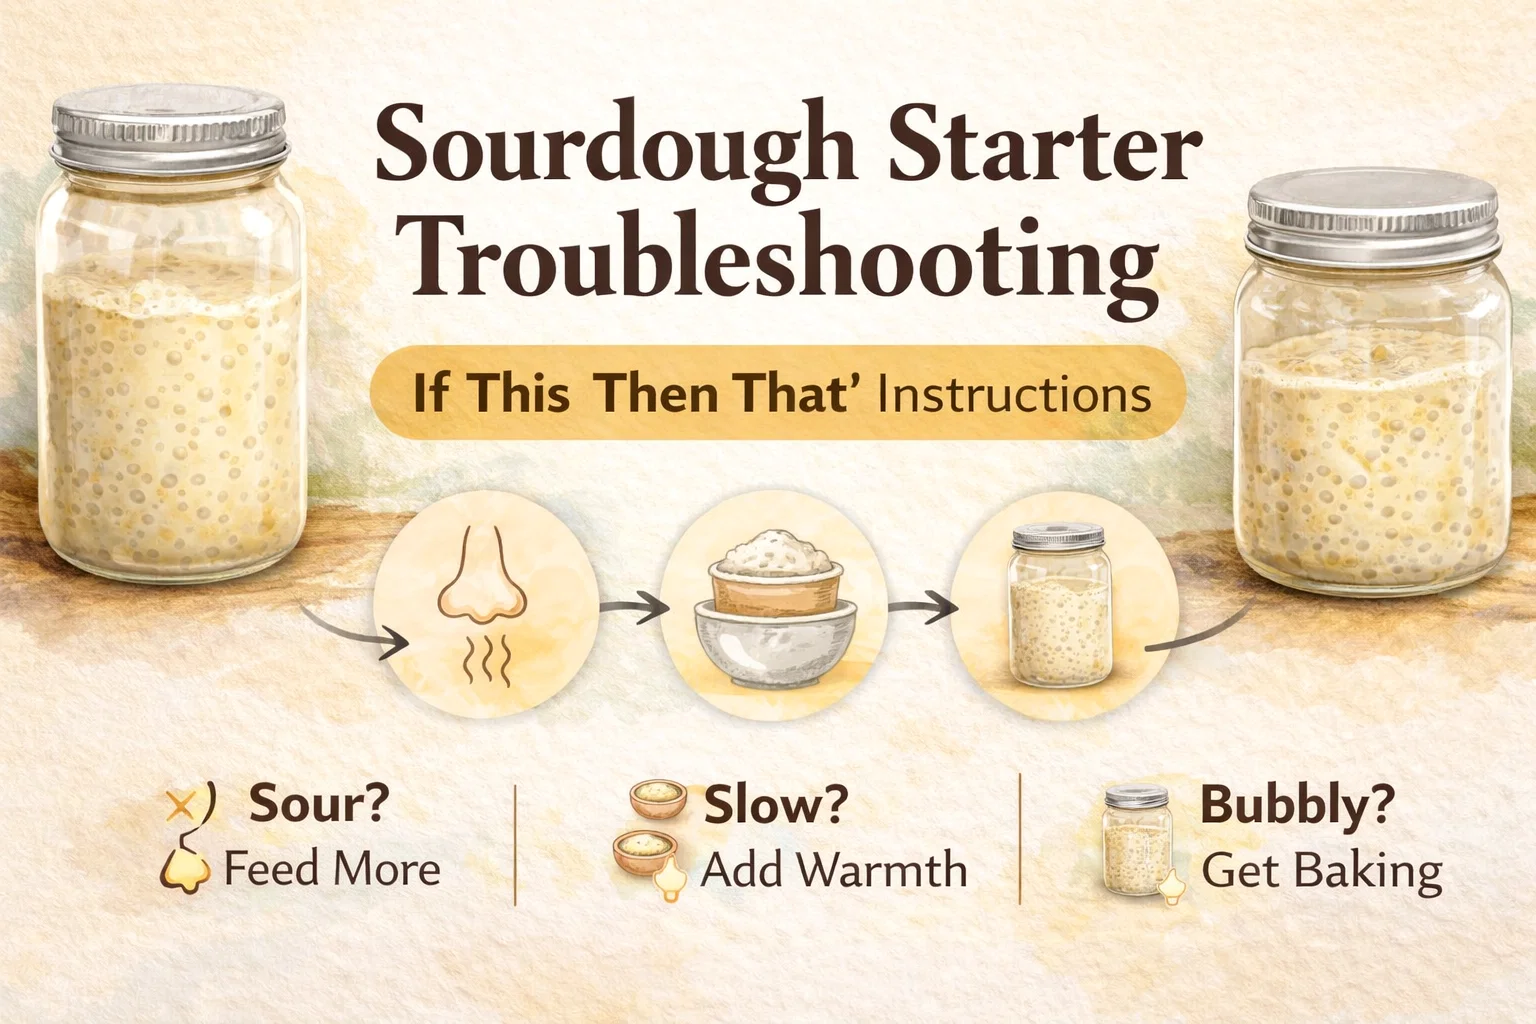
Sourdough Starter Troubleshooting Guide Fix a Weak or Sour Starter Baking Cheat Sheet
Mastering the art of sourdough is a journey filled with tiny miracles and the occasional moment of frustration. One day your kitchen smells like a high end bakery, and the next, you are staring at a jar of gray liquid wondering where it all went wrong. If you have ever felt like your starter has a mind of its own, you are not alone. Sourdough is a living ecosystem of wild yeast and lactic acid bacteria. Like any living thing, it has moods, hunger cues, and specific needs based on the environment around it. This guide is designed to take the guesswork out of your daily feedings and help you interpret exactly what your bubbly friend is trying to tell you.
Understanding the Language of Your Sourdough Starter
Before we dive into the specific fixes, it is important to realize that your starter communicates through scent, texture, and visual cues. A healthy starter is predictable, but it is also sensitive to changes in temperature, the type of flour you use, and how often you feed it. When things start looking or smelling a bit off, it is usually just a sign that the balance between the yeast and the bacteria has shifted. By learning how to read these signs, you can adjust your feeding routine to bring everything back into harmony.
The Science of the Scent
The smell of your starter is the most immediate indicator of its health. A balanced starter should smell sweet, fruity, or slightly tangy like plain yogurt. If it starts smelling like vinegar or nail polish remover, the acidity has climbed too high. This happens when the yeast has consumed all the available sugars in the flour and the bacteria have taken over. On the other hand, if there is no smell at all, your yeast might be dormant and in need of a serious wake up call.
Scenario 1: Dealing with a Sharp or Vinegary Smell
If you open your jar and a strong, pungent scent of vinegar hits your nose, your starter is sending out a distress signal. It is hungry. In the world of fermentation, a sharp smell means the acetic acid is dominating the culture. This usually happens if a feeding was missed or if the ratio of fresh flour to old starter was too low. The good news is that this is one of the easiest problems to solve with a generous feeding strategy.
The Solution: Generous Dilution
To fix a sour starter, you need to dilute the accumulated acid and provide a massive fresh food source for the yeast. This is where the 1:3:3 ratio comes into play. Instead of your standard feeding, you will take a small amount of starter and give it three times its weight in both flour and water. For example, use 20g of starter mixed with 60g of flour and 60g of filtered water. This “heavy feed” reduces the overall acidity and encourages the yeast to multiply rapidly in a fresh, clean environment.
Scenario 2: Troubleshooting a Sluggish or Flat Starter
There is nothing more discouraging than checking your jar after eight hours only to find it looking exactly the same as when you fed it. A sluggish starter that refuses to bubble or rise is often a victim of its environment. Yeast is highly temperature sensitive. If your kitchen is even a few degrees too cold, the fermentation process slows down to a crawl. Additionally, the type of flour you use provides the “fuel” for this activity, and some flours are simply more nutritious than others.
Warmth and Strength: The Perfect Duo
If your starter is flat, it needs a spark. First, check the temperature. Sourdough yeast thrives in a range of 72 to 78 degrees Fahrenheit. If your house is chilly, try keeping your jar near a warm appliance or inside an oven with just the light turned on. Second, consider your flour choice. While all purpose flour works, bread flour has a higher protein content which provides better structure for bubbles. For an even bigger boost, adding a spoonful of rye flour can act like a multivitamin for your yeast, as rye is packed with the nutrients that wild cultures crave.
Feeding for Strength
A 1:2:2 ratio is often the sweet spot for a struggling starter. It provides enough fresh food to stay active without overwhelming the small amount of yeast currently present. By keeping the starter warm and using high protein flour, you create the ideal conditions for a vigorous rise. Consistency is key here. Stick to this routine for a few days, and you will likely see those “happy bubbles” returning to the surface.
Scenario 3: Identifying a Bake Ready Starter
Knowing when your starter is at its peak is the secret to a perfect loaf of bread. When your starter is doubling or even tripling in size within four to six hours of feeding, it is in its most active state. You will see large, soapy bubbles on the sides of the jar and a dome like shape at the top. This is the moment when the yeast is producing the maximum amount of carbon dioxide, which is what will give your bread that beautiful airy crumb.
Matching Your Feed to Your Schedule
Once your starter is healthy and active, you can begin to manipulate your feeding ratios based on when you actually want to bake. This is the ultimate level of sourdough mastery.
- For Baking Soon: Use a 1:1:1 ratio. This is a “fast” feed that will peak quickly, usually in about 3 to 4 hours, allowing you to start your dough the same morning.
- For Daily Upkeep: A 1:2:2 ratio is perfect for maintaining a counter starter. It keeps the yeast fed and active without requiring you to hover over the jar.
- For Long Term Storage: If you are headed out for the weekend or just want to take a break, use a 1:3:3 ratio. Let the jar sit at room temperature for about an hour to kickstart the activity, then pop it in the fridge. The cold will slow down the fermentation, and the extra food will keep the yeast happy for a week or more.
Essential Tips for Sourdough Success
Beyond the ratios, there are a few “golden rules” that will help you maintain a resilient culture over time. These small habits make a huge difference in the consistency of your bakes.
The Importance of Water Quality
Chlorine and chloramine are often added to tap water to kill bacteria. Unfortunately, they can also inhibit the growth of the beneficial bacteria and yeast in your sourdough starter. If you are having trouble getting your starter to thrive, try using filtered water or let your tap water sit out on the counter overnight to allow the chlorine to dissipate. This small change can lead to much more vigorous fermentation.
Cleanliness Without Sterility
While you want to keep your jars clean to prevent mold, you do not need to be obsessive about sanitizing. Using a fresh jar every few feedings is a great way to prevent dried starter from building up around the rim, which is where mold often starts. Just make sure to rinse your jars thoroughly so no soap residue is left behind, as soap can be detrimental to the delicate microbial balance.
Conclusion: Trusting the Process
Sourdough baking is as much an art as it is a science. While these “If This, Then That” rules provide a fantastic framework, the most important thing you can do is spend time with your starter. Observe how it reacts to different temperatures and flours. Touch it, smell it, and watch how it grows. Over time, you will develop an intuition that goes far beyond any cheat sheet. Remember that even the most experienced bakers have off days where their starter feels a bit moody. The beauty of a wild culture is its resilience. With a little warmth, some fresh flour, and the right feeding ratio, you can bring almost any starter back from the brink. Keep experimenting, stay patient, and enjoy the delicious rewards of your hard work. Happy baking!
Would you like me to create a custom feeding schedule for your specific baking routine or perhaps a guide on how to dry and store your starter for long-term backup?