Easy Pecan Pie Dump Cake Recipe – Old-Fashioned 3-Step Dessert
There is something undeniably nostalgic about the smell of toasted pecans and bubbling brown sugar wafting through a warm kitchen. For many of us, pecan pie is the undisputed king of the holiday dessert table, but let’s be honest: making a traditional pie from scratch can be a daunting task. Between chilling the crust, worrying about the bake on the bottom, and ensuring the custard sets perfectly, it is a lot of pressure when you are already hosting a crowd. That is where the magic of the dump cake comes into play. This Easy Pecan Pie Dump Cake takes all those beloved, old fashioned flavors and transforms them into a stress free baking experience that requires zero mixing bowls and even less cleanup.
If you have never experienced a dump cake before, you are in for a treat. The concept is simple: you layer your ingredients directly into the baking dish, and the oven does all the heavy lifting. This particular recipe captures the gooey, caramel-like center of a pecan pie and tops it with a buttery, golden cake crust that provides a satisfying crunch in every bite. It is the ultimate dessert hack for busy parents, holiday hosts, or anyone who wants a gourmet result with minimal effort. Let’s dive into why this recipe is about to become your new favorite kitchen secret.
The Essential Ingredients for Success
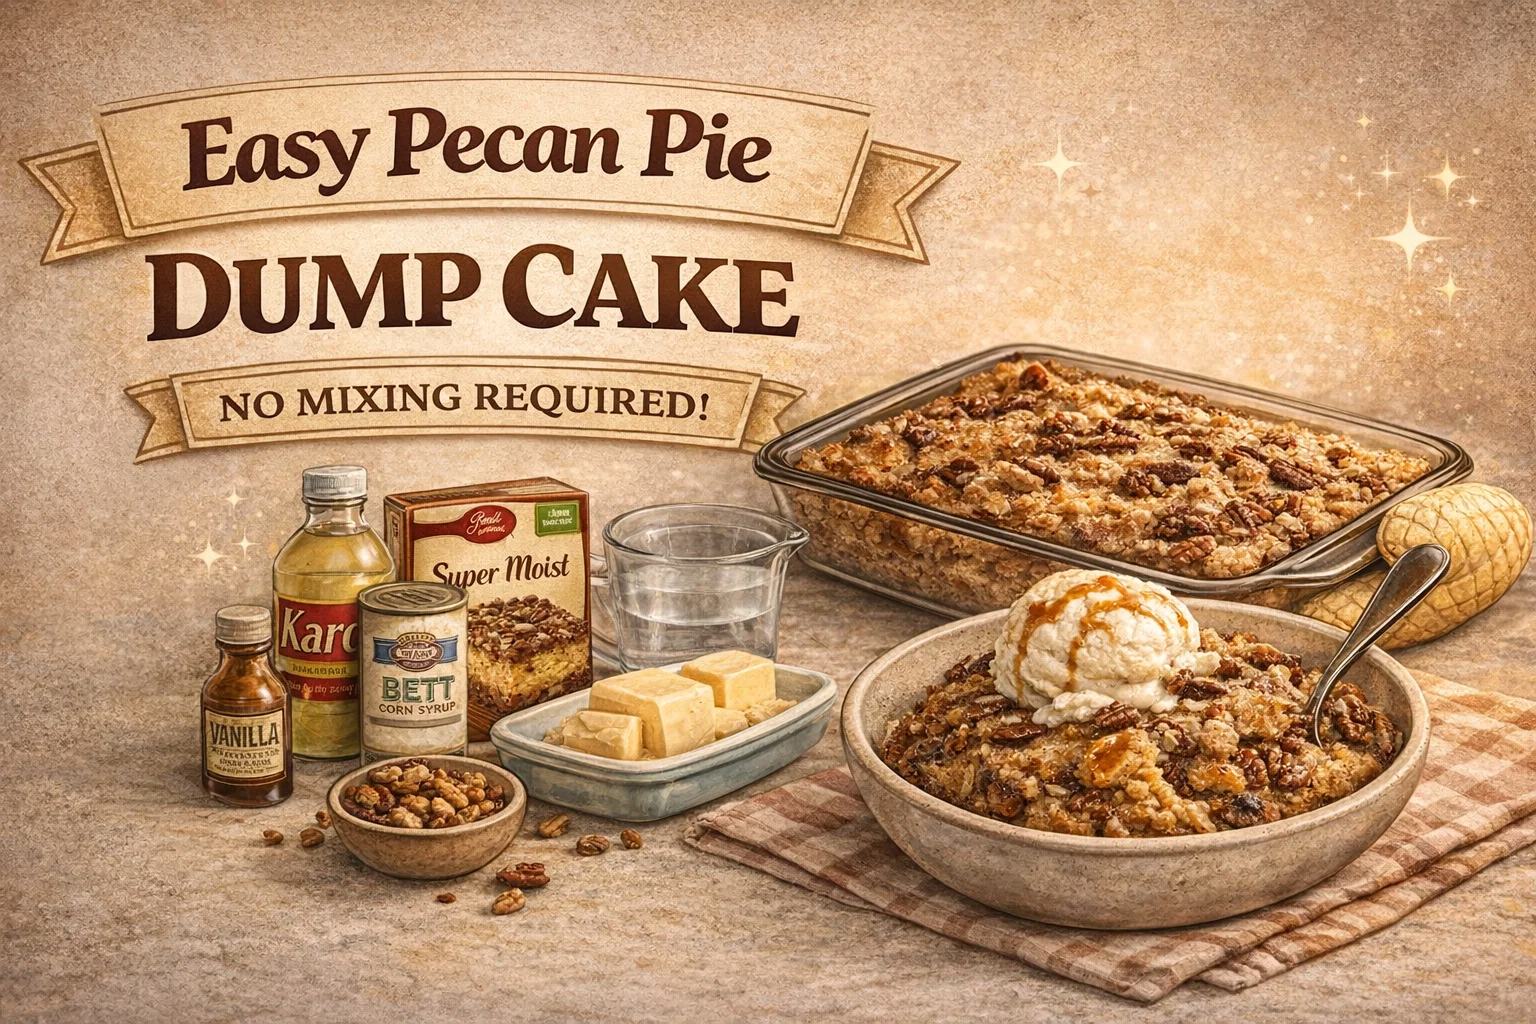
One of the best things about this recipe is that it relies on pantry staples that you likely already have on hand. Because we are skipping the traditional pie crust, the structure comes from a box of yellow cake mix, which provides a beautiful vanilla base that complements the richness of the nuts. Here is a closer look at what you will need to get started:
- Chopped Pecans: You will want one full cup of pecans. While you can buy them pre-chopped, chopping them yourself allows for a mix of fine pieces and larger chunks, which adds great texture.
- Sweetened Condensed Milk: This is the secret to that fudgy, decadent consistency. One 14 ounce can provides the sweetness and the creamy binder for the base.
- Corn Syrup: You can use light or dark corn syrup here. Dark corn syrup will provide a slightly deeper, more molasses-like flavor, while light corn syrup keeps things bright and sweet.
- Melted Butter and Sliced Cold Butter: We use butter in two ways. Melted butter helps create the “filling” layer, while thin slices of cold butter are dotted over the top of the dry cake mix to create a crisp, golden crust.
- Vanilla Extract: A single teaspoon goes a long way in enhancing the aromatic quality of the pecans.
- Yellow Cake Mix: A standard 15 ounce box works perfectly. The dry mix absorbs the moisture from the layers below and the butter from above to create a cobbler-like topping.
- Water: A small amount of water poured over the top helps hydrate any remaining dry spots of the cake mix, ensuring every bite is perfectly baked.
Step by Step Directions for the Perfect Dump Cake
The beauty of this recipe lies in its simplicity. There is a reason the phrase “No Mixing” is highlighted so prominently. You are essentially building a delicious flavor skyscraper right inside your 9×13 inch pan. Follow these steps to ensure your cake comes out perfectly every single time.
Layer One: The Gooey Pecan Base
Start by greasing your baking pan thoroughly with non stick spray or a little extra butter. In the bottom of the pan, you will “dump” your pecans, the sweetened condensed milk, the corn syrup, your melted stick of butter, and the vanilla extract. While the name says no mixing, you can give these base ingredients a very quick swirl with a fork just to make sure the pecans are evenly coated in the syrup and milk. This layer will thicken as it bakes, creating that iconic pecan pie texture.
Layer Two: The Cake Topping
Once your base is set, take your box of dry yellow cake mix. Open the bag and shake it evenly over the liquid mixture. Try to get as level a surface as possible. It might feel strange to leave the powder dry, but trust the process. The moisture from the condensed milk and the butter we add next will transform this powder into a delicious, cakey crust.
Layer Three: The Finishing Touches
Take your remaining half cup of cold butter and slice it into very thin pats. Distribute these evenly across the top of the dry cake mix. These little squares of butter will melt down into the flour, creating golden brown pockets of flavor. Finally, pour your one cup of water over the entire surface. This might look messy, but the water acts as the final hydrating agent to ensure no dry flour remains after baking.
Baking Times and Temperature Tips
You will want to preheat your oven to 350 degrees Fahrenheit. This is the “sweet spot” temperature that allows the bottom layer to bubble and caramelize without burning the cakey top. Place your pan on the center rack and bake for 50 to 60 minutes. You are looking for the edges to be bubbling and the top to have a beautiful, deep golden brown hue. If the center still looks a bit “wobbly” when you shake the pan, give it another five minutes. Because of the corn syrup and condensed milk, the filling will be very hot and liquid when it first comes out, so patience is key.
The Importance of Cooling
It is tempting to dive right in with a spoon the moment the timer goes off, but for the best experience, let the cake rest for at least 15 to 20 minutes. As it cools, the sugars will begin to set, turning the base from a runny liquid into a thick, spoonable delight. This resting period also allows the flavors to meld together more deeply.
Why the Dump Cake Method Works So Well
You might be wondering how a cake with no mixing and dry powder on top can actually taste good. The science of the dump cake is actually quite fascinating. As the oven heats up, the butter on top melts and seeps downward, while the liquids on the bottom begin to bubble and steam upward. The dry cake mix is caught in the middle of this delicious “moisture sandwich.” This results in a texture that is somewhere between a traditional cake, a cobbler, and a bread pudding. It is soft and moist on the bottom with a slightly crunchy, buttery “lid” on top.
Creative Variations to Try
Once you have mastered the basic recipe, you can start to get creative with your additions. While the classic pecan version is a masterpiece on its own, here are a few ways to put a personal spin on this dessert:
Chocolate Chip Pecan Delight
If you are a fan of “Derby” style pies, try sprinkling half a cup of semi sweet chocolate chips over the pecan layer before adding the cake mix. The chocolate will melt into the caramel base, creating a rich, marbled effect that is absolutely heavenly.
Spice It Up
For a more autumnal flavor profile, add a teaspoon of cinnamon or pumpkin pie spice to the dry cake mix before shaking it over the pan. This adds a warm, spicy note that pairs beautifully with the earthy flavor of the pecans.
Salted Caramel Twist
A generous pinch of flaky sea salt sprinkled over the top of the butter slices before baking can elevate the flavor profile. The salt cuts through the intense sweetness of the corn syrup and condensed milk, creating a sophisticated “salted caramel” vibe.
Serving Suggestions for a Showstopping Dessert
While this cake is delicious enough to eat straight from the pan with a fork, a few simple additions can turn it into a restaurant quality dessert. The classic choice is a large scoop of high quality vanilla bean ice cream. The cold creaminess of the ice cream melting into the warm, gooey cake creates a contrast that is hard to beat.
If you want something a bit lighter, a dollop of fresh whipped cream with a hint of maple syrup is another fantastic option. For the ultimate indulgence, drizzle a little bit of extra caramel sauce over the top and add a few extra toasted pecans for crunch. This is the kind of dessert that looks “rustic-chic” when served in a white ceramic bowl, making it perfect for dinner parties.
Storing and Reheating Your Leftovers
On the off chance that you have leftovers, this cake stores surprisingly well. You can cover the pan tightly with foil or plastic wrap and keep it at room temperature for up to two days. For longer storage, keep it in the refrigerator for up to five days. In fact, some people argue that it tastes even better the second day once the flavors have had a chance to really soak into the cake layer.
To reheat, simply pop a portion into the microwave for 20 to 30 seconds. You want it just warm enough to soften the caramel base again. If you prefer a crispier top, you can reheat a slice in a toaster oven for a few minutes. It is the perfect midnight snack or a cheeky “dessert for breakfast” alongside a hot cup of coffee.
Final Thoughts on the Easy Pecan Pie Dump Cake
In a world where we are constantly told that better food requires more labor, the Pecan Pie Dump Cake is a refreshing reminder that simplicity can be just as delicious. It strips away the stress of baking and leaves you with the pure joy of sharing a sweet, comforting treat with the people you love. Whether you are a seasoned baker looking for a quick weeknight win or a total novice who is nervous about using the oven, this recipe is designed for you.
The combination of crunchy pecans, velvety condensed milk, and that signature buttery crust is a winning trio that never goes out of style. Next time you are asked to bring a dessert to a gathering, or you simply find yourself craving the taste of the holidays, reach for that box of cake mix and a bag of pecans. You will be amazed at how such little effort can result in such a massive reward. Happy baking!