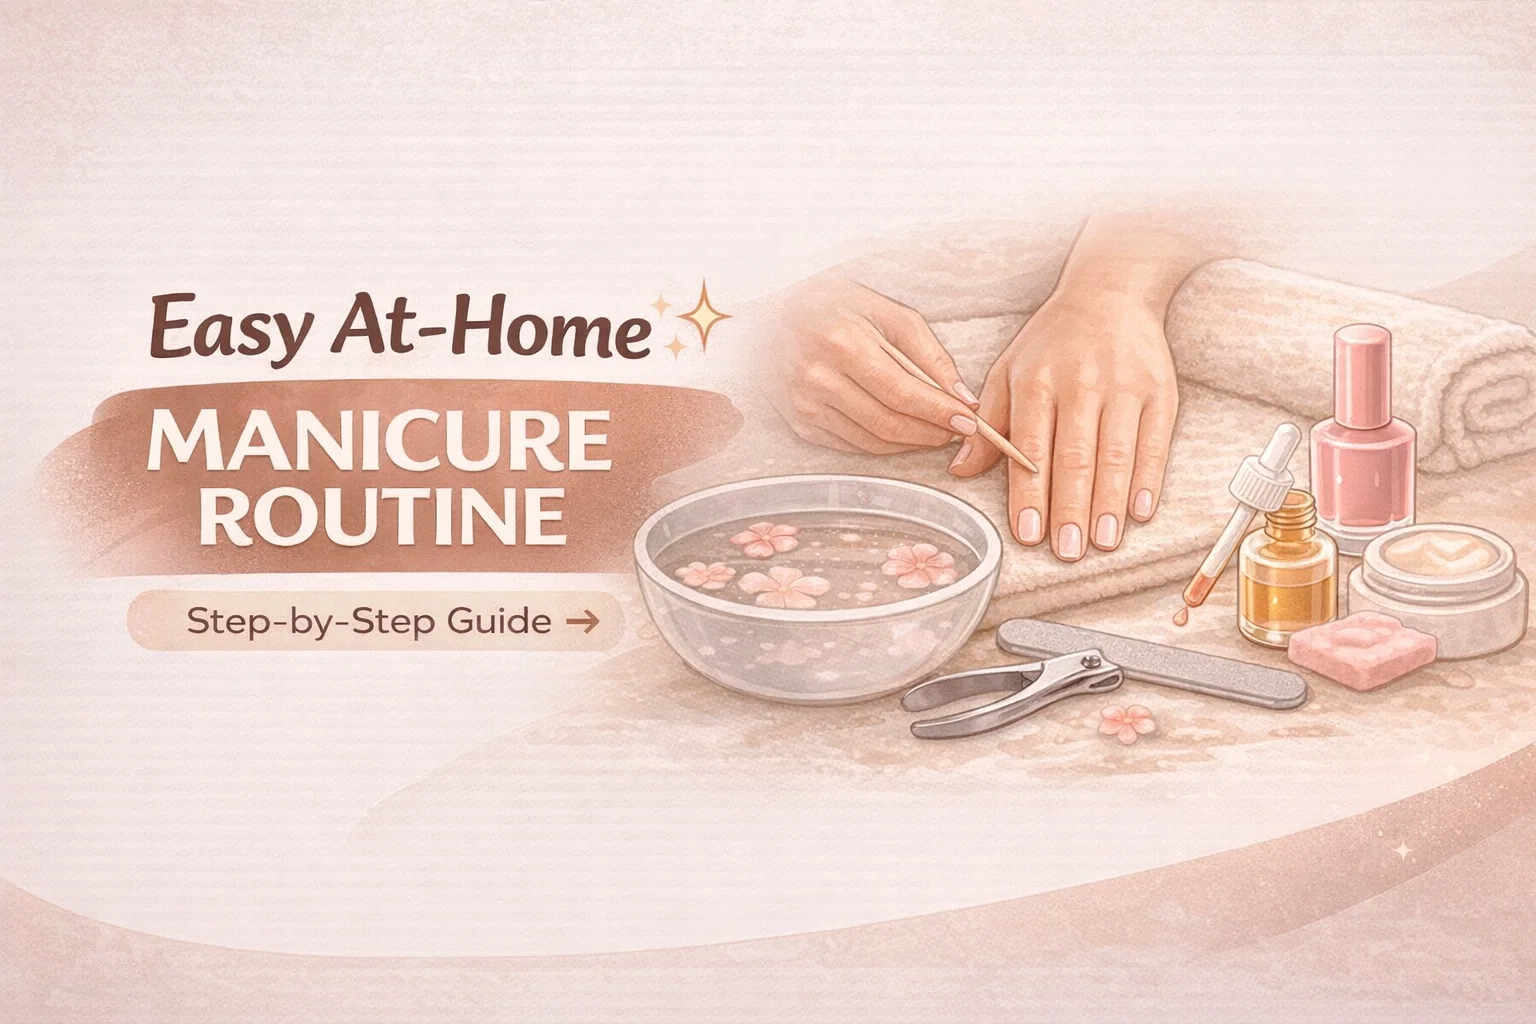
At-Home Easy Manicure Routine for Healthy Nails Minimal Products DIY Nail Care Guide
Achieving a salon-quality finish from the comfort of your own home has never been more accessible. While many believe that professional-looking nails require expensive equipment and hours of tedious work, the truth is that a simple, intentional routine can produce stunning results. By focusing on the health of your natural nails and using a few high-quality, minimal products, you can transform your hands into a testament of self-care. This guide walks through an easy manicure routine designed for anyone who wants to maintain beautiful nails without the hassle of a salon appointment.
The Philosophy of Minimalist Nail Care
In a world filled with complex beauty treatments and endless product shelves, there is something deeply rewarding about returning to the basics. Minimalist nail care is not about doing less, it is about doing what matters most with better technique. When you strip away the harsh chemicals and the excessive layers of acrylics or gels, you allow your natural nails to breathe and strengthen. This approach focuses on hydration, gentle shaping, and consistent maintenance, which are the true pillars of long-lasting nail health.
Setting the right environment is the first step in any successful at-home beauty ritual. Find a quiet space with plenty of natural light. Lay out a soft towel and gather your essentials: a small bowl, mild soap, a gentle scrub, a nail file, and your favorite moisturizer. By creating a dedicated moment for yourself, you turn a routine chore into a restorative experience that benefits both your physical appearance and your mental well-being.
Step 1: The Essential Warm Water Soak
Every great manicure begins with preparation. Soaking your hands is more than just a relaxing preamble; it is a functional necessity. Warm water helps to soften the keratin layers of the nail and the surrounding skin, making it significantly easier to clean and shape without causing trauma to the tissue. This step is particularly important if you have dry cuticles or stubborn buildup around the nail bed.
How to Prepare the Perfect Soak
Fill a small, shallow bowl with comfortably warm water. You do not need anything fancy. A few drops of mild, moisturizing soap or even a sprinkle of sea salt can enhance the experience. Some people enjoy adding a few drops of essential oil, such as lavender for relaxation or lemon for brightening. Submerge your fingertips for five to ten minutes. This duration is the sweet spot that ensures the skin is supple enough for the next steps without causing the nails to become overly waterlogged and brittle.
The Benefits of Softening Your Cuticles
Softened cuticles are much easier to manage. Rather than aggressively cutting away at the skin, which can lead to infections or hangnails, a good soak allows you to gently push back the cuticle or remove only the dead, translucent skin that clings to the nail plate. This creates a clean, elongated look for the nail bed, providing a perfect canvas for polish or a healthy, bare-nail glow.
Step 2: Exfoliation with a Gentle Hand Scrub
Once your hands are prepped and softened, it is time to address the texture of your skin. We often focus so much on the nails themselves that we forget the skin surrounding them. Dry, flaky skin can make even the most perfectly polished nails look dull. Exfoliation removes dead skin cells and stimulates blood flow, which encourages healthy nail growth and a more youthful appearance of the hands.
DIY Natural Scrubs
You do not need to buy a specialized hand scrub to get professional results. In fact, some of the best exfoliants are likely already in your kitchen. A simple mixture of granulated sugar and a carrier oil, such as olive, coconut, or almond oil, works wonders. The sugar provides the mechanical exfoliation needed to buff away roughness, while the oil deeply penetrates the skin to lock in moisture. For an added boost, a squeeze of fresh lemon juice can help lighten any stains on the nails and provide a refreshing scent.
Technique for Smooth Hands
Apply a small amount of your scrub to the back of your hands and around the knuckles and cuticles. Use gentle, circular motions. Avoid harsh rubbing, especially around the delicate area where the nail meets the skin. Focus on areas that feel particularly dry or calloused. After a minute or two of massage, rinse with lukewarm water and pat your hands dry with a soft towel. You will immediately notice a difference in the softness and clarity of your skin.
Step 3: Precise Trimming and Shaping
Now that the skin is smooth and the nails are soft, you can move on to the structural part of the manicure. Shaping your nails is where you can truly customize your look. Whether you prefer a classic round shape, a modern square, or a trendy almond silhouette, the key is consistency and technique. Proper tool usage is vital here to prevent damage that could lead to peeling or breaking later on.
Trimming for Strength
When trimming your nails, it is generally best to cut them straight across first. This technique helps prevent ingrown nails and provides a strong foundation for whatever shape you choose to file into them. Use sharp, high-quality nail clippers. Dull blades can crush the nail plate, causing microscopic fractures that eventually turn into full breaks. If your nails are already at your desired length, you may want to skip the clippers entirely and go straight to the file.
The Golden Rule of Filing
One of the most common mistakes people make at home is filing back and forth in a “sawing” motion. This creates friction and heat, which tears the delicate layers of the nail. Instead, always file gently in one direction. Start from the outer edge and move toward the center of the nail. Use a fine-grit file, ideally a glass or crystal file, as these are much gentler on natural nails than traditional emery boards. Take your time to ensure each nail is symmetrical and smooth to the touch.
Step 4: Deep Moisture and Cuticle Care
After the physical manipulation of trimming and filing, your nails and skin need to be replenished. This step is the secret to a long-lasting manicure. Without proper hydration, the nails become brittle and the skin around them can crack. Moisturizing is not a one-time event but rather a crucial finish to your routine that protects your hard work.
Choosing the Right Products
For the best results, use a combination of a rich hand cream and a dedicated cuticle oil. Hand creams are designed to protect the surface of the skin and provide immediate relief from dryness. Cuticle oils, however, are formulated with smaller molecules that can actually penetrate the nail plate and the surrounding skin to provide deep, lasting nourishment. Look for ingredients like vitamin E, jojoba oil, or shea butter.
The Power of Massage
Apply your chosen oil or cream and take a few extra minutes to massage it into your hands. Focus heavily on the base of the nail, known as the matrix, where new nail growth occurs. Massaging this area increases circulation, which can lead to stronger and faster-growing nails over time. This also ensures that the product is fully absorbed rather than just sitting on the surface, leaving your hands feeling soft rather than greasy.
Optional: The Finishing Touch of Color
For many, a manicure is not complete without a pop of color. If you choose to apply polish, ensure your nails are completely free of oils first. A quick swipe of a cotton pad dipped in a bit of vinegar or rubbing alcohol will remove any residue from your moisturizer, allowing the base coat to adhere properly. While the minimalist approach often favors a clean, natural look with just a clear strengthening coat, a well-applied shade of nude or a classic red can be the perfect accessory.
Application Tips for Longevity
Always use a base coat to prevent staining and a top coat to seal in the color and add shine. Apply thin layers rather than one thick coat. Thin layers dry faster and are much less likely to bubble or peel. Remember to “cap” the free edge of the nail by running the brush along the very tip. This creates a seal that significantly reduces chipping, keeping your manicure looking fresh for days longer.
Maintaining Your Results Between Manicures
The beauty of an easy manicure routine is that it sets a foundation for ongoing health. To keep your hands looking their best between full sessions, try to incorporate a few small habits into your daily life. Wear gloves when doing dishes or using cleaning chemicals to protect your nails from harsh substances. Keep a small bottle of cuticle oil at your desk or by your bedside and apply it every evening. Consistency is the most powerful tool in your beauty arsenal.
Conclusion: The Joy of DIY Beauty
Taking the time to care for your nails at home is an act of self-respect. It is a reminder that you are worth the effort of a few dedicated minutes of pampering. By following this easy, four-step routine, you not only save time and money but also gain a deeper understanding of your own needs and preferences. Beautiful nails are not about perfection; they are about health, cleanliness, and the confidence that comes from knowing you can achieve great results on your own. Whether you leave your nails bare and buffed or finish with a vibrant polish, the care you put in will surely shine through. So, the next time you have a spare thirty minutes, treat yourself to this simple ritual and enjoy the lasting benefits of a perfect at-home manicure.