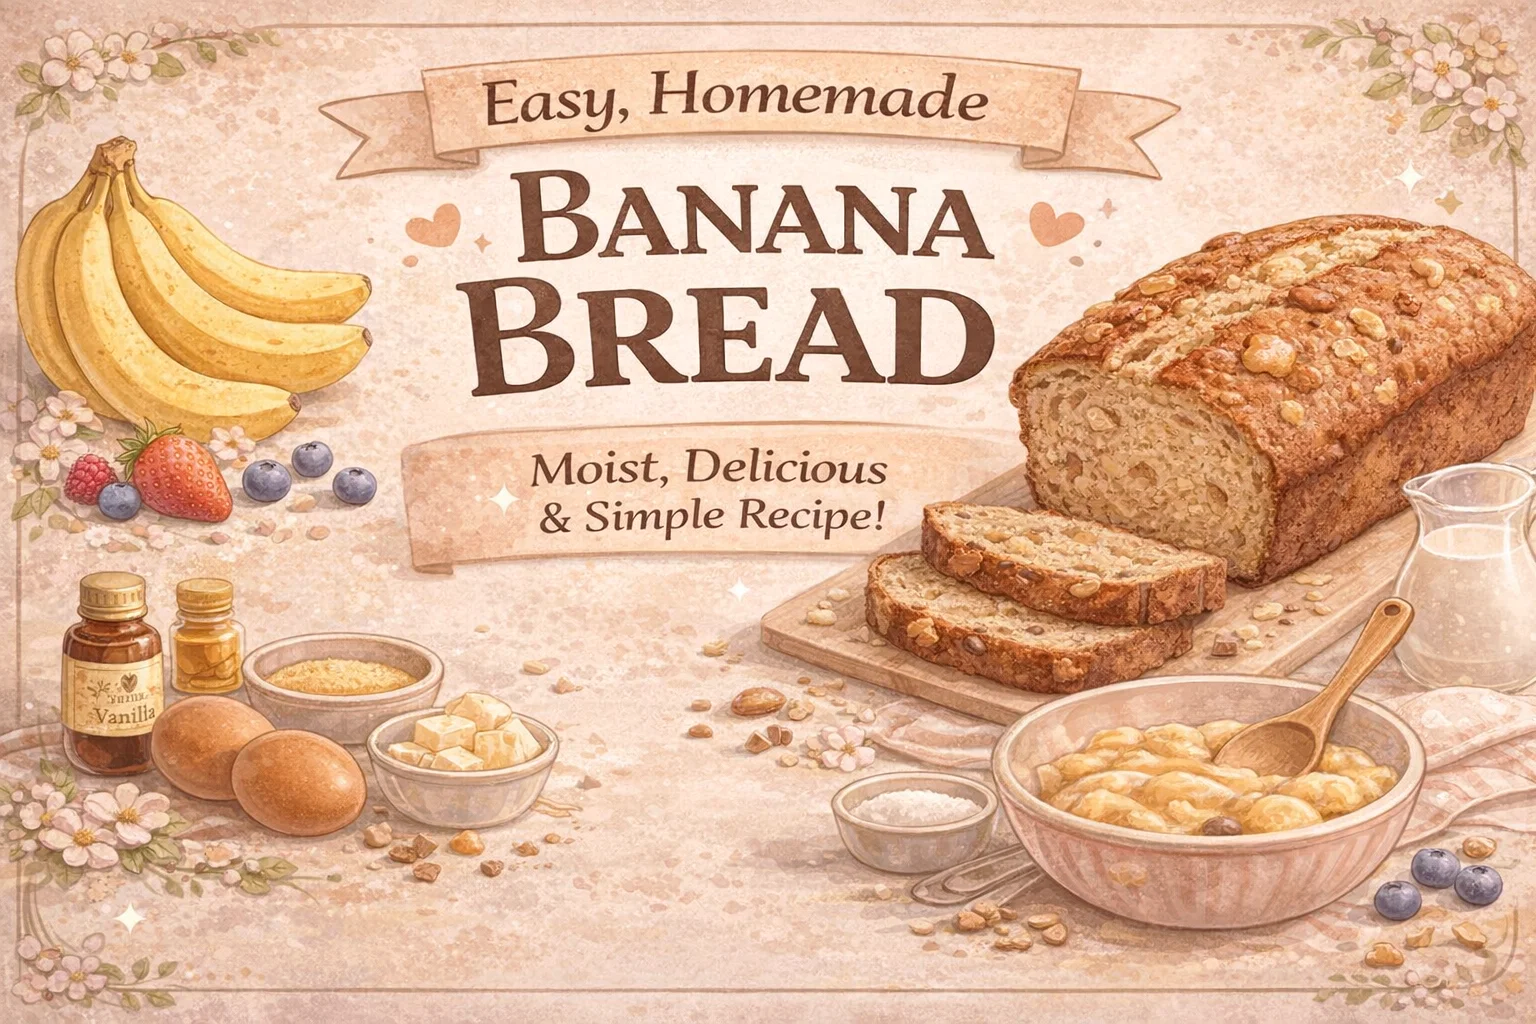
Easy Moist Homemade Banana Bread Recipe Best Classic Cozy Recipe for Beginners
There is something undeniably magical about the aroma of fresh banana bread wafting through a home. It is the scent of a slow Sunday morning, a warm hug in a loaf pan, and quite possibly the best use for those overripe bananas sitting on your counter. While many baking projects require precision scales and hours of proofing, banana bread remains the approachable queen of the kitchen. This specific recipe focuses on a golden ratio of ingredients to ensure every slice is dense, moist, and packed with natural sweetness.
Whether you are a seasoned baker or someone who usually avoids the oven, this guide will walk you through the nuances of creating a loaf that rivals your favorite local bakery. From the importance of the mash to the secret of the perfect crumb, we are diving deep into the art of the homemade loaf. Let us roll up our sleeves and get started on this classic comfort food journey.
The Science of the Perfect Banana Bread
To understand why this recipe works so well, we have to look at the chemistry of the ingredients. Banana bread is technically a quick bread, meaning it relies on chemical leaveners like baking soda rather than yeast. This allows for a much faster preparation time while still achieving a beautiful lift. In this visual guide, the combination of baking soda and the acidity in the bananas creates a reaction that produces carbon dioxide, giving the bread its airy yet sturdy structure.
The use of melted butter instead of softened butter or oil is a deliberate choice for flavor. While oil can make a cake incredibly moist, it lacks the nutty, rich profile that butter provides. By melting the butter, we ensure it incorporates seamlessly into the sugars and eggs, creating a velvety batter that coats the flour particles and prevents excessive gluten development. This results in a tender bite rather than a chewy, bread-like texture.
Essential Ingredients for Success
Before you start mashing, it is vital to have your mise en place ready. Having your ingredients measured out and at the correct temperature will make the process smoother and ensure a better bake. Here is what you will need gathered on your counter:
- 2 Ripe Bananas: The darker the spots, the better the bread. These provide the moisture and the primary sugar source.
- 1 1/2 cups Flour: All-purpose flour is the standard here for a reliable structure.
- 3/4 cup Sugar: Granulated sugar helps with browning and sweetness.
- 1/2 cup Melted Butter: This provides the fat content and a rich, savory undertone.
- 2 Eggs: These act as the binder, holding the crumb together.
- 1/4 cup Milk: A splash of dairy adds extra tenderness to the crumb.
- 1 tsp Baking Soda: Your primary lifting agent.
- 1 tsp Vanilla Extract: For that essential aromatic depth.
- Optional Add-ins: Chopped walnuts, pecans, or semi-sweet chocolate chips for texture.
The Importance of Banana Ripeness
If there is one rule in banana bread making, it is that yellow bananas are not enough. You want bananas that look like they are past their prime. When bananas develop those brown speckles or turn almost entirely black, the starches have converted into simple sugars. This makes them easier to mash into a smooth liquid consistency and significantly boosts the flavor profile of the final bake. If your bananas are still bright yellow, you can ripen them quickly by placing them in a 300 degree oven for about 15 minutes until the skins turn dark.
Step-by-Step Preparation Guide
Following the visual instructions provided in the guide, we can break the process down into four distinct phases. Precision in the mixing order prevents the batter from becoming overworked, which is the most common cause of “tough” banana bread.
Step 1: Setting the Stage
First, preheat your oven to 350 degrees Fahrenheit (175 degrees Celsius). This ensures that the moment your loaf pan enters the oven, the leavening agents react immediately to the heat. While the oven warms up, grease a standard 9×5 inch loaf pan thoroughly with butter or a non-stick cooking spray. For extra security, you can line the bottom with a strip of parchment paper, leaving a slight overhang on the sides to act as a handle for easy removal later.
Step 2: The Wet Mixture
In a large mixing bowl, peel your ripe bananas and mash them thoroughly using a fork or a potato masher. You want a relatively smooth consistency with only small lumps remaining. To this mash, add your melted butter, eggs, milk, and vanilla extract. Whisk these together until the mixture is uniform. This step is crucial because it ensures the fat and liquids are fully emulsified before they meet the dry ingredients.
Step 3: The Dry Ingredients
In a separate, smaller bowl, whisk together your flour, sugar, baking soda, and a pinch of salt. Whisking the dry ingredients separately serves two purposes: it removes any large lumps in the flour and it ensures the baking soda is evenly distributed. If the baking soda clumps together, you might end up with a bitter metallic taste in one part of the loaf and a flat, unrisen section in another.
Step 4: The Final Fold
Now comes the most delicate part of the process. Pour your dry ingredients into the bowl with the wet mixture. Using a spatula, gently fold the ingredients together. Stop the moment you no longer see streaks of dry flour. If you are using walnuts or chocolate chips, toss them in during the final few folds. Over-mixing at this stage will develop the gluten in the flour, leading to a rubbery texture. Once combined, pour the batter into your prepared pan and smooth the top with your spatula.
Baking to Golden Perfection
Place your pan on the center rack of the oven. The recipe calls for a bake time of 50 to 60 minutes. However, every oven is different. Around the 45 minute mark, start checking for doneness. The top should be a deep golden brown with a characteristic crack down the center. Use a wooden skewer or a toothpick and insert it into the thickest part of the loaf. If it comes out clean or with just a few moist crumbs attached, it is ready.
One pro tip for baking: if you notice the top is browning too quickly but the center is still wobbly, loosely tent a piece of aluminum foil over the top of the pan. This reflects some of the direct heat and allows the interior to finish cooking without burning the crust.
The Cooling Phase
Patience is the hardest part of baking. When the loaf comes out of the oven, let it sit in the pan for about 10 minutes. This allows the structure to set so it doesn’t fall apart when you move it. Afterward, run a knife around the edges and transfer the bread to a wire cooling rack. Slicing into a hot loaf of banana bread will release too much steam, which can make the remaining bread dry out faster. Waiting until it is just barely warm will reward you with the perfect texture.
Creative Variations and Add-ins
While the classic recipe is a masterpiece on its own, banana bread is a fantastic canvas for creativity. Depending on your mood or what is in your pantry, you can transform this loaf into something entirely new. Here are a few popular variations to consider for your next batch:
- The Nutty Crunch: Use toasted walnuts or pecans. Toasting the nuts in a dry pan for 3 minutes before adding them to the batter enhances their oils and makes them much more fragrant.
- Double Chocolate: Add 1/2 cup of chocolate chips and 2 tablespoons of cocoa powder to the dry mix for a decadent dessert version.
- Tropical Twist: Replace the milk with coconut milk and add 1/4 cup of shredded coconut to the batter.
- Spice it Up: Add a teaspoon of ground cinnamon or a pinch of nutmeg to the dry ingredients for a warmer, more autumnal flavor profile.
How to Store and Freeze Your Loaf
Banana bread is one of the few baked goods that actually tastes better the second day. As the loaf sits, the moisture from the bananas continues to distribute, making it even softer. To keep it fresh, wrap it tightly in plastic wrap or store it in an airtight container at room temperature for up to three days. If you want it to last longer, you can refrigerate it for up to a week, though this can sometimes firm up the butter and change the texture slightly.
For long-term storage, banana bread freezes beautifully. You can freeze the entire loaf or, more conveniently, freeze individual slices wrapped in foil and placed in a freezer bag. When the craving strikes, just pop a slice in the toaster or microwave for a few seconds. It is the ultimate “gift to your future self.”
Conclusion
Mastering a homemade banana bread recipe is a rite of passage for any home cook. It is a testament to the idea that simple ingredients, when treated with care, can create something truly extraordinary. This specific method, emphasizing the separation of wet and dry ingredients and the use of perfectly ripened fruit, ensures a result that is moist, flavorful, and consistently delicious.
The next time you see those bananas turning brown on your counter, do not throw them away. Instead, see them as an opportunity to create a cozy, homemade treat that will fill your home with warmth and your kitchen with joy. Happy baking, and may your loaf always be golden and your slices always be thick.
Would you like me to suggest some specific beverage pairings to go with your fresh banana bread?