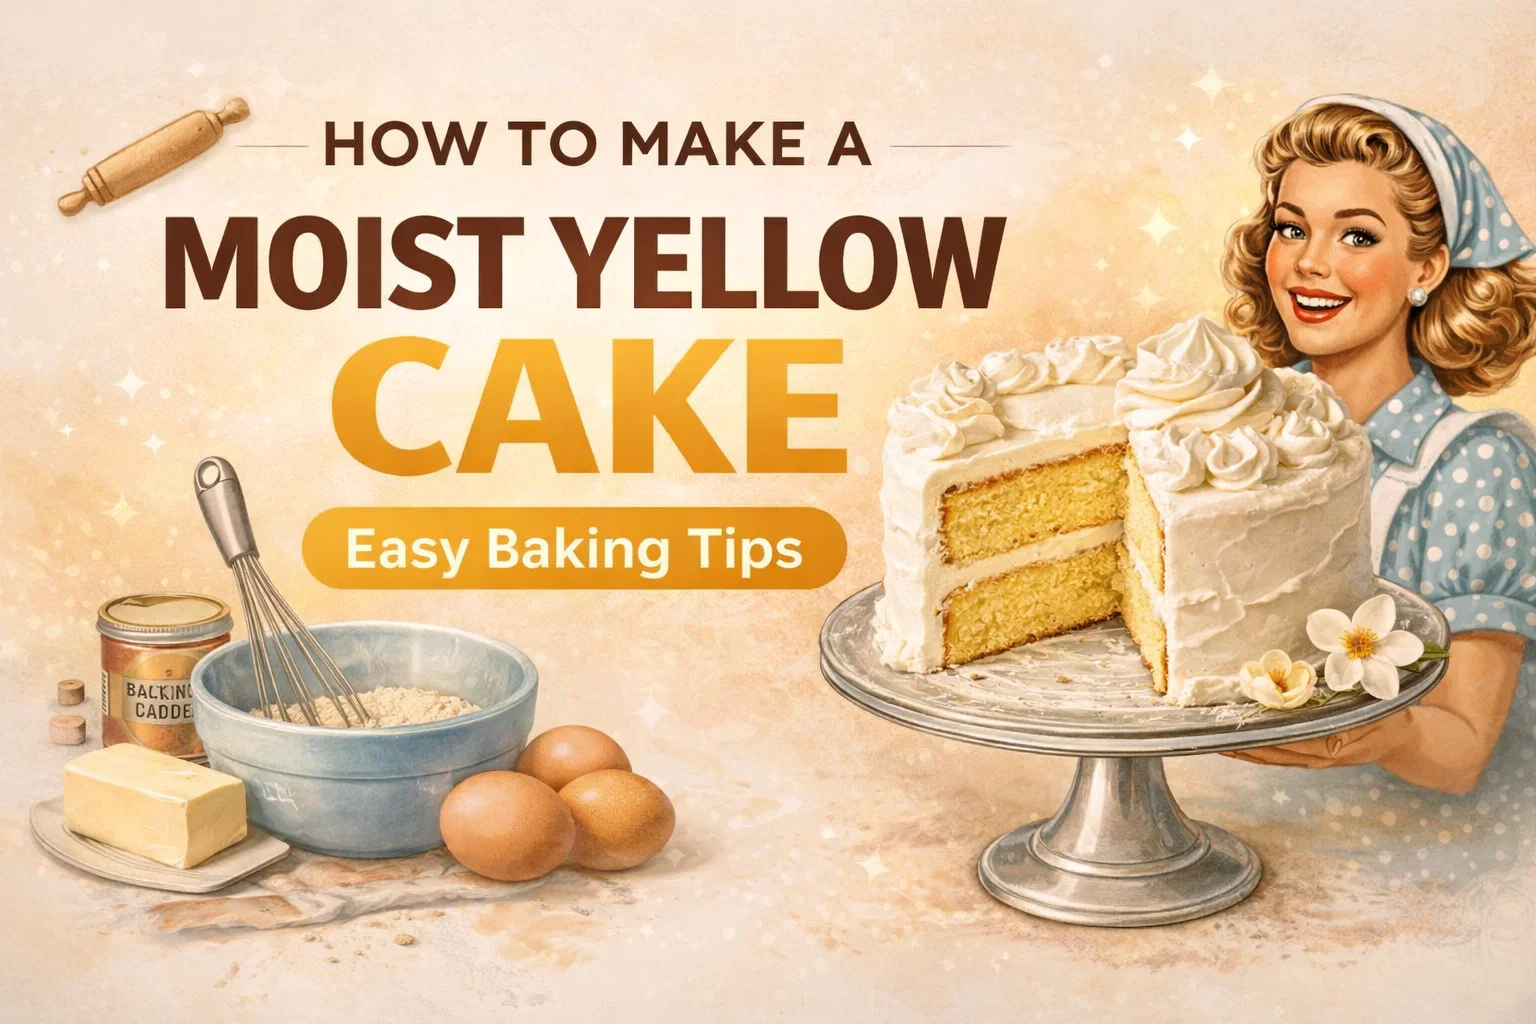
Classic Moist Yellow Cake Recipe Easy Homemade Bakery Style Vanilla Cake from Scratch
There is something undeniably nostalgic about the scent of a golden yellow cake wafting through the kitchen. It is the quintessential birthday cake, the star of every backyard potluck, and the ultimate comfort food for anyone who grew up with home-baked treats. While store-bought mixes have their place for convenience, they can never truly replicate the rich, buttery crumb and the delicate hint of vanilla that comes from a scratch-made recipe. This classic moist yellow cake is designed to be your new go-to, offering a bakery-perfect texture that stays soft for days.
Baking from scratch can feel intimidating if you are used to the consistency of a box, but the process is actually quite therapeutic. By understanding the role of each ingredient and following a few simple techniques, you can achieve a cake that is far superior in flavor and structure. This guide will walk you through everything you need to know to master the art of the yellow cake, from choosing the right flour to the science behind that beautiful golden hue.
The Secrets to a Perfectly Moist Yellow Cake
The hallmark of a great yellow cake is its moisture. No one wants a dessert that crumbles into dry dust the moment a fork touches it. The secret lies in the balance of fats and liquids. In this recipe, we use a generous amount of unsalted butter for flavor, but we also rely on whole milk and extra egg yolks to provide that signature “melt in your mouth” quality. Using room temperature ingredients is perhaps the most important rule in baking. When your butter, eggs, and milk are all at the same temperature, they emulsify properly, creating a smooth batter that traps air and rises beautifully in the oven.
Why Egg Yolks Matter
You might notice that this recipe calls for four whole eggs plus two additional yolks. Those extra yolks are the secret weapon. While egg whites provide structure and lift, the yolks are packed with fats and natural emulsifiers like lecithin. These extra yolks contribute to a tighter, more velvet-like crumb and give the cake its iconic deep yellow color without the need for artificial dyes. It is a simple tweak that elevates a standard sponge into something truly special.
Essential Ingredients for Success
Before you preheat your oven, let us take a closer look at what goes into this masterpiece. High-quality ingredients lead to high-quality results.
- All-Purpose Flour: This provides the necessary structure. While cake flour makes a very tender crumb, all-purpose flour gives the cake enough strength to hold up under heavy frostings or multiple layers.
- Unsalted Butter: Softened butter is key. It should be pliable but not greasy. This allows it to cream with the sugar effectively, creating tiny air pockets that expand during baking.
- Granulated Sugar: Beyond sweetness, sugar helps tenderize the gluten in the flour and keeps the cake moist by locking in water molecules.
- Baking Powder: Our primary leavening agent. Ensure yours is fresh by checking the expiration date; old baking powder is the leading cause of flat, dense cakes.
- Pure Vanilla Extract: Since yellow cake has a relatively neutral flavor profile, the quality of your vanilla really shines through. Use a high-quality extract or even vanilla bean paste for those beautiful little black specks.
Step by Step Guide to the Perfect Batter
The method used here is the traditional creaming method. This technique is the foundation of most classic cakes and is responsible for that light, airy texture we all crave.
Preparing Your Workspace
Start by preheating your oven to 170 degrees Celsius or 350 degrees Fahrenheit. Preparation is half the battle in baking. Grease your pans thoroughly with butter and a dusting of flour, or use parchment paper rounds for an easy release. Having your pans ready before the batter is finished ensures that the leavening agents don’t lose their potency while you scramble to find a spatula.
Creaming the Butter and Sugar
In a large mixing bowl, beat your softened butter and granulated sugar together. You want to go beyond just “mixed.” Continue beating until the mixture looks pale, almost white, and noticeably fluffy. This process usually takes about three to five minutes with a hand mixer or stand mixer. This stage is where you build the aeration that determines the final rise of your cake.
The Alternating Method
When it comes time to add your dry ingredients and your milk, do not dump them in all at once. Start by adding about a third of the flour mixture, then half of the milk, followed by another third of the flour, the rest of the milk, and finally the remaining flour. This “dry-wet-dry-wet-dry” sequence prevents the batter from curdling and ensures that the gluten in the flour is not over-developed. Over-mixing at this stage leads to a tough, bread-like texture, so keep your mixer on a low speed and stop as soon as the last streaks of flour disappear.
Baking to Perfection
Every oven is a little bit different, so use the suggested baking times as a guide rather than a strict rule. For standard round pans, 30 to 35 minutes is usually the sweet spot. If you are using a sheet pan, it may take slightly longer, around 40 to 45 minutes, because the batter is spread thinner and the pan has more surface area to heat.
To check for doneness, look for the edges of the cake beginning to pull away slightly from the sides of the pan. The top should spring back gently when pressed with a finger. You can also use the classic toothpick test; insert it into the center, and if it comes out clean or with just a few moist crumbs, your cake is ready. Avoid over-baking at all costs, as even an extra five minutes can dry out the delicate crumb.
The Importance of Cooling
It is tempting to start frosting the moment the pans come out of the oven, but patience is a virtue in the world of baking. Let the cakes rest in their pans for about ten minutes to firm up. Then, carefully invert them onto a wire cooling rack. Cooling on a rack allows air to circulate around the entire cake, preventing the bottom from becoming soggy due to trapped steam. A completely cool cake is essential before applying frosting; otherwise, your beautiful buttercream will melt into a sugary glaze and slide right off the sides.
Creative Frosting and Filling Ideas
One of the best things about a classic yellow cake is its versatility. It is a blank canvas that pairs well with almost any flavor profile you can imagine. Here are a few ways to finish your masterpiece:
Classic Chocolate Buttercream
For many, this is the gold standard. The richness of a dark cocoa frosting provides a beautiful contrast to the sweet, buttery yellow cake. It creates a visual and flavor balance that is hard to beat.
Fresh Fruit and Whipped Cream
If you want something lighter for a summer celebration, try filling the layers with fresh sliced strawberries or raspberries and covering the exterior with a stabilized whipped cream frosting. The tartness of the fruit cuts through the richness of the butter cake beautifully.
Lemon Curd and Vanilla Bean
For a sophisticated twist, spread a thin layer of zesty lemon curd between the cake layers. Frost the outside with a vanilla bean buttercream. The bright citrus notes elevate the cake and make it feel like something straight out of a high-end patisserie.
Common Troubleshooting Tips
Even the best bakers run into hiccups sometimes. If your cake did not turn out quite right, here is how to diagnose the issue for next time.
- Cake Sunk in the Middle: This usually happens if the oven door was opened too early, causing a sudden temperature drop, or if the cake was under-baked. It can also happen if you used too much baking powder.
- Tough or Dense Texture: This is almost always a sign of over-mixing the batter after the flour was added. Remember to be gentle and use the lowest speed on your mixer during the final stages.
- Greasy Bottom: If the bottom of your cake feels oily, your butter might have been too soft or melted when you started the creaming process. Ensure your butter is at room temperature, not warm.
Wrapping Up Your Baking Journey
Baking a classic moist yellow cake from scratch is more than just a kitchen task; it is a way to create memories. There is a sense of pride that comes from pulling a golden, perfectly risen cake out of the oven, knowing you made it with your own hands and simple, wholesome ingredients. This recipe is a testament to the fact that the old-fashioned favorites are often the best.
Whether you are celebrating a milestone or simply making a Tuesday night a little more special, this cake is sure to bring smiles to the table. Take your time, enjoy the process of whisking and mixing, and do not forget the most important ingredient: a little bit of love. Once you taste that first soft, buttery bite, you will never want to go back to a box mix again. Happy baking!