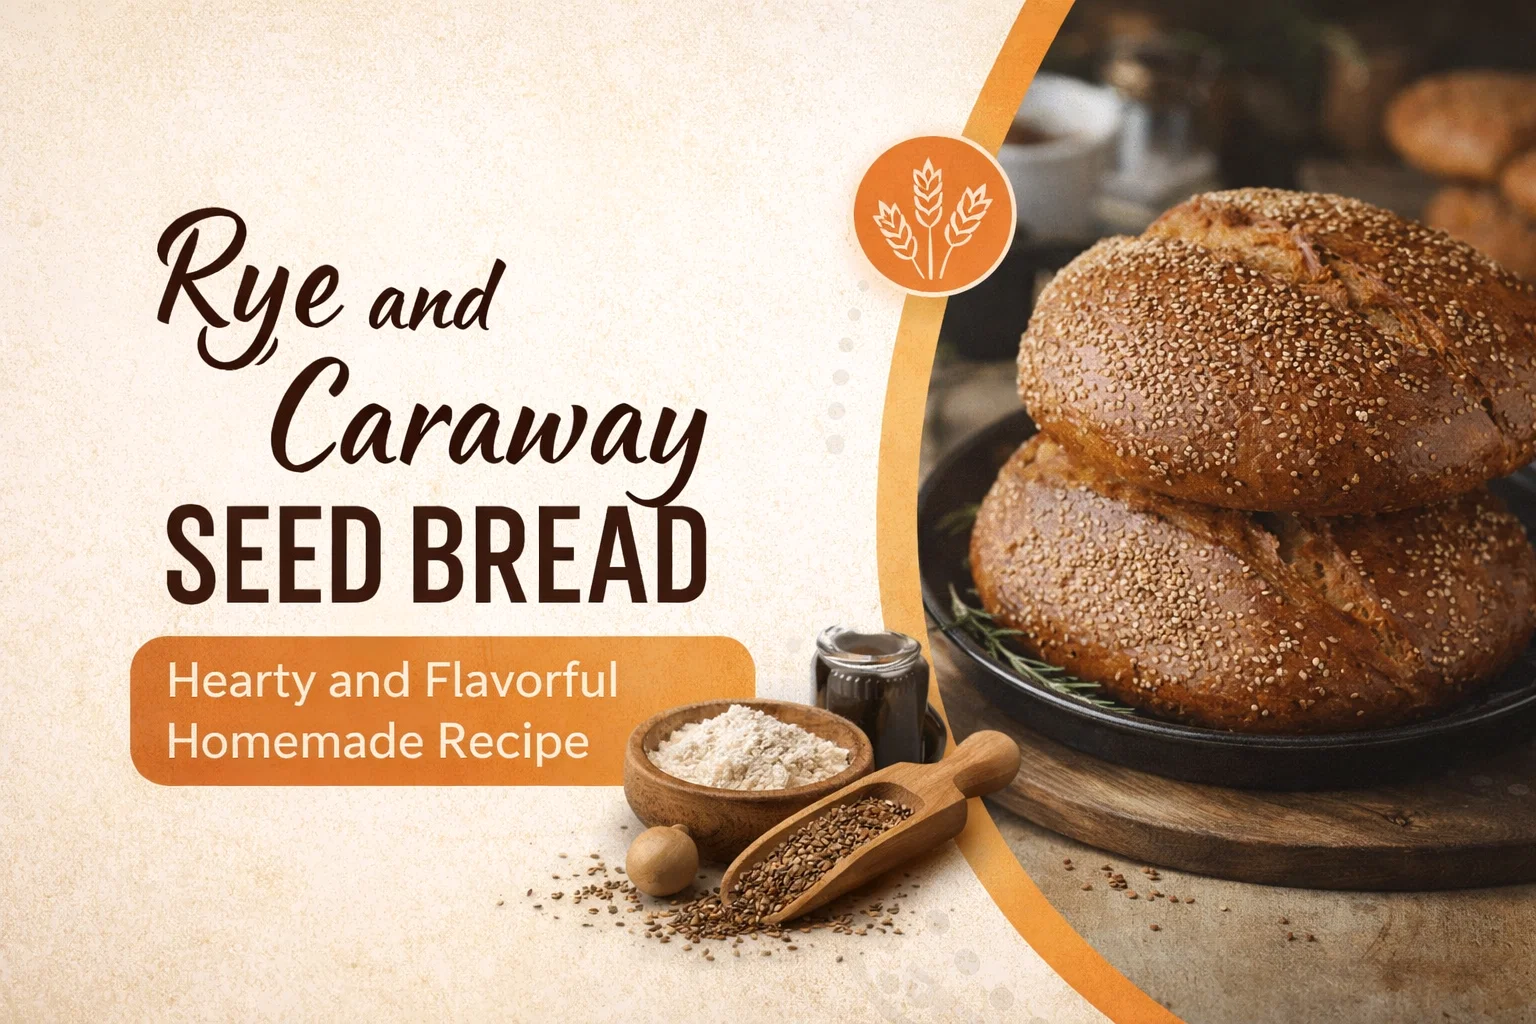
Rye and Caraway Seed Bread Recipe Homemade Hearty Artisan Rye Loaf Baking Guide
There is something undeniably primal and satisfying about the scent of fresh bread wafting through a home. It is a scent that speaks of patience, tradition, and the simple joy of creating something nourishing from scratch. Among the vast world of artisan loaves, few carry as much character and history as a well-crafted Rye and Caraway Seed bread. This particular loaf is a staple for a reason: it offers a dense, chewy texture and a complex flavor profile that light white breads simply cannot match. If you have been looking for a project that elevates your kitchen skills while providing a delicious reward, this hearty artisan loaf is the perfect place to start.
The Timeless Appeal of Rye and Caraway
Rye bread is much more than just a darker alternative to wheat. It is a grain with deep roots in Eastern European and Scandinavian culinary history, where it was prized for its ability to grow in cooler climates and its long shelf life. Unlike modern processed breads, rye brings a sophisticated earthiness to the table. When you combine that deep grain flavor with the distinctive, slightly peppery snap of caraway seeds, you create a sensory experience that is both nostalgic and exciting. The caraway does not just add flavor; it provides a fragrant aroma that cuts through the density of the rye, making every bite balanced and bright.
Understanding the Grain: Why Rye is Different
If you are used to working with standard all-purpose or bread flour, rye will feel a bit different under your hands. Rye contains less gluten than wheat, which means the dough will be stickier and less elastic. This is why most traditional recipes, including the one featured here, use a blend of rye and high-protein bread flour. This combination ensures that you get the unique flavor and nutritional benefits of rye while maintaining enough structure to get a beautiful rise and a soft interior crumb. Working with rye requires a gentle touch and a bit of a shift in expectations, but the result is a bread with a much more satisfying “bite” than your average store-bought loaf.
Essential Ingredients for the Perfect Loaf
To achieve that authentic artisan quality, the quality of your ingredients matters. This recipe focuses on simple, wholesome components that work together to create a professional-grade result. You will need:
- Rye Flour: 300g of quality rye flour provides the base flavor and the signature dark color.
- Bread Flour: 200g of bread flour adds the necessary gluten for structure and height.
- Salt: 10g of fine sea salt to enhance the natural flavors of the grains.
- Instant Yeast: 7g of fast-acting yeast to ensure a consistent and reliable rise.
- Water: 350ml of room temperature water to hydrate the flour and activate the yeast.
- Caraway Seeds: 2 tablespoons of seeds for that iconic peppery, anise-like flavor.
- Molasses: 1 tablespoon to add a hint of sweetness and help achieve a deep, golden-brown crust.
The Role of Molasses in Artisan Baking
You might wonder why a savory bread includes molasses. In rye baking, molasses serves a dual purpose. First, it acts as a food source for the yeast, helping the fermentation process along in a dough that can be quite heavy. Second, it contributes to the “Maillard reaction” during baking. This is the chemical process that gives the crust its rich, dark color and complex toasted flavor. If you prefer a lighter profile, you can substitute the molasses with honey or maple syrup, but the traditional dark rye character is best achieved with the robust depth of molasses.
Step-by-Step Guide to Baking Success
Baking bread is a process of transformation. It takes about four hours from start to finish, but most of that time is passive, allowing the dough to develop flavor and air. Follow these steps to ensure your loaf comes out perfectly every time.
Mixing and Initial Development
Start by combining your dry ingredients in a large mixing bowl. Whisk together the rye flour, bread flour, salt, and yeast. Gradually pour in the water and the molasses. At this stage, you are looking for a sticky dough to form. Do not be tempted to add too much extra flour; rye dough is naturally tackier than wheat dough. Use a sturdy spoon or your hands to incorporate everything until no dry streaks of flour remain.
The Art of Kneading Rye
Turn the dough onto a lightly floured surface. You will want to knead this for about 10 minutes. Because of the rye content, it will not become as smooth as a 100 percent wheat dough, but it should become noticeably more elastic and cohesive. Once the dough feels “stronger,” gently knead in the caraway seeds. Distributing them at the end ensures they stay intact and provides bursts of flavor throughout the bread rather than being crushed into the flour during the initial mix.
The Importance of the Rise
Patience is the most important ingredient in any bread recipe. The first rise, or bulk fermentation, is where the yeast does the heavy lifting. Place your dough in a lightly oiled bowl and cover it with a damp cloth. This prevents the surface of the dough from drying out and forming a skin. Find a warm, draft-free spot in your kitchen and let it sit for one to two hours. You are looking for the dough to double in size. This slow expansion allows the gases to build up, creating the airy pockets that give the bread its texture.
Shaping Your Artisan Loaf
Once the dough has risen, gently deflate it by pressing down with your fist. This redistributes the yeast and the temperature of the dough. Shape it into a neat log that fits into a greased 9×5 inch loaf pan. The goal here is to create surface tension on the top of the loaf, which helps it rise upward rather than outward during the final bake. Cover it again for a second rise of about 45 minutes. Watch the dough carefully; once it reaches the top of the pan, it is ready for the oven.
Achieving the Golden Crust: Baking Tips
Preheat your oven to 180 degrees Celsius (350 degrees Fahrenheit). The oven must be fully up to temperature before the bread goes in to ensure “oven spring,” which is the final burst of rising that happens in the heat. Bake the loaf for 30 to 45 minutes. You will know it is done when the crust is a deep golden brown and the loaf sounds hollow when you tap the bottom. If you have a kitchen thermometer, the internal temperature should reach about 90 to 95 degrees Celsius.
The Secret to Better Flavor: The Cooling Phase
It is incredibly tempting to slice into a warm loaf the moment it leaves the oven, but with rye bread, waiting is essential. Rye contains starches that continue to set as the bread cools. If you cut it too early, the interior can feel gummy or undercooked. Let the loaf rest on a wire rack for at least an hour. This allows the moisture to redistribute, ensuring a perfect crumb and a cleaner slice.
Mastering the Craft: Chef’s Tips for Success
Even simple recipes benefit from a few professional secrets. To take your Rye and Caraway Seed bread to the next level, consider these small adjustments:
- Soak the Seeds: Before you begin mixing, soak your caraway seeds in a tablespoon of warm water for 10 minutes. This softens the outer shell of the seed and releases the essential oils, leading to a much more fragrant bread.
- Control the Humidity: If your house is particularly dry, place a small pan of water on the bottom rack of the oven during the first 10 minutes of baking. The steam will keep the crust soft for longer, allowing the bread to expand fully before the crust hardens.
- Experiment with Toppings: For an extra rustic look, brush the top of the loaf with a little water or egg wash before baking and sprinkle a few extra caraway seeds or some coarse sea salt on top.
Ways to Enjoy Your Homemade Rye
This bread is a powerhouse in the kitchen. Its sturdy structure makes it the ultimate choice for a classic Reuben sandwich, piled high with corned beef, sauerkraut, and melted Swiss cheese. It also pairs beautifully with smoked fish, cream cheese, and fresh dill for a Nordic-inspired breakfast. If you have leftovers, rye bread makes some of the best croutons or breadcrumbs you will ever taste, adding a savory depth to salads and gratins. Because of the acidity in the rye and the presence of molasses, this bread also stays fresh longer than white bread, making it a practical choice for meal prepping during the week.
Conclusion: The Reward of Homemade Bread
Baking your own Rye and Caraway Seed bread is more than just a way to fill your pantry. It is a meditative process that connects you to generations of bakers who used these same simple ingredients to sustain their families. There is a profound sense of accomplishment in pulling a dark, fragrant loaf out of your own oven, knowing exactly what went into it. Whether you are serving it alongside a steaming bowl of vegetable soup or using it as the foundation for an epic sandwich, this bread brings an artisan touch to every meal. So, clear your counter, flour your hands, and enjoy the timeless craft of baking from scratch. Your kitchen, and your taste buds, will thank you.