How to Clean Cast Iron the Right Way Easy Cast Iron Skillet Care and Seasoning Guide
If there is one kitchen tool that carries more history, flavor, and pure cooking power than any other, it is the humble cast iron skillet. Passed down through generations, these heavy, blackened pans are the workhorses of the culinary world. However, many home cooks are intimidated by them. There is a persistent myth that cast iron is high maintenance or easy to ruin. The truth is that cast iron is nearly indestructible if you follow a few specific rules. Understanding how to clean and maintain your cookware is the difference between a rusty hunk of metal and a slick, non-stick surface that performs better than any modern Teflon pan.
The Golden Rule of Cast Iron Maintenance
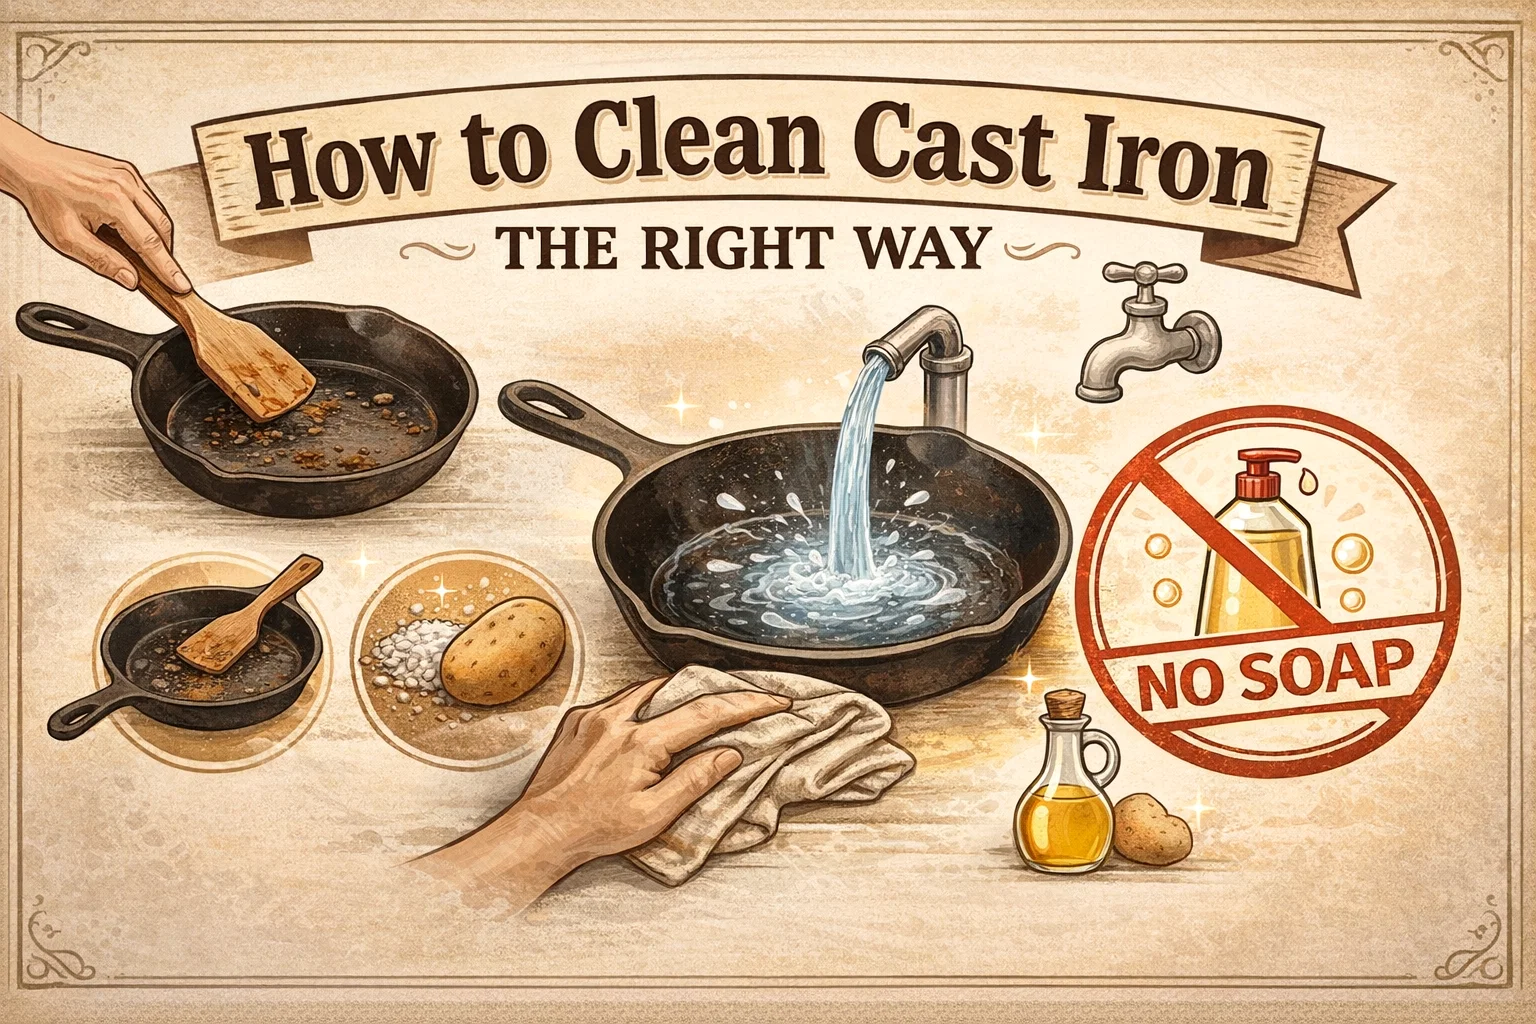
Before diving into the step by step process, we have to address the elephant in the room. You have likely heard it a thousand times: never use soap. While modern dish soaps are milder than the lye based soaps of the past, the rule still stands as a best practice for preserving a deep, rich seasoning. Seasoning is not just grease. It is a layer of carbonized oil that has bonded to the metal through a process called polymerization. When you use harsh detergents or soak your pan in the sink, you risk breaking down that hard earned barrier, leading to rust and sticking food. To keep your heirloom in top shape, you want to focus on mechanical cleaning rather than chemical cleaning.
Step 1: Scrape Away the Surface Debris
The cleaning process starts the moment you finish cooking. While the pan is still slightly warm, use a wooden spatula to scrape away any excess food particles or charred remains. Wood is the preferred material here because it is strong enough to dislodge stuck bits but soft enough that it won’t gouge the seasoned surface. Avoid using sharp metal scrapers that can flake off your seasoning. If you tackle the pan while it still has some residual heat, the fats and proteins from your meal will be much easier to lift off the surface before they have a chance to cool and harden into a cement like substance.
Step 2: The Quick Rinse Method
Once the loose debris is gone, move the pan to the sink for a quick rinse. The keyword here is quick. You should never soak your cast iron skillet in water for more than a minute. Prolonged exposure to moisture is the primary cause of oxidation and rust. Use warm water to help melt away any remaining grease. If the pan is still very hot, avoid using ice cold water, as the extreme temperature shift can actually cause the iron to crack or warp. A steady stream of warm water and a light pass with a soft brush is usually all you need for a well maintained pan.
Why Soaking is the Enemy
Iron is a porous material. Even though the seasoning fills in many of those microscopic holes, water can still find its way into the nooks and crannies. When water sits, it begins to react with the iron molecules. This is why you might see orange spots on a pan left in the sink overnight. By keeping your rinse time under sixty seconds, you prevent the water from penetrating deep enough to cause damage.
Step 3: The Secret Weapon: Salt and Potato Scrub
For those stubborn, crusty spots that a spatula just can’t handle, you don’t need to reach for the steel wool. Instead, use a natural abrasive. Pour a generous amount of coarse kosher salt into the bottom of the pan. Take a potato, cut it in half to create a flat surface, and use it as a scrubbing pad. The moisture from the potato reacts with the salt to create a scrubbing paste that is incredibly effective at lifting burnt on food without stripping the seasoning. This method is a favorite among professional chefs because it is gentle on the pan but tough on the grime. Once you have scrubbed the entire surface, simply rinse away the salt and potato remains with warm water.
Step 4: The Final Warm Water Rinse
After your salt scrub, give the pan one final, thorough rinse with warm water. This ensures that every grain of salt is gone. Salt is a desiccant, meaning it pulls moisture from its surroundings. If any salt is left behind on the iron, it can actually accelerate the rusting process later on. Use your hands or a clean cloth to feel the surface and make sure it is smooth and free of any gritty texture.
Step 5: Wiping and Initial Drying
Now that the pan is clean, it is time to dry it. Using a dedicated kitchen towel or paper towels, wipe away all the visible water from the interior, exterior, and the handle. Do not forget the bottom of the pan! Even though you didn’t cook on the bottom, water can hide there and cause rust on your stovetop or inside your cabinets. However, towel drying is only the first half of the battle. Even when a pan looks dry to the naked eye, there is still microscopic moisture trapped in the pores of the iron.
Step 6: Heat Drying for Total Moisture Removal
This is perhaps the most important step in the entire cleaning ritual. Place your wiped pan back onto the stove over a medium low flame for a few minutes. As the pan heats up, any remaining water will evaporate into steam. You will know it is ready when the iron starts to look slightly dull and matte. Heating the pan also opens up the pores of the metal, which prepares it perfectly for the final and most rewarding step: greasing.
The Science of the Heat Dry
When you apply heat, the molecules in the iron expand. This physical change allows the metal to release any trapped liquid. If you skip this step and go straight to the cupboard, you are essentially sealing moisture underneath a layer of oil or inside a dark cabinet, which is a recipe for a rusty surprise the next time you go to cook bacon.
Step 7: Greasing and Re-Seasoning
While the pan is still warm from the stove, apply a very thin layer of oil. You don’t need much. A teaspoon is usually enough for a standard twelve inch skillet. Use a clean rag or a paper towel to buff the oil into every surface of the pan, including the handle and the bottom. You want the pan to look dark and shiny, but it should not feel sticky or greasy to the touch. If you use too much oil, it can turn rancid or become gummy over time. The heat from the drying step helps the oil bond to the iron, reinforcing that non-stick layer and creating a waterproof seal that protects the metal from the air.
Choosing the Right Oil
Not all oils are created equal when it comes to cast iron. You want an oil with a high smoke point. Flaxseed oil, grapeseed oil, and vegetable oil are all excellent choices. Avoid using butter or olive oil for this step, as they have lower smoke points and can break down or become sticky when stored. Lard or shortening is also a classic choice that has been used for hundreds of years to keep pans in pristine condition.
Long Term Storage and Care Tips
Where you store your cast iron matters just as much as how you clean it. If you stack your pans, place a paper towel between them to prevent scratching and to absorb any stray moisture in the air. Never store your cast iron with a lid on it, as this can trap humidity inside and lead to musty odors or rust. Many people prefer to keep their most used skillet right on the stovetop, which is perfectly fine as long as it stays dry.
What to Do if Your Pan Rusts
If you make a mistake and find a bit of rust on your pan, do not panic! Cast iron is incredibly resilient. Simply use a bit of steel wool or a stiff brush to scrub away the rust until you see the gray metal underneath. Then, follow the cleaning and greasing steps mentioned above, perhaps performing a full oven seasoning session to bake that new layer of oil into the metal. Your pan will be back to its former glory in no time.
The Benefits of Proper Cast Iron Care
Why go through all this trouble? The benefits are numerous. First, a well seasoned cast iron pan is naturally non-stick, allowing you to cook eggs and delicate fish without the use of synthetic chemicals like PFOAs. Second, cast iron has incredible heat retention, meaning your steaks will get a better sear and your cornbread will have a crispier crust. Finally, there is the sustainability factor. While non-stick pans end up in landfills every few years, a well cared for cast iron skillet can literally last for centuries.
Conclusion: A Lifetime of Cooking Joy
Caring for cast iron is less about hard work and more about building a simple, consistent habit. By following these seven steps, you are not just cleaning a tool, you are preserving a piece of culinary heritage. Every time you scrape, rinse, and grease your pan, you are adding another layer to its story and ensuring that it remains a reliable partner in your kitchen. So, the next time you whip up a family meal in your favorite skillet, take pride in the process. With just a little bit of attention and no soap ever, you are set for a lifetime of happy cooking and delicious memories.