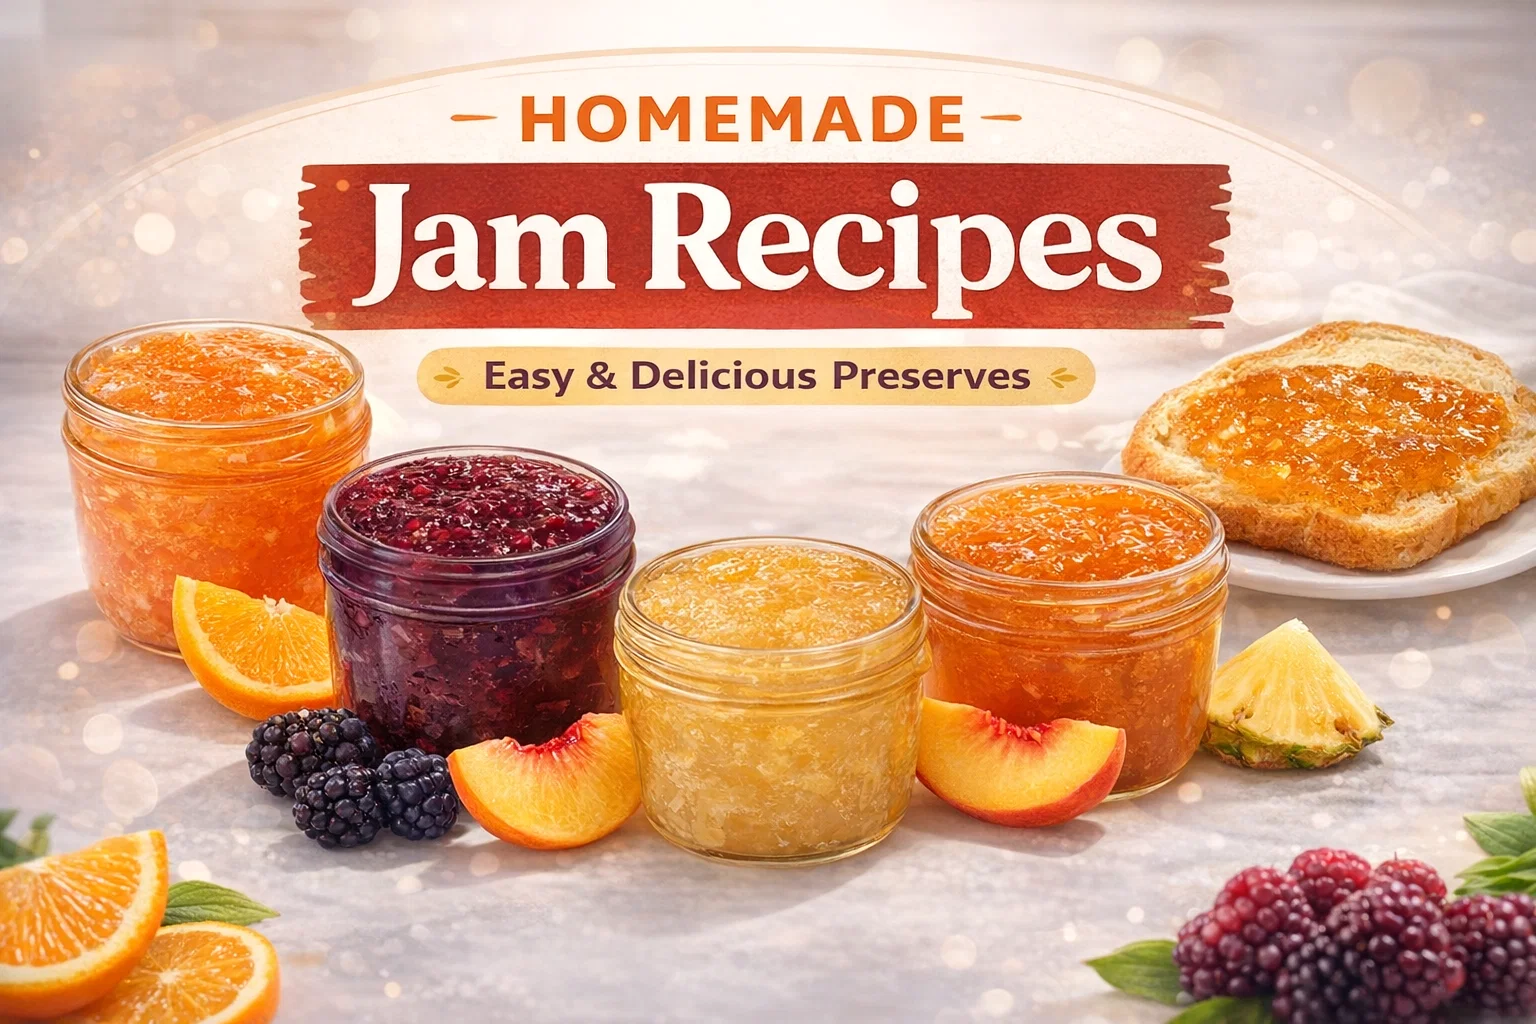
4 Homemade Fruit Jam Marmalade Recipes Easy Orange, Blackberry, Peach Pineapple Jam
There is something undeniably magical about the sound of a glass jar popping open to reveal the vibrant, sun-kissed flavors of preserved fruit. Whether it is the zesty bite of a morning marmalade or the deep, soulful sweetness of a blackberry jam, homemade preserves are a staple of the cozy, handcrafted kitchen. Moving away from store-bought options allows you to control the sugar content, skip the artificial preservatives, and truly let the natural essence of the fruit shine through. If you have ever felt intimidated by the idea of canning, these four beginner-friendly recipes for orange, blackberry, peach, and pineapple jam will prove that creating gourmet spreads at home is both simple and deeply rewarding.
The Art of Small Batch Jam Making
Many people shy away from making jam because they envision massive copper kettles and an all-day commitment. However, small-batch preserving is the secret to a stress-free kitchen. By working with smaller quantities of fruit, such as the four cups suggested in these recipes, the cooking time is significantly reduced. This shorter boiling period helps maintain the bright color and fresh taste of the fruit, preventing it from becoming overly caramelized or muddy in flavor.
Using fresh, seasonal produce is the cornerstone of a great preserve. When fruit is at its peak ripeness, it contains the highest levels of natural sugars and aromatic compounds. While frozen fruit can be a fantastic substitute for blackberries or pineapple during the off-season, nothing quite beats the fragrance of a sun-ripened peach or a juicy Valencia orange during their prime months. These recipes are designed to be approachable, requiring only a few staple ingredients like granulated sugar, lemon juice, and water to achieve professional results.
Zesty Orange Marmalade: A Classic Breakfast Staple
Orange marmalade is the sophisticated cousin of the jam family. Unlike standard jams that use only the pulp, marmalade celebrates the entire fruit, including the peel. This creates a complex profile that balances sweetness with a pleasant, subtle bitterness. For this recipe, you will need three large seedless oranges and one lemon. The inclusion of the lemon is vital because citrus peels are naturally high in pectin, the substance responsible for giving jam its gel-like consistency.
Preparation Tips for the Perfect Set
To start your marmalade, you must thinly slice the oranges and lemon. The thickness of your slices will determine the texture of your finished product. Some prefer chunky, rustic ribbons of peel, while others enjoy a fine, delicate shred. Once sliced, combine the fruit with four cups of water and let it simmer until the peels are tender. This pre-boiling step is essential to soften the rind before the sugar is added. Once you stir in the three cups of granulated sugar, the mixture will begin to transform into a glossy, amber-colored syrup that pairs perfectly with buttery sourdough toast or flaky croissants.
Deep and Dark Blackberry Jam
Blackberry jam is prized for its intense color and bold, earthy sweetness. It is perhaps one of the most versatile preserves, working just as well on a morning muffin as it does swirled into a bowl of Greek yogurt. This recipe calls for four cups of blackberries, which can be fresh from the vine or high-quality frozen berries. One of the highlights of this specific recipe is the addition of half a teaspoon of lemon zest alongside the lemon juice. The zest provides a concentrated burst of citrus oil that cuts through the richness of the dark berries.
Achieving the Ideal Texture
When cooking blackberry jam, you have a choice regarding the seeds. Some enthusiasts love the rustic crunch of a full-berry jam, while others prefer a smoother consistency. If you want a seedless version, you can press the cooked berries through a fine-mesh sieve before the final thickening stage. However, leaving them in adds a wonderful homemade character. The combination of two cups of sugar and two tablespoons of lemon juice ensures a balanced acidity that makes the blackberry flavor pop without being cloyingly sweet.
Sweet Summer Peach Jam with a Hint of Vanilla
If summer could be captured in a jar, it would undoubtedly be peach jam. Peaches have a delicate, floral sweetness that is heightened when cooked down with sugar. This recipe uses four cups of fresh peaches and two cups of granulated sugar. What sets this particular version apart is the addition of half a teaspoon of vanilla extract. Vanilla acts as a flavor enhancer, rounding out the sharp edges of the fruit and adding a creamy, dessert-like quality to the spread.
Peeling and Pitting Your Peaches
To get the best results, it is recommended to peel your peaches before jamming. An easy way to do this is the blanching method: drop the whole peaches into boiling water for thirty seconds, then immediately plunge them into an ice bath. The skins will slip right off. Once peeled and pitted, mash the peaches to your desired consistency. As the jam boils, the vanilla and peach aromas will fill your kitchen with an incredible fragrance. This jam is a spectacular topping for vanilla bean ice cream or a filling for homemade thumbprint cookies.
Tropical Pineapple Jam with a Ginger Twist
For those looking for something a bit more exotic, pineapple jam is a refreshing departure from traditional berry flavors. Pineapple is naturally acidic and sweet, making it an excellent candidate for preserving. This recipe uses four cups of fresh pineapple and two cups of sugar. The secret ingredient here is one teaspoon of grated fresh ginger. The warmth of the ginger provides a beautiful contrast to the tropical brightness of the pineapple, creating a sophisticated flavor profile that is both zesty and soothing.
Serving Suggestions for Pineapple Jam
While this jam is delicious on bread, its unique flavor profile makes it a star in savory applications as well. Try using it as a glaze for grilled chicken or a topping for a ham roast. In a breakfast setting, it is unmatched when spread over warm coconut bread or used as a layer in a tropical parfait. The fresh ginger adds a subtle heat that lingers on the palate, making each bite interesting and vibrant.
Essential Tools for Home Preserving
You do not need an industrial kitchen to make high-quality jams, but a few specific tools will make the process much smoother. A heavy-bottomed pot is perhaps the most important item. Because jam involves simmering sugar at high temperatures, a thin pot can lead to scorching. Stainless steel or enameled cast iron are the best choices for even heat distribution.
- Digital Thermometer: While many use the spoon test to check for a set, a thermometer can tell you exactly when you hit the magic 220 degrees Fahrenheit mark.
- Jar Funnel: This helps keep the rims of your jars clean, which is crucial for achieving a proper seal.
- Potato Masher: A simple tool that is perfect for crushing berries and peaches to create a rustic, chunky texture.
- Sterilized Glass Jars: Always ensure your jars are clean and heat-treated before filling them to ensure the longevity of your preserves.
Understanding the Role of Sugar and Acid
In jam making, sugar and acid are not just for flavor; they are functional ingredients. Sugar acts as a preservative by binding to water molecules, which prevents the growth of bacteria. It also works in tandem with pectin to create the gel structure. If you reduce the sugar too much in a traditional recipe, the jam may remain runny.
Acid, usually in the form of lemon juice, is equally important. Many fruits do not have enough natural acidity to allow the pectin to bond. Adding lemon juice lowers the pH of the mixture, which “activates” the pectin and allows it to form a mesh that traps the fruit and liquid. This is why you will see lemon juice in almost every reputable jam recipe. It provides the structural integrity needed for that perfect, spreadable consistency.
Testing for the Perfect Set
One of the biggest concerns for new jam makers is knowing when the jam is finished. If you cook it too long, it becomes tough and sticky; if you don’t cook it long enough, it remains a syrup. Aside from using a thermometer, the “cold plate test” is a reliable, old-fashioned method. Place a few small saucers in the freezer before you start cooking. When you think the jam is ready, place a small dollop on a cold plate and return it to the freezer for one minute. Push the edge of the jam with your finger. If it wrinkles and holds its shape, it is ready to be jarred.
Creative Ways to Use Your Homemade Jams
Once you have a pantry full of beautiful jars, the culinary possibilities are endless. While toast is the classic vessel, these jams can elevate many different dishes. Use the blackberry jam as a swirl in cheesecake batter, or use the orange marmalade as a base for a tangy salad dressing mixed with olive oil and Dijon mustard. The peach jam is incredible when folded into whipped cream for a cake filling, and the pineapple jam can be used to sweeten a spicy fruit salsa.
Homemade jams also make incredible gifts. A jar of hand-labeled peach vanilla jam tied with a simple piece of twine and a sprig of dried lavender is a thoughtful gesture for neighbors, teachers, or friends. It shows a level of care and effort that a store-bought gift simply cannot replicate.
Embrace the Joy of the Homemade Pantry
Starting your journey into fruit preserves is a wonderful way to connect with the seasons and bring a touch of artisanal quality to your daily meals. These four recipes offer a spectrum of flavors, from the zesty and bright to the deep and floral. By following these simple steps and understanding the basic science of sugar and acid, you can fill your kitchen with the sweet aroma of simmering fruit and your shelves with jars of liquid gold. Whether you are a seasoned cook or a complete novice, there is no better time to start mashing, simmering, and bottling your own delicious creations. Happy jamming!