Crispy Fried Chicken Strips Recipe Homemade Buttermilk Fried Chicken for Burgers Wraps
There is something universally comforting about the sound of a perfect crunch. Whether it is a late night snack or the centerpiece of a family Sunday dinner, crispy fried chicken holds a special place in the hearts of food lovers everywhere. Many of us have tried to replicate that restaurant quality texture at home, only to end up with soggy breading or dry meat. The secret lies not just in the ingredients, but in the technique and the harmony of spices. Today, we are diving deep into the ultimate recipe for homemade crispy fried chicken strips that are versatile enough to star in burgers, wraps, and loaded fries.
The Anatomy of the Perfect Fried Chicken Strip
To understand how to make the best fried chicken, we have to look at what makes a strip successful. It starts with the cut of the meat. Using boneless chicken strips, often cut from the breast or tenderloin, ensures that every bite is easy to eat and cooks evenly. The goal is to achieve a golden brown, craggy exterior that shatters when you bite into it, protecting a juicy and well seasoned interior.
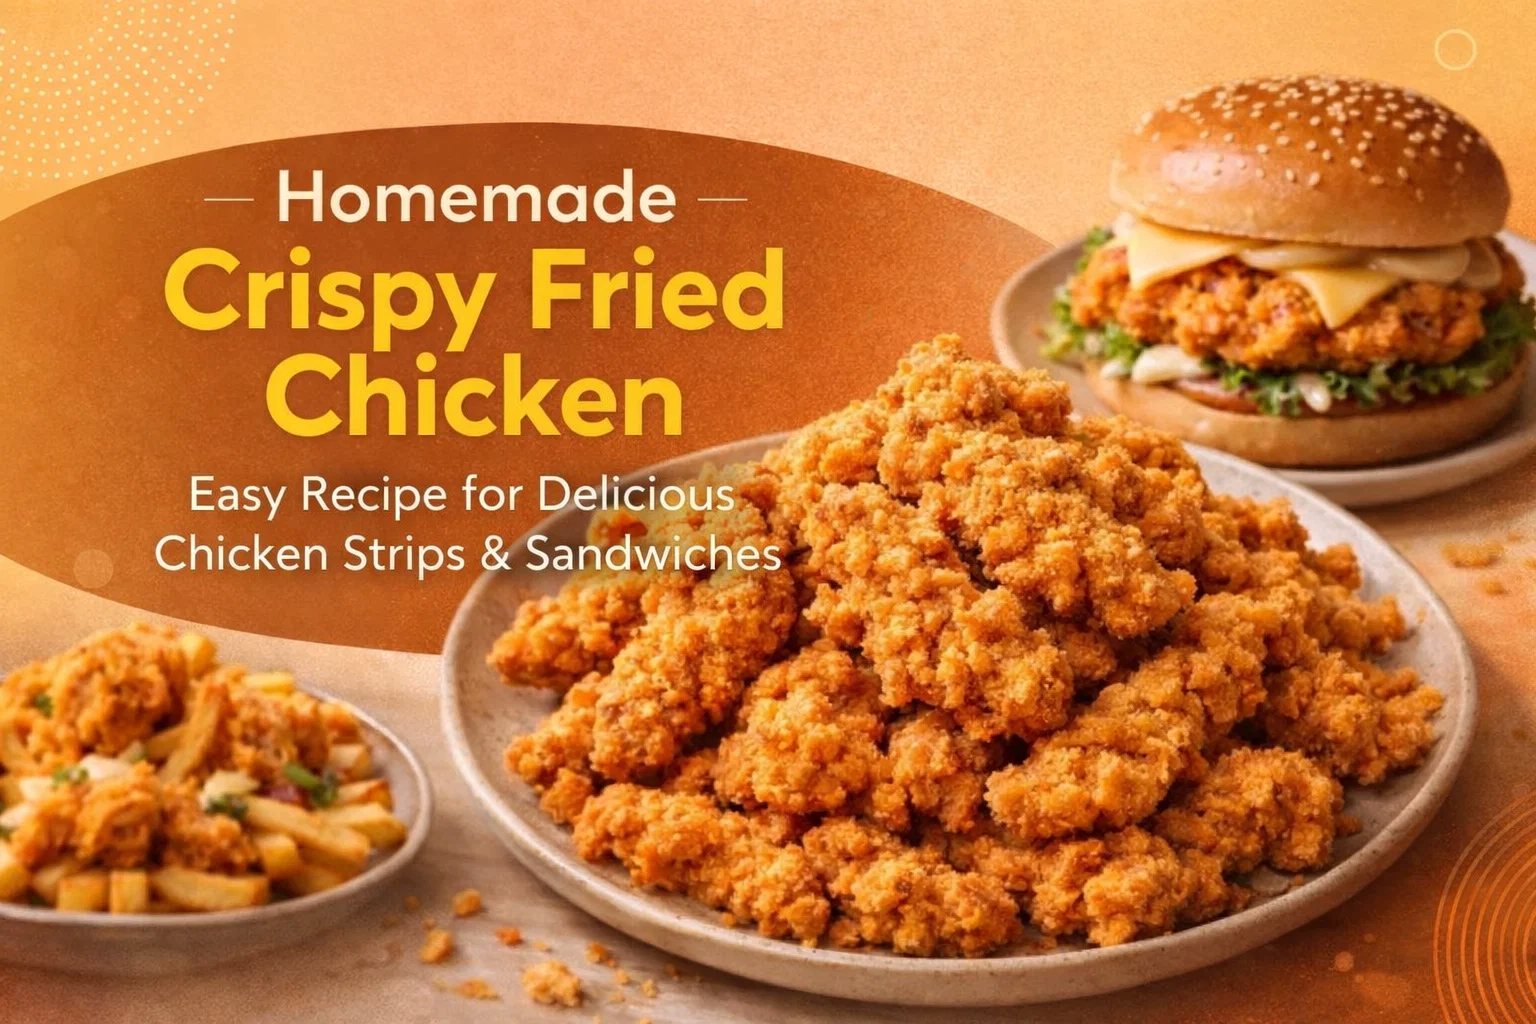
The image we are looking at showcases exactly this. Notice the irregular, bumpy texture on the chicken. This is not a smooth batter; it is a flaky crust created by the interaction between wet and dry ingredients. This specific texture is what catches sauces and provides that satisfying mouthfeel that distinguishes professional fried chicken from a simple pan fry.
The Essential Ingredient List
Before you heat up the oil, you need to gather your components. Each item in this list serves a specific chemical or culinary purpose. Here is what you will need to get started:
- Boneless Chicken Strips (800g): The star of the show. Ensure they are patted dry before starting the process.
- Buttermilk (2 cups): This is the secret to tenderness. The acidity in buttermilk breaks down the proteins in the chicken.
- The Flour Base: A mix of 2 cups of all purpose flour and 1/2 cup of cornflour. The cornflour is vital because it inhibits gluten development, leading to a crispier finish.
- Baking Powder (1 tsp): This creates tiny air bubbles in the coating when it hits the hot oil, adding to the light, airy crunch.
- The Spice Blend: A combination of salt, black pepper, red chili powder, garlic powder, and paprika. This ensures the flavor is layered through the coating.
- Binding Agents: One large egg and 1/2 cup of cold water to create the perfect dredging consistency.
- Oil for Frying: A high smoke point oil like vegetable, canola, or peanut oil is necessary for deep frying.
Step by Step Preparation: The Buttermilk Soak
The first and perhaps most important step is the marinade. You cannot rush perfection. By soaking your chicken strips in buttermilk, you are doing two things: seasoning the meat from the inside out and ensuring it stays moist during the high heat of frying. Many chefs recommend adding a splash of hot sauce or a pinch of salt to the buttermilk to further enhance the flavor profile.
Ideally, you should let the chicken marinate for at least thirty minutes, though two to four hours in the refrigerator is even better. This time allows the enzymes in the buttermilk to work their magic. When you pull the chicken out, the buttermilk acts as a glue for the flour, ensuring the breading does not fall off in the fryer.
The Science of the Double Dredge
If you want those beautiful ridges and flakes seen in the image, you must master the dredge. You start by mixing your dry ingredients: the flour, cornflour, baking powder, and all your spices. In a separate bowl, whisk together the egg and cold water. This cold water is a pro tip; the temperature difference between the cold batter and hot oil causes a physical reaction that results in a crispier shell.
Creating the Crags
To get that signature look, dip your marinated chicken into the flour mixture, then into the egg wash, and finally back into the flour. When you do the final flour coating, press the flour into the chicken firmly. Then, give it a gentle shake. Those little clumps of flour that form are what turn into the extra crunchy bits everyone fights over at the dinner table.
Mastering the Frying Process
Deep frying can be intimidating, but it is all about temperature control. You want your oil to be around 350 degrees Fahrenheit (175 degrees Celsius). If the oil is too cold, the chicken will soak it up and become greasy. If it is too hot, the outside will burn before the inside is cooked through.
Batch Frying for Best Results
Never crowd the pan. Adding too many strips at once drops the oil temperature significantly. Fry in small batches, giving each piece enough room to swim. Most chicken strips will take about five to seven minutes to reach a perfect golden brown. Always use a wire rack to drain the chicken rather than paper towels. A wire rack allows air to circulate around the entire strip, preventing the bottom from getting soggy.
Versatile Serving Ideas: Beyond the Basket
One of the best things about this recipe is how many different meals you can create with a single batch of chicken. The image highlights four incredible ways to enjoy your hard work:
The Classic Fried Chicken Burger
Take a toasted brioche bun, add a layer of creamy mayonnaise and crisp lettuce, and top it with two of your golden chicken strips. Adding a slice of melted cheese and some spicy pickles can take this burger to a professional level. The sweetness of the bun balances the salty, savory crunch of the chicken perfectly.
The Fresh Chicken Wrap
For a lighter feeling meal, tuck a chicken strip into a flour tortilla. Add some shredded greens, diced tomatoes, and a drizzle of ranch or honey mustard dressing. This is a great way to use leftovers the next day, as the wrap keeps everything contained and portable.
Loaded Chicken Fries
Why choose between fries and chicken when you can have both? Chop your crispy strips into bite sized pieces and scatter them over a bed of hot french fries. Drizzle with cheese sauce, garlic aioli, or buffalo sauce for an indulgent appetizer that is always a crowd pleaser.
Tips for Success and Troubleshooting
If your breading is falling off, it usually means the chicken was too wet when it hit the flour or you did not press the flour in firmly enough. Make sure you follow the flour-liquid-flour sequence carefully. Another common issue is the chicken looking dark but feeling raw. This happens when the oil is too hot. If you do not have a thermometer, drop a small piece of bread or a pinch of flour into the oil; it should sizzle immediately but not turn black instantly.
Storing and Reheating
Fried chicken is best fresh, but if you have leftovers, avoid the microwave at all costs. The microwave will make the crust rubbery. Instead, use an air fryer or a conventional oven at 375 degrees Fahrenheit for about five minutes. This will revive the crunch and keep the meat juicy.
Conclusion: Bringing the Crunch Home
Making restaurant quality crispy fried chicken is a skill that pays off every time you see the smiles around your dinner table. By focusing on the buttermilk marinade, the cornflour blend, and the proper frying temperature, you can create a meal that rivals any fast food chain or high end bistro. It is about the joy of cooking from scratch and the satisfaction of that first perfect bite.
Gather your ingredients, put on your favorite playlist, and get frying. Whether you are building a towering burger or enjoying a simple basket of strips with your favorite dipping sauce, this recipe is sure to become a staple in your kitchen. Do not forget to experiment with the spice levels to make it your own. Happy cooking!