How to Cut a Zipper to Size Quick Sewing Tip for Beginners
Have you ever been in the middle of a fantastic sewing project, only to realize the zipper you bought is way too long for your garment? It is a scenario that has frustrated countless DIY enthusiasts and seasoned seamstresses alike. You hold that zipper, scissors in hand, and suddenly doubt creeps in. Can you really just cut it? Will it ruin the mechanism? The answer is a resounding yes, you absolutely can, and it is a fundamental skill that will elevate the quality of your handmade clothes immediately.
Mastering the art of shortening zippers is not just about convenience. It is about taking full control over your sewing supply stash. Instead of running back to the fabric store every time your zipper length does not match your pattern, you can use what you already have on hand. In this guide, we are going to walk through the foolproof process of sizing a zipper to perfection. It is a quick, satisfying technique that turns a potential project stopper into a minor, two-minute adjustment.
Why Learning to Shorten Zippers Changes Everything
If you are a beginner, the sheer number of notions and specific requirements for a pattern can feel overwhelming. Zippers are often the most intimidating part of constructing a skirt, dress, or bag. By learning how to alter them to fit your specific needs, you are instantly becoming a more versatile sewist. You will no longer be limited by the selection at your local shop or wait times for shipping.
Beyond convenience, this skill allows for a much cleaner, more professional finish. When a zipper is the exact size required, you avoid bulky folded-over ends or awkward gaps that can make a garment look homemade rather than handmade. It is these small, technical details that separate professional tailoring from amateur attempts.
The Anatomy of Your Zipper
Before we dive into the cutting process, it is important to understand what you are actually working with. Most standard zippers consist of a continuous coil of teeth, tape, and a slider. At the top, you have two small metal stops that prevent the slider from coming off. At the bottom, there is typically a larger metal or plastic stop that keeps the two sides of the zipper together.
The key to shortening a zipper is recognizing that you are essentially creating a new bottom stop. You are not just hacking away at the material. You are re-engineering the zipper to function exactly as the manufacturer intended, just at a different length. This ensures the slider stops right where you want it to, maintaining the integrity of the zipper’s smooth operation.
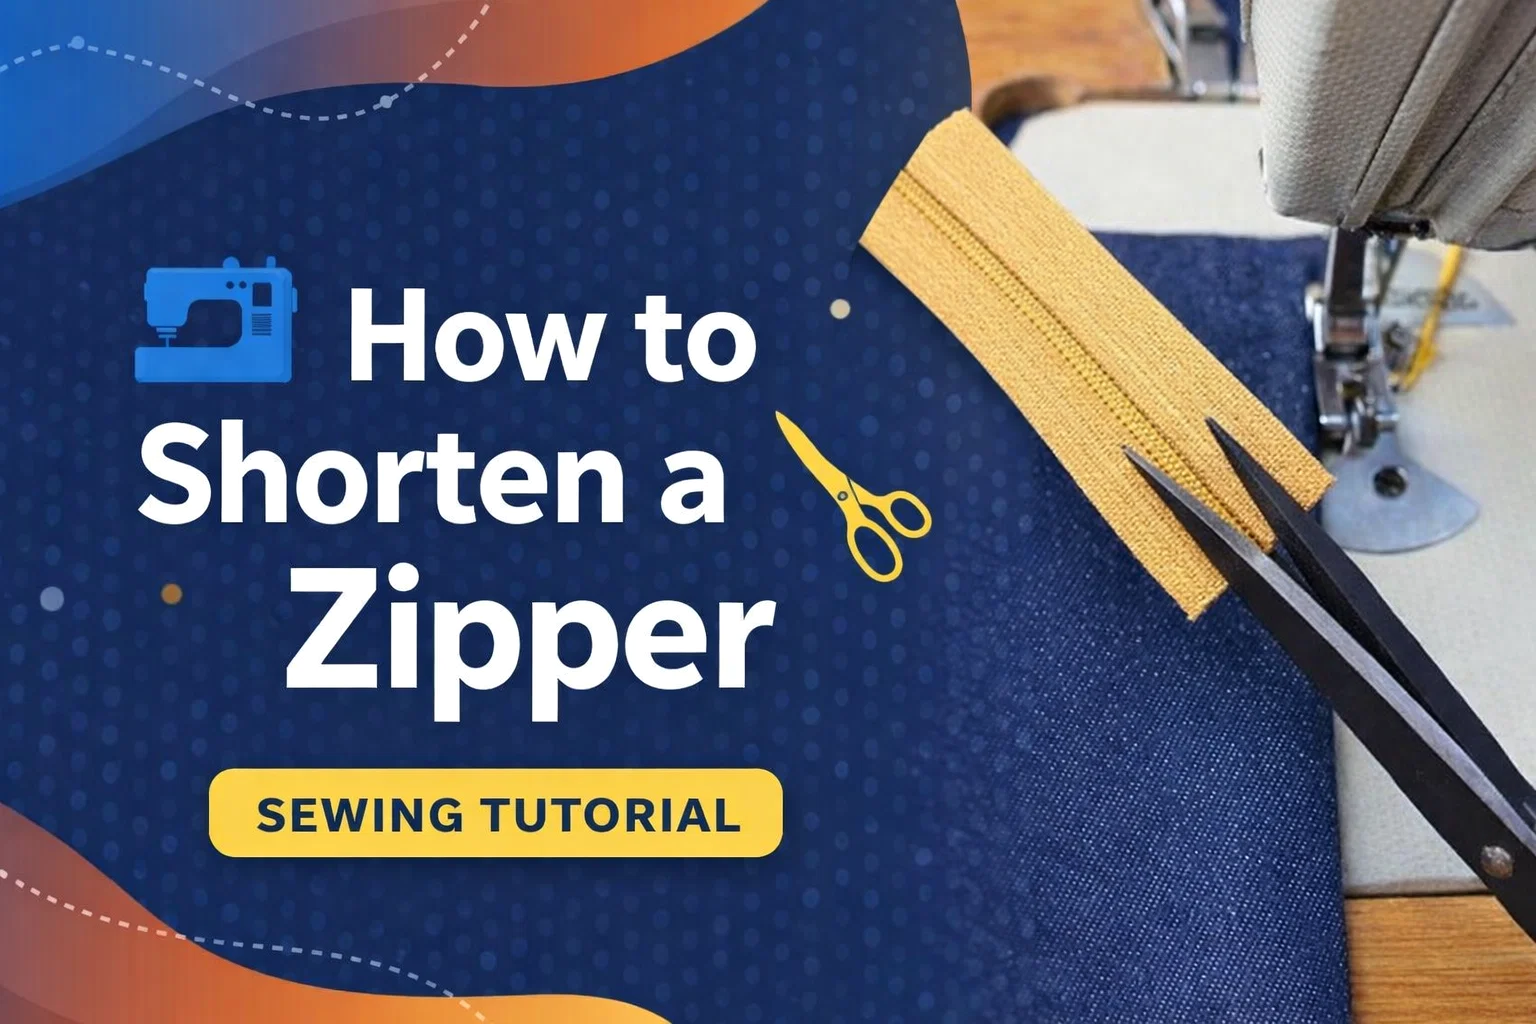
Step-by-Step: How to Safely Trim Your Zipper
Let’s look at the process in detail. This technique works best on standard nylon coil zippers, which are the most common type used in apparel sewing.
Step 1: Measuring Twice, Cutting Once
Accuracy is vital here. Mark the exact position on your zipper tape where you need the zipper to end. Take your time to measure against your pattern or the actual garment piece. Remember that you need to account for your seam allowance. If you cut it too short, you cannot fix it, so always double-check your marks before taking the scissors to the tape.
Step 2: Creating the New Stop
This is the most critical part of the process. Before you cut the excess material, you need to secure the teeth so the slider does not zip right off the end. You have a few options for this. You can use your sewing machine to create a very dense zig-zag stitch over the teeth at your marked spot. This creates a functional “stopper” made of thread. Alternatively, for a more robust finish, you can use a hand needle and heavy-duty thread to wrap tightly around the teeth, effectively locking them in place.
Step 3: The Final Trim
Once you are confident that your new stop is secure, it is safe to cut the excess zipper tape and coil. Use a sharp pair of fabric shears to ensure a clean cut. You want to leave about 1/2 inch or 1 cm of tape below your new stop to make it easier to attach the zipper to your garment fabric. Be very careful not to nick the teeth or your new thread stop with the scissors.
Common Mistakes to Avoid
Even simple tasks have pitfalls. Here are a few things to watch out for to ensure your zipper installation goes smoothly:
- Skipping the stop: Never cut the zipper without creating a new stop first. If you do, the slider will immediately fall off the end, and you will have to reinstall it, which is significantly more difficult than just making a new stop.
- Using dull scissors: Dull scissors can fray the zipper tape and make the cut uneven, which can lead to the zipper catching or jamming later on.
- Rushing the measurement: As the old saying goes, measure twice, cut once. A mistake in measuring means wasting a zipper.
Professional Tips for Better Results
Once you have mastered the basics, you can refine your technique for even better results. If you are working with metal zippers, the process is slightly different because you cannot sew over metal teeth. For metal zippers, you actually have to use pliers to manually remove the teeth from the tape at the desired length, then create your new stop by crimping a new metal bottom stop or using a dense hand-stitched bar tack.
Another tip is to consider the weight of your fabric. If you are using a heavier denim or upholstery fabric, a nylon coil zipper might not be strong enough. In those cases, you would want a metal or molded plastic zipper. The principles of shortening remain the same, but the method for securing the stop will vary based on the zipper type.
Conclusion: Empowering Your Sewing Journey
Shortening a zipper is one of those small, “hidden” skills that makes a huge difference in the ease and quality of your sewing projects. It transforms the way you view your materials, moving from being restricted by what you have to being creative with the tools you possess. The next time you find yourself with a zipper that is slightly too long, remember that you are not facing a problem. You are facing an opportunity to refine your technique and achieve a truly professional result.
Keep practicing, keep experimenting, and most importantly, keep enjoying the process of creating. Every skill you master brings you closer to the confidence and precision of an expert designer. Now that you have this technique in your repertoire, what project are you going to tackle next? The possibilities are endless when you have the right tools and the knowledge to use them.
Would you like me to create a step-by-step checklist infographic for your sewing room that outlines this zipper shortening process?