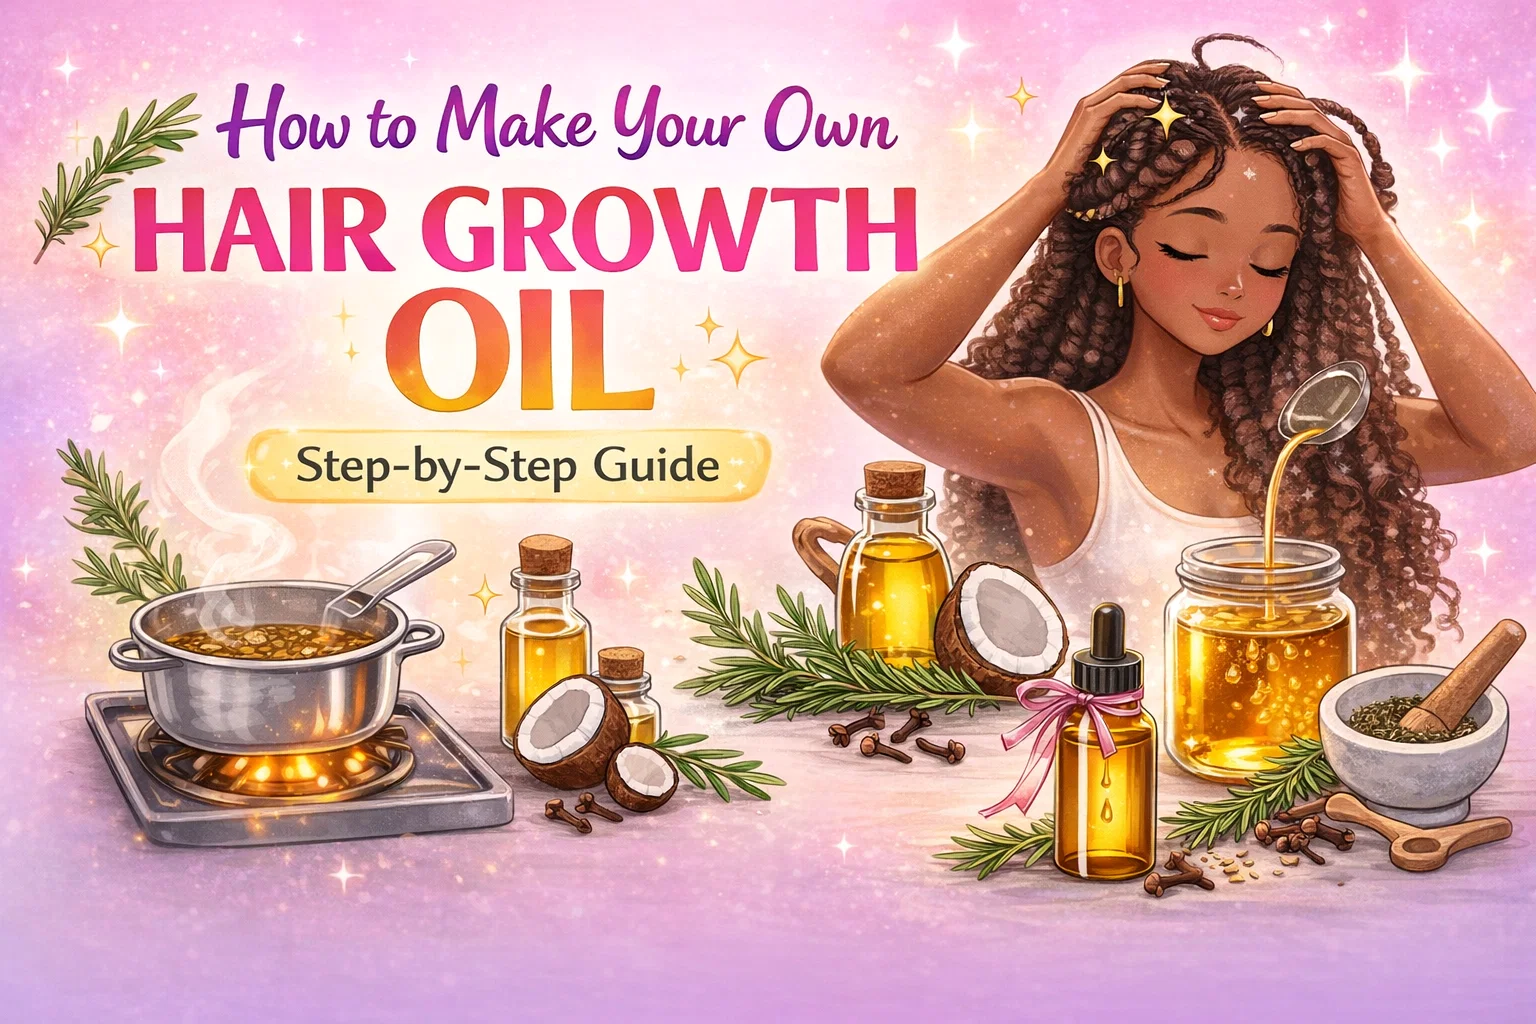
How to Make Rosemary and Clove Hair Growth Oil Step-by-Step Natural DIY Hair Care Recipe
Creating your own hair care products at home is one of the most rewarding ways to take control of your beauty routine. When you look at the power of natural botanicals like rosemary and cloves, you realize that you do not need expensive, store-bought serums filled with synthetic fragrances and preservatives to achieve the hair of your dreams. This DIY hair growth oil is a potent, nutrient-dense infusion designed to stimulate the scalp, strengthen the hair shaft, and promote impressive length over time. By following a careful, low-heat infusion process, you can extract the maximum benefits from these kitchen staples and create a professional-grade treatment in your own kitchen.
The Science of Scalp Health and Hair Growth
Before diving into the procedure, it is essential to understand why this specific combination of ingredients works so effectively. Hair growth begins at the follicle level, and the health of your scalp determines the quality of the hair that grows from it. Many people struggle with slow growth or thinning because of poor circulation, fungal issues, or oxidative stress. This homemade oil addresses those concerns directly. Rosemary is widely celebrated in the wellness community for its ability to mimic the effects of certain hair growth medications by improving blood flow to the scalp. When the follicles receive more oxygen and nutrients through increased circulation, they remain in the growth phase longer.
Cloves add an extra layer of protection and stimulation. They are packed with antioxidants and contain eugenol, which has antimicrobial properties. This helps keep the scalp clean and free from irritation or dandruff, creating the perfect environment for new strands to flourish. When these herbs are infused into a carrier oil like coconut or olive oil, they create a delivery system that penetrates the hair cuticle and provides deep nourishment from the inside out.
Essential Ingredients for Your Botanical Infusion
To get started with this hair growth oil procedure, you will need a few high-quality ingredients. Using fresh or properly dried herbs ensures that the essential oils and nutrients remain intact during the heating process. Here is what you should gather before beginning:
- 2 tablespoons of dried Rosemary: Known as the king of hair growth herbs, rosemary helps with cellular regeneration and prevents premature greying.
- 1 teaspoon of whole Cloves: These provide a warm, stimulating effect on the skin and offer antiseptic benefits.
- 1/2 cup of Coconut Oil or Olive Oil: These carrier oils act as the base. Coconut oil is excellent for penetrating the hair shaft, while olive oil is perfect for those with drier scalps who need intense moisture.
It is always a good idea to ensure your workspace is clean and your tools are dry. Any moisture introduced during the infusion process can lead to bacterial growth later on, so keeping everything water-free is a priority for a long shelf life.
Step-by-Step Guide to the Infusion Process
The goal of this procedure is to gently draw the medicinal properties out of the rosemary and cloves without burning the oil or destroying the delicate compounds within the herbs. Patience is key during this phase.
Step 1: Preparing the Herbs
Begin by quickly washing your herbs if they seem dusty, but you must ensure they are dried completely before proceeding. Moisture is the enemy of oil infusions. If you want to release the oils more effectively, you can lightly crush the cloves and rosemary in a mortar and pestle. This increases the surface area, allowing the carrier oil to reach the internal nutrients of the plant material more easily.
Step 2: Combining and Heating
Place your prepared herbs into a clean, dry jar or a small saucepan. Pour your chosen carrier oil over the herbs, making sure they are fully submerged. If you are using coconut oil and it is currently in a solid state, melt it gently before pouring. Place the pot on the stove over the lowest heat setting possible. You want the oil to be warm enough to extract the nutrients but never hot enough to boil. Simmer the mixture for 15 to 20 minutes. Keep a close eye on the pot, as overheating can make the oil smell burnt and reduce its effectiveness.
Step 3: Cooling and Straining
Once the infusion time is up, remove the pot from the heat and let the oil cool down completely. This allows the last bits of botanical goodness to settle into the liquid. After it has reached room temperature, use a fine-mesh sieve or a piece of cheesecloth to strain the oil into a clean container. Squeeze the cloth tightly to get every last drop of the concentrated oil. For the best results, transfer the finished product into a dark glass bottle. Dark glass protects the oil from light degradation, which helps maintain its potency over time.
How to Apply Your Hair Growth Oil for Maximum Results
Having a high-quality oil is only half the battle; how you apply it makes a significant difference in the results you see. This treatment can be used as a pre-shampoo mask or an overnight intensive therapy.
The Scalp Massage Technique
Apply several drops of the oil directly to your scalp. Use your fingertips to massage the oil in using small, circular motions for at least 5 to 10 minutes. This massage is crucial because it further boosts the circulation that the rosemary is already stimulating. Focus on areas where you might notice thinning or where you want to see more volume. The mechanical action of the massage combined with the warmth of your hands helps the follicles absorb the treatment effectively.
Treating the Lengths and Ends
After you have addressed the scalp, take a small amount of oil and run it through the lengths and ends of your hair. This helps seal the hair cuticle, reducing friction and preventing the breakage that often stops people from reaching their length goals. If you have fine hair, use a light hand to avoid weighing it down. If your hair is thick, curly, or very dry, you can be more generous with the application.
Duration and Rinsing
Leave the oil in your hair for a minimum of 1 to 2 hours. For an even deeper treatment, wrap your hair in a silk scarf and leave it on overnight. When you are ready to wash it out, apply your shampoo to your hair before getting it wet. This helps break down the oil so it rinses away cleanly, leaving your hair soft and shiny rather than greasy. You might need to shampoo twice to ensure all the residue is gone.
What Results Should You Expect?
Consistency is the most important factor when using natural remedies. You will likely notice an immediate improvement in the shine and softness of your hair after just one use. However, for significant changes in thickness and length, you should aim to use this oil two to three times per week for several months. Over time, you can expect to see:
- Reduced Shedding: The strengthening properties of the oil help keep hair anchored in the follicle.
- New Growth: You may notice “baby hairs” appearing along the hairline as dormant follicles are stimulated.
- Increased Thickness: As the health of the scalp improves, the hair that grows out is often more robust and less prone to thinning.
- Healthier Scalp: Issues like itchiness and dryness will often subside due to the antimicrobial nature of the cloves.
Proper Storage and Shelf Life Management
Because this is a natural product without synthetic stabilizers, how you store it matters. Always keep your dark glass bottle in a cool, dry place away from direct sunlight. Bathroom cabinets are usually fine, provided they do not get too humid. When stored correctly, your hair growth oil should stay fresh for about 2 to 3 months.
Always give the bottle a good shake before each use to redistribute any settled particles. It is also important to perform a quick “sniff test” before applying. If the oil begins to smell rancid or the scent of the herbs changes significantly, it is time to discard the batch and make a fresh one. Using fresh oil ensures you are putting the highest quality nutrients onto your skin.
Customizing Your Hair Oil Blend
While the rosemary and clove recipe is a classic for growth, you can tailor this procedure to fit your specific hair needs. If you struggle with a very itchy scalp, adding a few drops of peppermint oil during the cooling phase can provide a cooling, soothing sensation. For those with extremely dry or damaged hair from chemical processing, adding a tablespoon of castor oil to the final blend can provide an extra layer of moisture and protection. The beauty of the DIY approach is the ability to experiment and find the perfect synergy for your unique hair type.
Embracing a Holistic Hair Care Routine
This hair growth oil is a powerful tool, but it works best when paired with other healthy habits. Drinking plenty of water, eating a diet rich in vitamins like Biotin and Vitamin E, and minimizing heat styling will all contribute to your progress. Think of this oil as a specialized supplement for your scalp. By providing the external nourishment your hair needs while taking care of your body internally, you create a holistic environment where your hair can reach its full potential.
Conclusion
Taking the time to craft your own botanical treatments is a beautiful act of self-care. This rosemary and clove hair growth oil procedure is more than just a beauty hack; it is a return to traditional, effective methods of grooming that honor the power of nature. By choosing high-quality ingredients and following a gentle infusion process, you are giving your hair the very best chance to grow strong, long, and healthy. Start this ritual today, stay consistent with your applications, and enjoy the journey toward the vibrant, flowing hair you deserve. Save this recipe and share your results as you watch your transformation unfold.