Easy 2-Color Wavy Crochet Stitch Tutorial for Beginners – Unique Texture Pattern
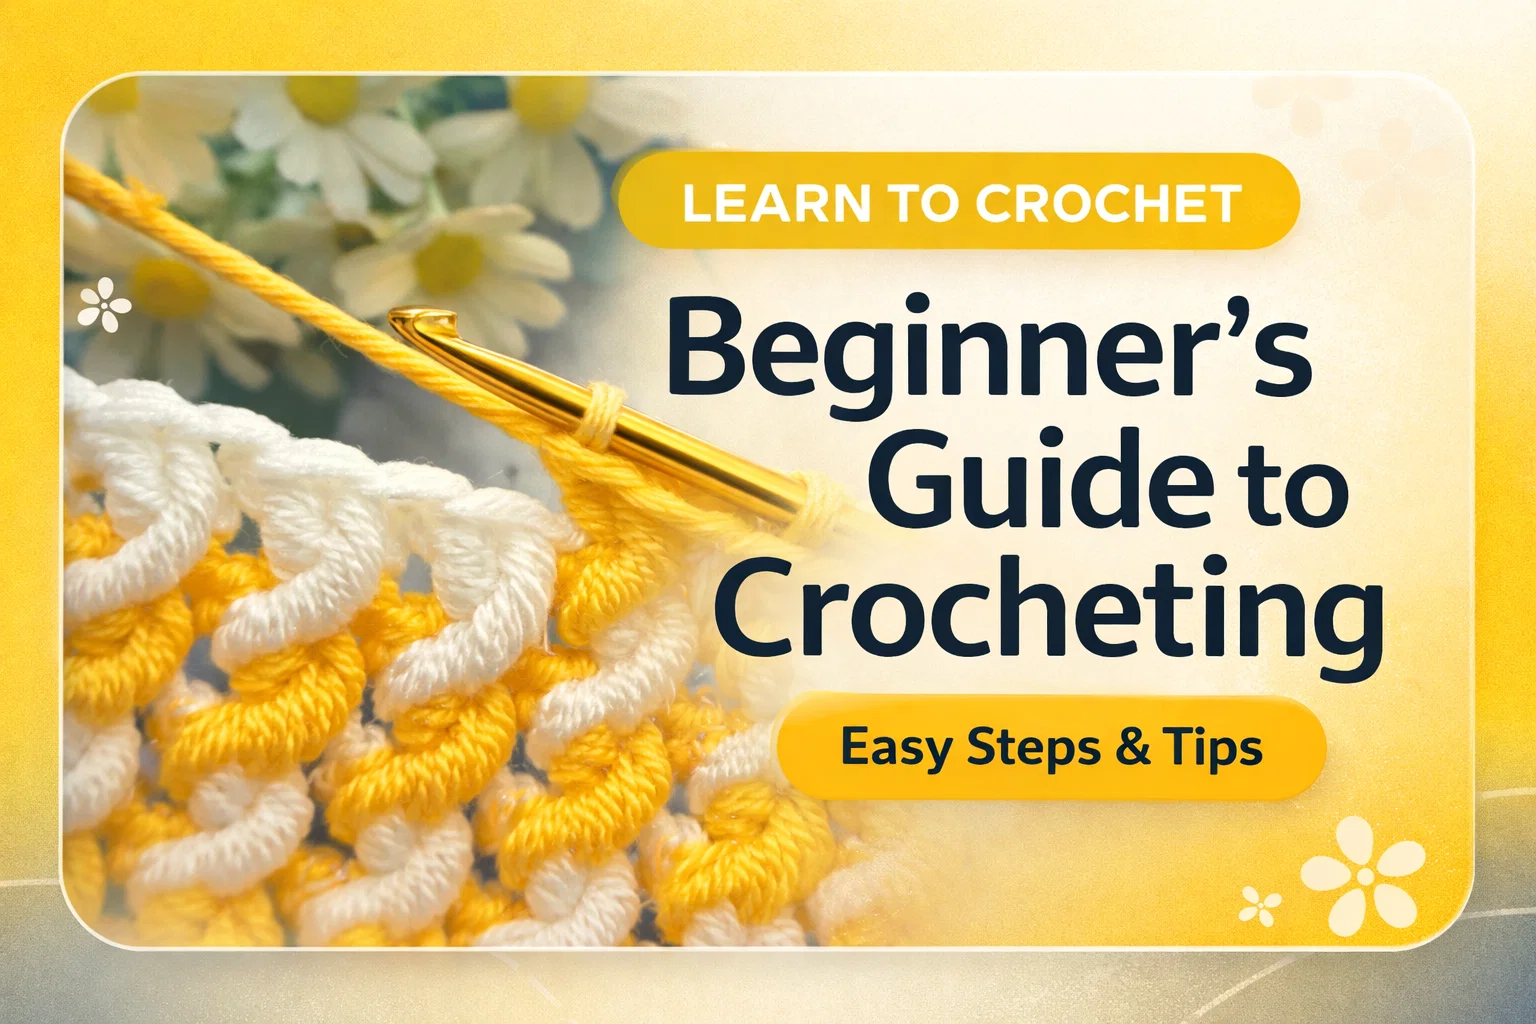
There is something undeniably rhythmic and soothing about the art of crochet. Whether you are a seasoned artisan with a mountain of finished blankets behind you or a curious beginner picking up a hook for the very first time, the magic happens when a simple strand of yarn transforms into a complex, tactile fabric. Today, we are diving deep into a specific technique that has been taking the crafting world by storm: the two-tone wavy ripple stitch. This particular pattern, showcased in a vibrant sun-yellow and crisp white, offers a three-dimensional texture that looks far more intricate than it actually is to execute.
The beauty of this stitch lies in its structural depth. Unlike flat stitches that rely solely on color changes to create visual interest, this wavy pattern uses post stitches and strategic placement to create a braided, interlocking effect. It results in a thick, squishy fabric that is perfect for items that need a bit of weight and warmth. If you have been looking for a way to level up your crochet game without memorizing dozens of pages of instructions, this textured wave is your next favorite project.
The Anatomy of the Wavy Textured Stitch
Before we pick up the hook, it is important to understand what makes this visual pop. The image reveals a series of interlocking loops that appear to “climb” over one another. This is achieved through a combination of standard double crochet stitches and front post work. By working into the rows below, you create those raised ridges that give the project its 3D character.
One of the most striking features of this sample is the color play. By alternating colors every few rows, the “waves” of the yellow yarn seem to cradle the white yarn, creating a DNA-like spiral or a soft cable effect. This is a fantastic alternative for those who love the look of knitted cables but prefer the speed and flexibility of a crochet hook. Because the fabric produced is quite dense, it is also incredibly durable, making it an ideal choice for high-use items in the home.
Essential Materials for Your Next Masterpiece
To recreate the look seen in the inspiration photo, you will need to select the right tools. While crochet is a forgiving hobby, certain materials will help those waves stand out with maximum clarity.
Choosing the Perfect Yarn
In the image, we see a smooth, multi-ply cotton or acrylic blend. For this specific stitch, you want to avoid “fuzzy” or roving yarns. A yarn with high stitch definition is key. If the yarn is too hairy, the crisp lines of the waves will get lost in the fluff. A medium weight (worsted) yarn is the gold standard here, providing enough bulk to make the texture substantial without making the project too heavy to handle.
Selecting the Right Hook Size
Texture-heavy stitches can sometimes result in a stiff fabric if your tension is too tight. To keep those waves fluid and soft, consider going up half a millimeter from the size recommended on your yarn label. If your yarn suggests a 5.0mm hook, try a 5.5mm. This extra bit of breathing room allows the post stitches to sit comfortably on the surface of the work without pulling the foundation row out of shape.
Step-by-Step Guide to the Two-Tone Wave
While a full pattern can span pages, the core logic of this stitch is repetitive and easy to memorize once you get through the first few rows. Here is the general flow of how these beautiful ripples come to life.
- The Foundation: Start with a base chain in a multiple that fits your desired width. A simple row of single or double crochet in your first color sets the stage.
- The Color Shift: When you finish your first row, drop your primary color but do not cut it. Bring in your secondary color (the white in our example) to create the first set of horizontal bars.
- Creating the Height: The “wave” is usually formed by working elongated stitches (like treble crochets) into the stitches two rows below. By skipping a few stitches on the current row and reaching down, you pull the yarn upward, creating that signature ridge.
- Maintaining the Back: While the front is all about the waves, the back stays relatively flat, which helps the project keep its structural integrity.
Why This Pattern is Perfect for Home Decor
Designers often look for “statement” textures when styling a room. A flat, single-stitch blanket is classic, but a wavy, textured throw adds a layer of sophistication. Because this stitch is so thick, it provides excellent insulation. Imagine a set of throw pillows on a grey sofa featuring this yellow and white pattern; it immediately brightens the space and adds a handcrafted, artisanal touch that store-bought items simply cannot replicate.
Beyond aesthetics, the tactile nature of the stitch makes it a “fidget-friendly” fabric. The raised ridges are satisfying to run your hands over, making it a great choice for sensory blankets or baby items. Just ensure that if you are making something for an infant, your tension is consistent so no tiny fingers get caught in the loops.
Customizing Your Color Palette
While the yellow and white combo is cheerful and modern, this pattern is a chameleon. For a coastal vibe, try alternating navy blue and seafoam green. For a sophisticated, neutral look, use charcoal grey and cream. You can even try a “gradient” effect by using three or four shades of the same color, moving from dark at the bottom to light at the top. The possibilities are truly endless once you understand the mechanical rhythm of the increase and decrease points.
Common Challenges and How to Fix Them
Every crafter hits a snag eventually. With textured stitches, the most common issue is “curling.” If your work looks like it wants to roll up into a tube, your tension is likely too tight. Remember that post stitches take up more vertical space than standard stitches. Relax your hands, or as mentioned before, swap to a larger hook.
Another common hurdle is losing track of your stitch count. Because you are reaching down into previous rows, it can be easy to accidentally skip a stitch in your current row or add an extra one at the end. Use stitch markers! Placing a marker at the beginning and end of every row ensures that your edges stay straight and your waves stay aligned. There is nothing more frustrating than realizing ten rows later that your rectangular blanket has turned into a triangle.
Taking Your Skills to the Next Level
Once you have mastered the basic wave, you can start experimenting with borders. A simple ribbed border using front and back post double crochets will complement the interior texture beautifully. Alternatively, a clean, scalloped edge can soften the look of the bold geometric waves.
You might also consider incorporating this stitch into wearable fashion. While it might be too heavy for a full sweater, it makes for an incredible “statement” yoke on a cardigan or a very warm, stylish beanie. The density of the stitch means it blocks wind effectively, which is a major plus for winter accessories.
The Therapeutic Benefits of Crochet
We cannot talk about the beauty of this image without mentioning the mental health benefits of the craft itself. The repetitive motion of the hook, the focus required to place the stitch correctly, and the tactile sensation of the yarn all contribute to a state of “flow.” Many people find that working on a textured pattern like this helps reduce anxiety and provides a sense of accomplishment that is hard to find in our digital-heavy lives.
Looking at the daisies in the background of our inspiration image, it is clear that crochet is often linked to a lifestyle of slow living and appreciation for the outdoors. It is a portable hobby that allows you to take your creativity to the park, on a train, or simply to your favorite cozy chair with a cup of tea.
Conclusion: Your Journey Starts with a Single Loop
The intricate yellow and white waves we have analyzed today are more than just a pattern; they are a testament to what can be created with simple tools and a bit of patience. This stitch bridges the gap between traditional craft and modern design, offering a finished product that is as functional as it is beautiful. Whether you decide to make a small washcloth to practice the technique or dive headfirst into a king-sized bedspread, the journey of creating something with your own two hands is incredibly rewarding.
So, grab your favorite yarn, find a hook that feels good in your hand, and start experimenting with these ripples. Don’t be afraid to make mistakes—that is just the yarn’s way of telling you it wants to be something else! Every stitch you frog and every row you complete brings