Genius Sewing Hack How to Install a Perfect Exposed Zipper Every Time
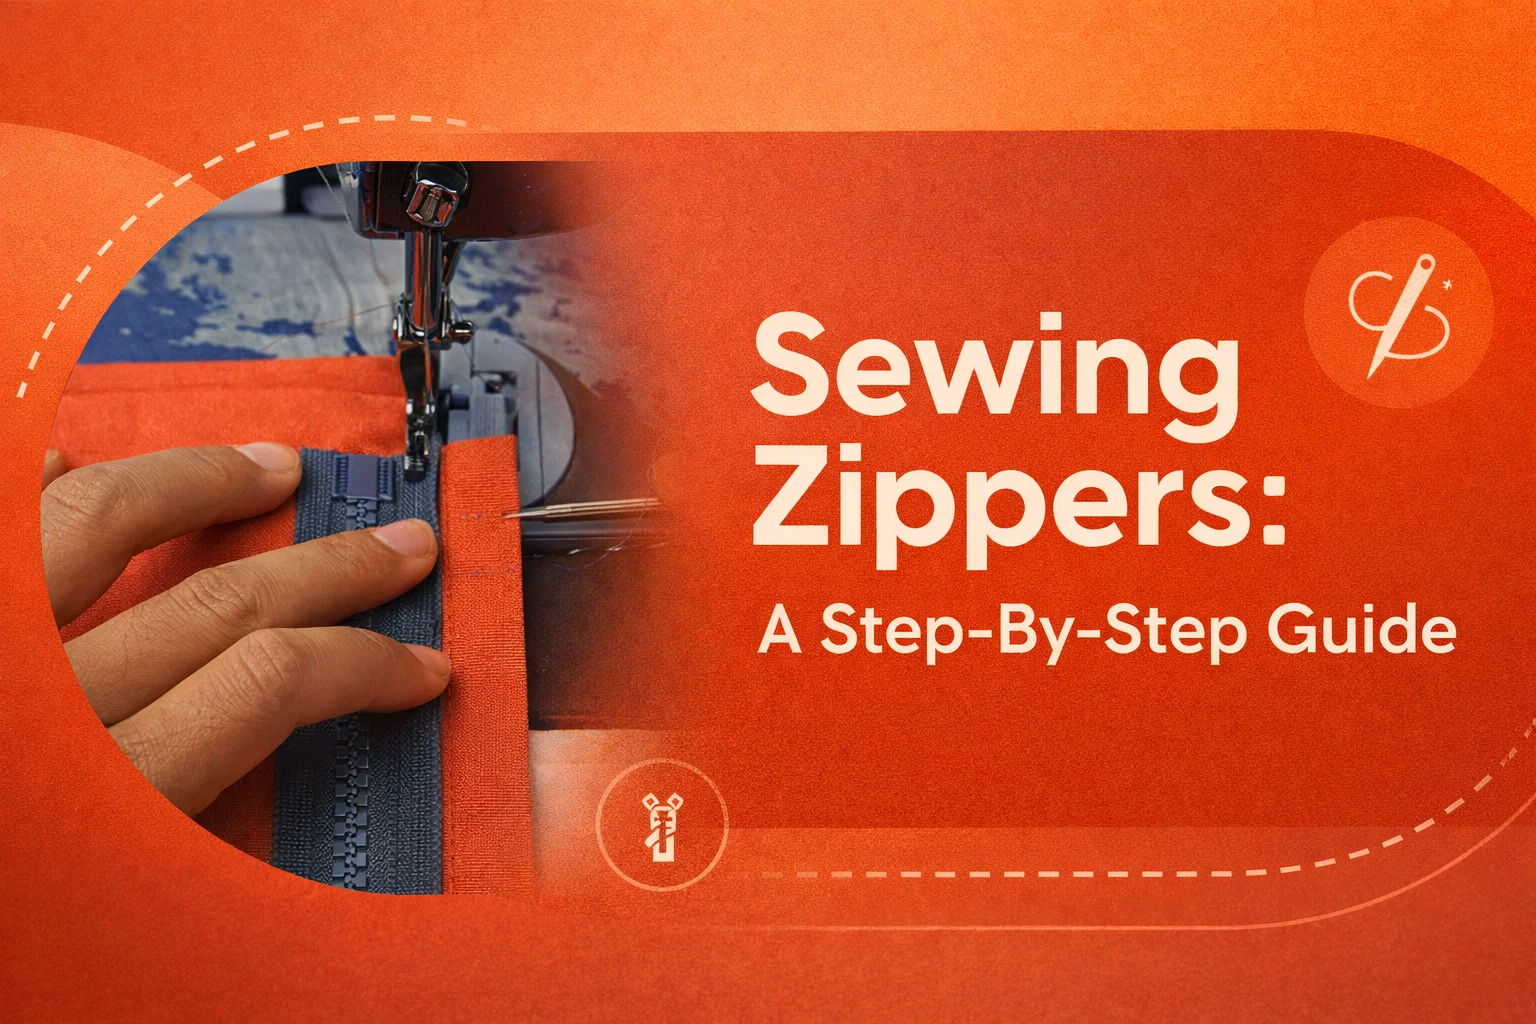
Mastering the art of sewing often feels like a journey through a series of technical hurdles, and perhaps no hurdle is quite as daunting for beginners as the zipper. It is the one component that can make a handmade garment look professionally tailored or distinctly amateur. When you look at the precision required to align teeth, fabric edges, and stitching lines, it is easy to see why many crafters shy away from projects involving zippers. However, the image of a vibrant orange fabric being paired with a sturdy grey zipper on a vintage sewing machine reminds us that with the right technique, these mechanical fasteners are nothing more than a satisfying puzzle to solve.
In this guide, we are diving deep into the world of zipper installation, specifically focusing on the exposed zipper method shown in the visual. This technique is not just functional; it is a design statement. Whether you are working on a rugged canvas tote, a cozy throw pillow, or a modern utility jacket, understanding how to manipulate your machine and fabric to achieve that perfect, centered finish is a game changer for your DIY repertoire.
The Anatomy of a Successful Zipper Installation
Before the needle even touches the fabric, success starts with understanding the materials in your hands. In the featured project, we see a high contrast between the citrus-toned textile and the slate grey zipper tape. This is a brilliant way to turn a functional item into a focal point. When selecting your materials, consider the weight of the zipper relative to the fabric. A heavy-duty plastic or metal zipper works wonders on canvas or denim, providing the structure needed to prevent the fabric from bunching or rippling during the sewing process.
Preparation is the silent hero of sewing. Most mistakes happen because the fabric shifts or the zipper tape stretches as it passes under the presser foot. To avoid this, many seasoned sewists rely on double-sided wash-away tape or careful pinning. The goal is to ensure that the zipper remains perfectly parallel to the fabric edge. By taking the time to baste or tape your zipper in place, you eliminate the need to fight the machine, allowing you to focus entirely on the straightness of your stitch.
Essential Tools for Precision Stitching
While you can technically sew a zipper with a standard presser foot, using a dedicated zipper foot is highly recommended. The design of a zipper foot allows you to stitch very close to the zipper teeth without the foot riding up over them. This results in a much tighter, cleaner look. If your machine allows for needle position adjustment, moving the needle to the far left or right can give you even more control over how close you get to that grey track.
Another tool often overlooked is a good pair of embroidery scissors or a seam ripper for precision trimming. In the image, we see the careful manipulation of the fabric near the top stop of the zipper. Trimming away excess bulk from the seam allowance before you turn and topstitch is the secret to those crisp, square corners that define high-quality handmade goods.
Step by Step Guide to the Exposed Zipper Method
The exposed zipper technique is favored for its modern aesthetic and relative ease compared to the invisible zipper. To start, you will want to mark your opening on the fabric. Since the zipper tape will be visible, your rectangular cutout needs to be precise. A common trick is to sew a rectangular box where the zipper will live, then cut down the center and into the corners to create small triangles. When these edges are pressed back, they create a clean frame for your zipper tape to sit behind.
Once your frame is prepped and pressed, it is time to center the zipper. Lay the zipper face up underneath the fabric opening. This is where the grey and orange contrast really starts to shine. Ensure the top stops of the zipper are aligned with the top edge of your fabric frame. Using a glue stick or sewing tape here can be much more effective than pins, as it keeps the entire length of the tape flat and secure.
Mastering the Topstitch
Topstitching is where the magic happens. This is the visible line of thread that secures the fabric to the zipper tape. For a professional look, use a slightly longer stitch length than you would for internal seams. This makes the thread stand out and creates a decorative finish. Start at the top, sew down one side, pivot across the bottom of the zipper, and come back up the other side.
A common pitfall occurs when the sewing machine hits the zipper slider. When you get close to the pull tab, stop with the needle down in the fabric, lift the presser foot, and carefully slide the zipper pull past the foot. Lower the foot and continue sewing. This prevents the needle from swerving and keeps your line of stitching perfectly straight.
Creative Applications for Exposed Zippers
While the image suggests a flat project, perhaps a bag or a pocket, the applications for this look are endless. In home decor, exposed zippers are a staple for rustic and industrial styles. Imagine a series of linen pillows with chunky brass zippers or a custom-made tool roll where the zipper color matches the internal lining. These small details show a level of intentionality that sets your work apart from mass-produced items.
In fashion, the exposed zipper can be used as a decorative element on sleeves, the backs of dresses, or even as a functional vent on a skirt. By choosing contrasting colors, you are leaning into the “handmade with pride” aesthetic. It tells the world that you didn’t just make a garment; you designed it with a specific vision in mind.
Choosing the Right Zipper Type
Not all zippers are created equal. For the project in the photo, a molded plastic zipper is used, which offers a great balance of flexibility and strength. However, for more rugged projects, a metal tooth zipper might be appropriate. Metal zippers provide a classic, vintage feel that pairs beautifully with natural fibers like cotton duck or heavy linen. If you are working on something lightweight, like a silk blouse, look for nylon coil zippers which are thinner and won’t weigh down the fabric.
Common Challenges and How to Fix Them
Even with careful planning, things can occasionally go sideways. One of the most common issues is “zipper wave,” where the fabric looks wavy after the zipper is sewn in. This usually happens because the fabric was stretched during sewing. To fix this, try using a walking foot or reduce the pressure on your presser foot. Using a stabilizer on the fabric before cutting the zipper opening can also provide the extra rigidity needed to keep everything flat.
If your stitches are skipping when you cross over the zipper tape, it might be time for a new needle. Zippers are made of dense materials, and a dull needle will struggle to pierce through multiple layers of tape and fabric. A size 90/14 or even a denim needle is often the best choice for these heavier tasks. Always test your tension and stitch length on a scrap piece of the same fabric and zipper tape before committing to the final project.
Enhancing Your Sewing Workspace for Success
The image highlights a well-used, classic sewing machine. There is something incredibly rewarding about working on a machine that has seen years of creativity. To get the best results, ensure your workspace is well-lit. Shadows can make it difficult to see exactly where your needle is landing relative to the zipper teeth. A small magnetic LED light attached to the machine head can illuminate the needle plate and help you maintain that perfect seam allowance.
Organization is also key. Keeping your zippers sorted by length and color makes it easier to find inspiration for your next project. When you have a beautiful slate grey zipper sitting in your stash, you might find yourself looking for the perfect orange fabric to match it, rather than the other way around. This “materials-first” approach to crafting often leads to the most unique and satisfying results.
The Joy of Slow Crafting
In a world of fast fashion, taking the time to carefully install a zipper is an act of mindfulness. It requires patience, steady hands, and a bit of bravery. There is a specific kind of satisfaction that comes from pulling that zipper tab for the first time and seeing it glide smoothly through a perfectly stitched frame. It turns a collection of fabric and notions into a functional piece of art.
Wrapping Up Your Zipper Project
Mastering the exposed zipper is a milestone for any sewing enthusiast. It opens up a world of possibilities for bags, clothing, and home accessories. By focusing on the contrast of colors, the precision of your tools, and the patience of your technique, you can create items that are both beautiful and durable. The combination of vibrant orange and cool grey in our inspiration image is just the beginning. Experiment with different textures, lengths, and placements to find a style that is uniquely yours.
Remember that every expert was once a beginner who decided to try one more time. If your first zipper isn’t perfect, don’t be discouraged. Each stitch is a lesson, and each project is a step toward mastery. Keep your machine oiled, your needles sharp, and your creativity flowing. Your next masterpiece is just a zipper away. Happy sewing!