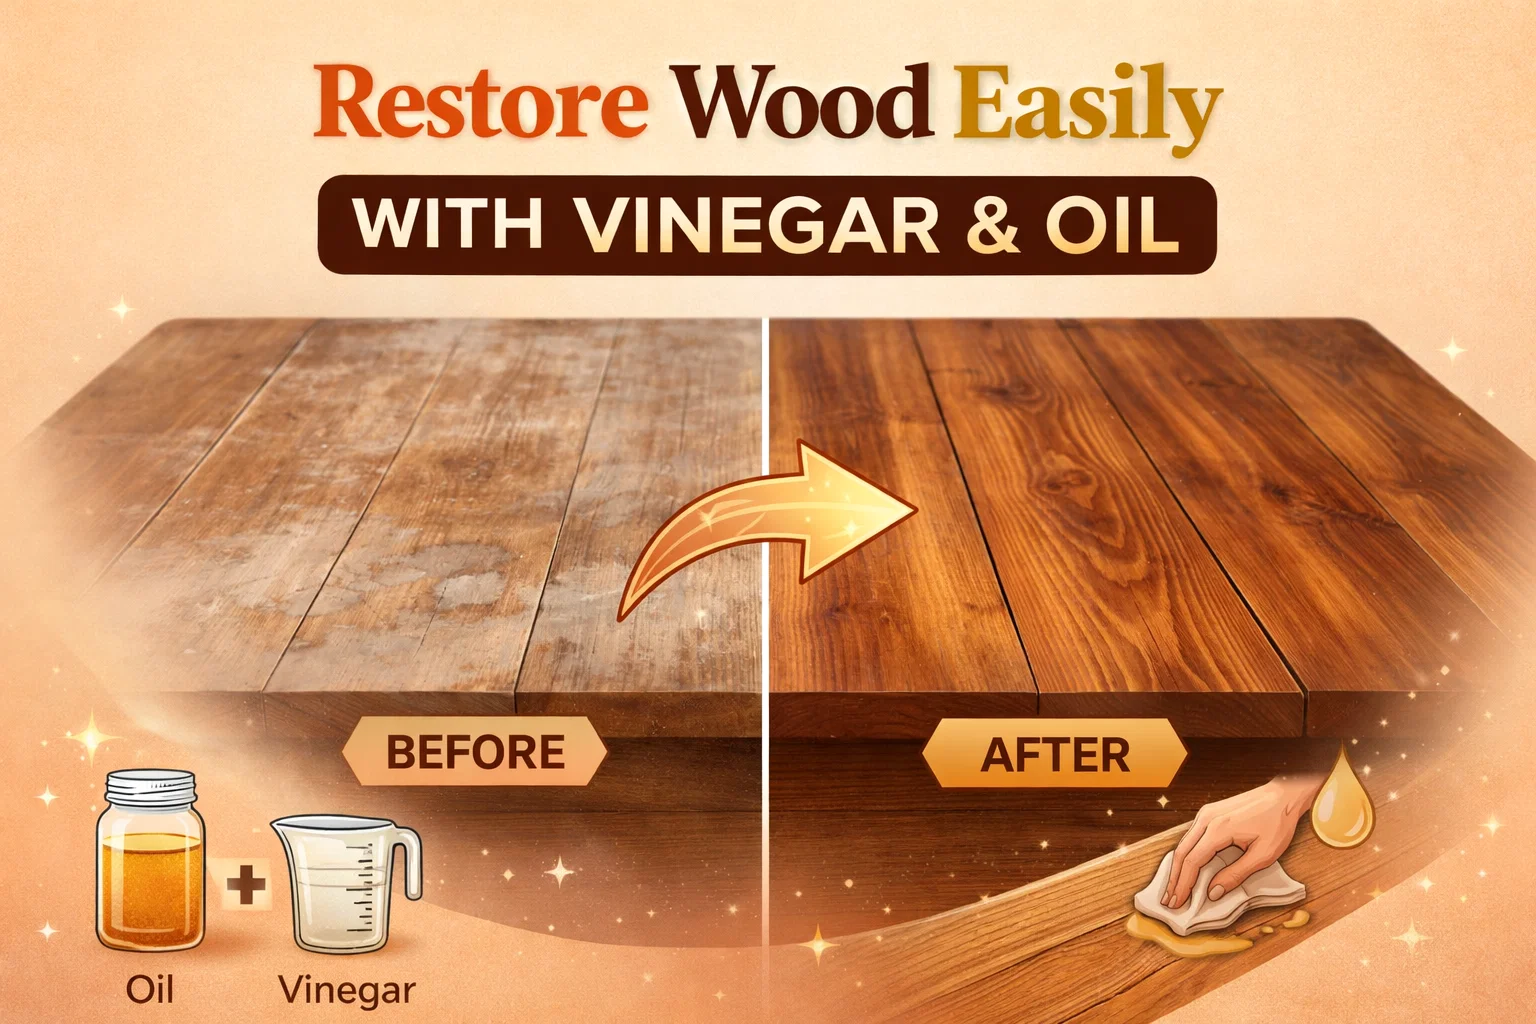
How to Restore Wood Furniture Naturally with Vinegar and Oil Easy DIY Polish Guide
Have you ever looked at a beloved piece of wooden furniture and felt a pang of sadness at its faded, scratched, or water-stained surface? Whether it is a vintage dining table passed down through generations or a thrift store find with “good bones” but a tired face, wood has a way of showing its age. But before you head to the hardware store for expensive chemical strippers or consider tossing that heirloom, there is a secret hiding right in your kitchen pantry. Restoring the natural luster of wood does not require a professional workshop or a massive budget. In fact, two of the most basic household ingredients—vinegar and oil—can perform a transformation that looks like absolute magic. This simple, non-toxic solution breathes life back into parched fibers, erasing those unsightly white rings and surface scuffs while leaving behind a rich, hydrated glow that lasts.
The Science Behind the Magic: Why Vinegar and Oil Work
It might seem strange to use salad dressing ingredients on your expensive mahogany or oak, but there is a very practical reason why this combination is so effective. Wood is a porous, organic material. Over time, the natural oils within the wood dry out due to sunlight exposure, indoor heating, and general age. When wood dries out, it becomes brittle, loses its color, and becomes more susceptible to scratches and staining.
The Role of Oil: Deep Hydration
The oil in this mixture—whether you choose olive oil, vegetable oil, or even flaxseed oil—acts as a deep conditioner. It penetrates the surface of the wood, soaking into the parched pores. This hydration is what restores the deep, dark tones of the wood grain and provides a protective barrier against future moisture loss. It fills in the microscopic gaps left by scratches, making them virtually disappear to the naked eye.
The Role of Vinegar: The Natural Cleanser
Vinegar is a mild acetic acid, which makes it an incredible natural cleaner. Over the years, furniture collects a buildup of old wax, dust, grease from hands, and general grime. If you were to apply oil directly over this buildup, you would simply be sealing the dirt in. The vinegar works to cut through that surface film, cleaning the wood so the oil can penetrate effectively. It also helps to lift light water stains and disinfect the surface without the need for harsh scrubbing.
Gathering Your Supplies for Wood Restoration
One of the best parts about this DIY project is that you likely already have everything you need. You do not need to wear a respirator or heavy-duty gloves, as these ingredients are completely food-safe and eco-friendly. Here is what you should have on hand before you begin:
- High-Quality Oil: Extra virgin olive oil is a popular choice because it is stable and rich, but standard vegetable oil or canola oil works perfectly fine for most projects.
- Distilled White Vinegar: This is the standard for cleaning. Avoid using balsamic or red wine vinegar, as the sugars and colorants can leave a sticky residue or stain light woods.
- A Glass Jar or Spray Bottle: A simple mason jar is great for mixing and storing any leftover solution.
- Microfiber Cloths: You will want at least two—one for applying the mixture and one for a final buffing. Microfiber is ideal because it does not leave lint behind.
- A Small Mixing Spoon: Since oil and vinegar naturally want to separate, you will need to stir or shake the mixture frequently during the process.
The Perfect Ratio: How to Mix Your Solution
Getting the balance right is key to ensuring the wood is cleaned without becoming overly greasy. Based on the most effective traditional methods, the “Magic Mix” ratio is generally 3 parts oil to 1 part vinegar. For a standard-sized project like a coffee table, you can follow this simple recipe:
Mix 3/4 cup of oil with 1/4 cup of vinegar.
If you are working on a smaller item, like a wooden picture frame or a jewelry box, you can scale this down to tablespoons while maintaining that 3 to 1 ratio. Combine the ingredients in your jar and give it a vigorous shake. You will notice the mixture becomes a cloudy, golden liquid. Because the two liquids do not stay emulsified for long, remember to give the jar a quick shake every few minutes as you work.
Step-by-Step Guide to Restoring Your Wood
Now that your solution is ready, it is time to start the restoration. Follow these steps to ensure a professional-looking finish that highlights the natural beauty of your furniture.
Step 1: Prep the Surface
Before applying your magic mix, use a dry microfiber cloth to wipe away any loose dust or crumbs. If the piece is particularly grimy, you can wipe it down with a very slightly damp cloth first, but ensure it is completely dry before moving on to the oil treatment. Oil and water do not mix, and any moisture trapped under the oil could cause cloudiness.
Step 2: The Spot Test
This is the most important rule of DIY furniture care: always test first. Choose a small, inconspicuous area—like the underside of a table lip or the back of a chair leg. Apply a small amount of the mixture and let it sit for a few minutes. This ensures that the oil does not react strangely with any existing chemical finishes or stains on the wood. Once you see that the result is a beautiful, clear glow, you are ready for the main event.
Step 3: Apply and Rub
Dip your cloth into the mixture or pour a small amount directly onto the cloth. Work in the direction of the wood grain. Using circular motions, rub the solution into the wood. You will likely see an immediate difference as the parched wood “drinks” up the oil. For areas with visible scratches or water rings, apply a little extra pressure and spend more time buffing those specific spots.
Step 4: Let It Soak
Unlike commercial waxes that require immediate buffing, this natural solution works best when it has time to sit. Leave the furniture alone for at least 20 to 30 minutes. This allows the oil to penetrate deep into the fibers. You might notice some areas look duller than others after a few minutes; this means the wood was particularly dry and has absorbed all the oil. You can apply a second light coat to those thirsty spots.
Step 5: The Final Buff
After the soaking period, take a fresh, dry microfiber cloth and gently buff the entire surface. This removes any excess oil that wasn’t absorbed, preventing the furniture from feeling greasy to the touch. The result should be a smooth, satiny finish that feels clean and looks vibrant.
Common Mistakes to Avoid
While this process is incredibly simple, there are a few pitfalls that can hinder your results. Being aware of these will keep your wood looking its best for years to come.
Using Too Much Vinegar
Vinegar is an acid, and while it is mild, using too much of it can eventually break down certain wood finishes or cause the wood to look “bleached” over time. Stick to the 3 to 1 ratio to ensure the oil is doing the heavy lifting of protection while the vinegar handles the cleaning.
Ignoring the Grain
Always follow the direction of the wood grain when doing your final wipes. Rubbing against the grain can sometimes highlight fine scratches rather than hiding them. Working with the natural lines of the wood ensures a seamless, streak-free finish.
Over-Saturating the Wood
More is not always better. You want to hydrate the wood, not drown it. Applying a thin, even layer is much more effective than pouring a puddle of oil onto the surface. If the wood feels tacky or oily hours after you have finished, you likely used too much and need to buff it again with a clean cloth.
Maintaining Your Restored Furniture
Now that your furniture looks spectacular, you will want to keep it that way. Natural wood care is about consistency rather than deep overhauls. For daily or weekly cleaning, skip the chemical sprays. A simple dusting with a dry microfiber cloth is usually all that is needed to keep the surface clear.
Avoid placing wooden furniture in direct, harsh sunlight, as this will dry out the oils you just replaced. Additionally, always use coasters for drinks and heat mats for hot plates. While your new vinegar and oil finish provides some protection, wood remains sensitive to extreme temperatures and standing liquid. You can repeat this vinegar and oil treatment every few months, or whenever the wood begins to look a bit thirsty or dull.
The Benefits of Eco-Friendly Cleaning
Choosing a DIY solution over a store-bought chemical polish is a win for both your home and the environment. Many commercial furniture polishes contain silicones and petroleum distillates. While these create a very high-shine finish initially, they can actually create a “smeary” buildup over time that is difficult to remove and can eventually damage the original finish of the wood. By using food-grade ingredients, you are ensuring that your home remains free of VOCs (volatile organic compounds) and that your surfaces are safe for children and pets to be around. Plus, you are reducing plastic waste by reusing containers and avoiding the purchase of single-use aerosol cans.
Conclusion: A Beautiful Home, Naturally
Restoring wood does not have to be a daunting weekend project filled with sandpaper and chemical fumes. As we have seen, the power to revitalize your home is sitting right in your kitchen. This vinegar and oil method is a testament to the fact that sometimes the simplest solutions are the best. It honors the history of your furniture by highlighting its natural character rather than masking it under a layer of artificial shine. So, the next time you spot a weathered table or a dull bookshelf, don’t look past it. Grab your jar, mix up some magic, and enjoy the satisfaction of seeing that stunning wood grain shine through once again. Your furniture—and your wallet—will certainly thank you for it.