DIY Water-Based Gel Moisturiser Recipe for Oily Acne-Prone Skin Homemade Skincare Care
Finding the perfect balance for oily and acne-prone skin can often feel like a never-ending quest. You want hydration, but you dread the greasy film that most traditional creams leave behind. Many people skip moisturizing altogether out of fear of breakouts, but that actually causes the skin to produce even more oil to compensate for the dryness. The secret lies in a lightweight, water-based gel that provides all the moisture your skin craves without any of the heavy, pore-clogging ingredients. This DIY water-based gel moisturiser is a refreshing solution designed specifically to soothe, hydrate, and balance oily complexions using professional-grade ingredients you can easily use at home.
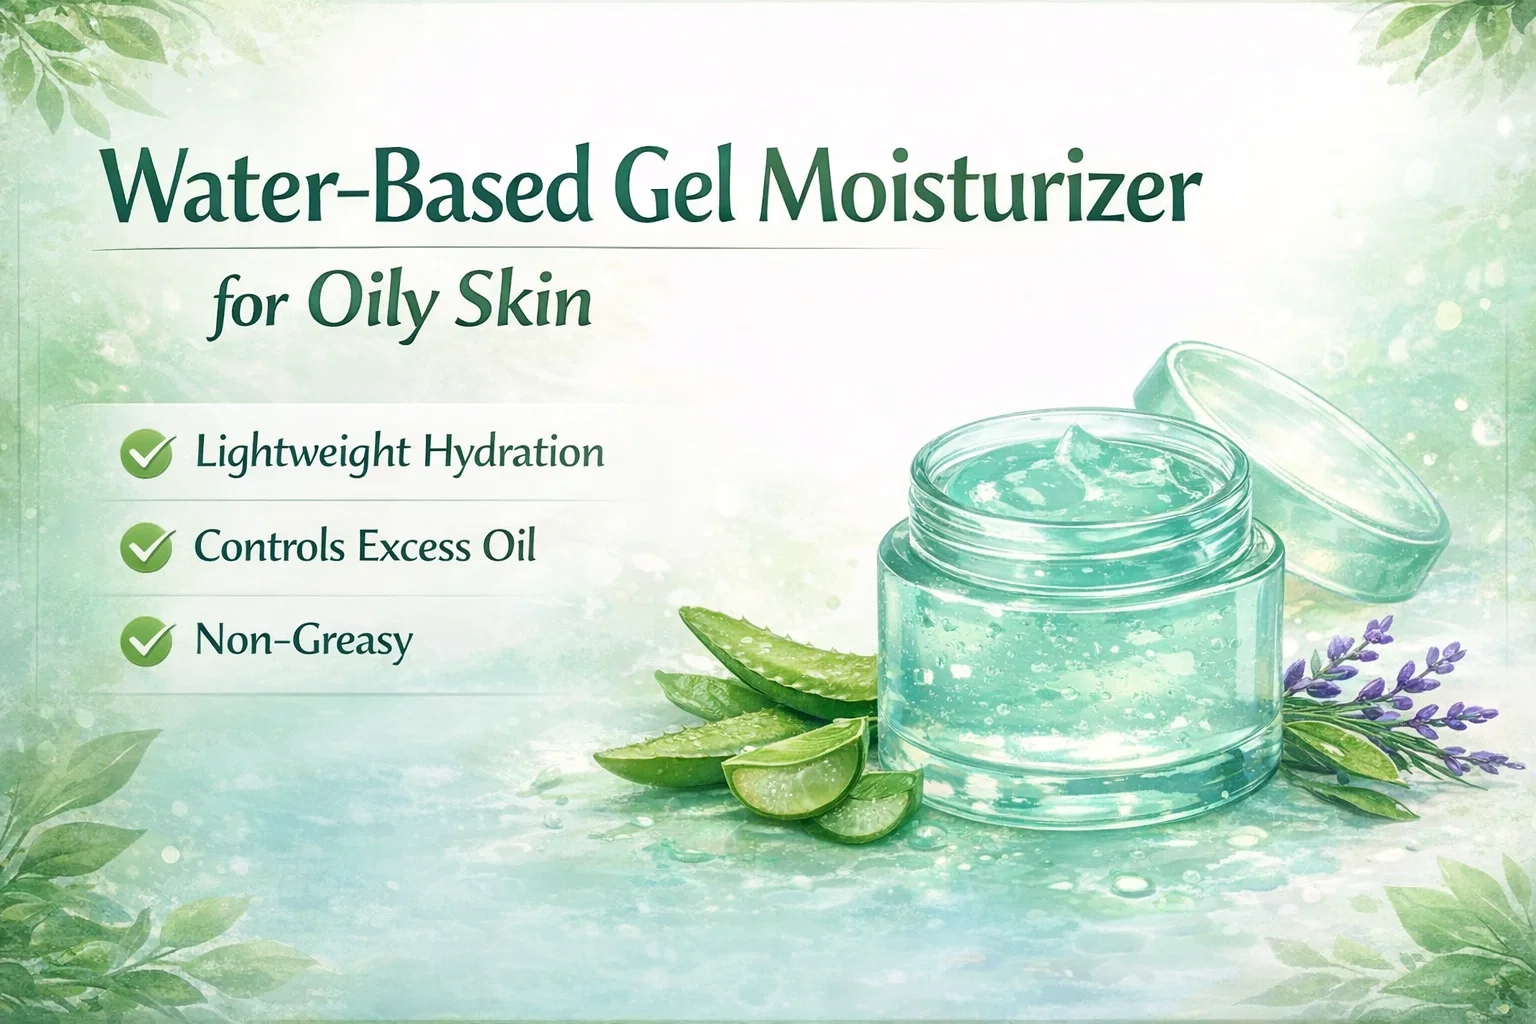
Why a Water-Based Gel is Best for Oily Skin
Oily skin types require a specific kind of hydration known as humectant-based moisture. Unlike occlusive moisturisers that sit on top of the skin to trap oils, water-based gels are formulated to sink in quickly. This ensures that your skin stays plump and hydrated throughout the day without looking shiny by lunchtime. A gel formula feels cooling upon application, making it particularly beneficial for those dealing with inflammation or active acne flare-ups. By focusing on water-rich components like aloe vera and distilled water, you are giving your skin exactly what it needs to stay healthy and resilient.
The Science of Oil Control and Hydration
When we look at the biology of oily skin, the goal is to regulate sebum production while maintaining the skin barrier. Ingredients like niacinamide are superstars in this department because they communicate with your pores to tell them to calm down. Meanwhile, hyaluronic acid acts like a sponge, pulling moisture from the air into your skin cells. When these two forces combine in a gel base, you get a product that manages shine while preventing the dehydration that often leads to premature aging and irritation.
Deconstructing the Ingredients: What Makes This Recipe Work
Creating your own skincare allows you to control the quality and concentration of every single ingredient. This 100g batch recipe is carefully balanced to ensure stability and efficacy. Each component serves a specific purpose, from the base hydration to the active treatments that repair the skin surface.
- Distilled Water: The foundation of any water-based product. Using distilled water is crucial to avoid minerals and bacteria found in tap water that could ruin your formula or irritate your skin.
- Aloe Vera Gel: Known for its incredible soothing properties, aloe vera provides a boost of vitamins and minerals while calming redness.
- Glycerin: A classic humectant that ensures your skin doesn’t lose moisture to the environment.
- Niacinamide (Vitamin B3): This is the heavy hitter for oily skin. It helps improve skin texture, reduces the appearance of pores, and balances oil production.
- Hyaluronic Acid: Capable of holding 1000 times its weight in water, it provides deep hydration that makes the skin look fresh and bouncy.
- Panthenol (Vitamin B5): This ingredient focuses on skin repair. It helps heal acne scars and strengthens the natural skin barrier.
- Carbomer or Xanthan Gum: These are the thickeners that transform a watery liquid into a luxurious, easy-to-spread gel.
Step-by-Step Guide to Making Your Gel Moisturiser
The process of making this moisturiser is broken down into phases to ensure that the active ingredients stay potent and the texture remains smooth. If you mix everything at once, you might end up with clumps or a product that separates. Following a phased approach is the professional way to formulate skincare at home.
Phase A: The Water Phase
Start by combining your distilled water, aloe vera gel, and glycerin in a clean glass beaker. This is also the stage where you add your niacinamide. Stir these together until the niacinamide powder is fully dissolved. This creates a nutrient-rich base that is ready to be thickened into a gel. Make sure your equipment is sterilized with 70 percent isopropyl alcohol before you begin to keep your product safe and long-lasting.
Phase B: Creating the Gel Texture
Once your water phase is ready, it is time to add the thickener. Whether you choose Carbomer or Xanthan Gum, the key is patience. Sprinkle the powder slowly over the liquid and whisk gently. If you are using Carbomer, you may need to neutralize the pH later to get it to thicken, whereas Xanthan Gum will thicken on its own but might require a bit more mixing to get a perfectly smooth consistency. This step defines the “feel” of the moisturiser on your skin.
Phase C: Adding the Powerhouse Actives
After your gel has reached the desired thickness, you can stir in the Panthenol and Hyaluronic Acid. These ingredients are sensitive, so adding them toward the end ensures they remain effective. Finally, stir in your preservative. Since this recipe is water-based, a preservative is mandatory to prevent mold and bacteria from growing. If you enjoy a light scent, you can add a few drops of tea tree or lavender essential oil. Tea tree is excellent for its antibacterial properties, while lavender is wonderful for calming sensitive skin.
The Benefits of Customizing Your Skincare
One of the biggest advantages of a DIY approach is the ability to tweak the recipe to suit your specific needs. If your skin is feeling extra oily during the summer months, you might increase the niacinamide slightly. If you are experiencing dryness in the winter, you could add a tiny bit more glycerin. This level of customization is something you simply cannot get from a store-bought bottle.
Safe and Natural Ingredients
By making this yourself, you eliminate the parabens, synthetic fragrances, and harsh alcohols often found in commercial products. You know exactly what is going onto your face. This is particularly important for people with sensitive or acne-prone skin who often react negatively to the “fillers” used in mass-produced cosmetics. You are prioritizing skin health over shelf-life and marketing gimmicks.
Cost-Effective Beauty
While the initial investment in ingredients like hyaluronic acid or niacinamide might seem high, the cost per batch is incredibly low. A single 100g batch can last you several weeks, and the raw ingredients will allow you to make dozens of batches. It is a sustainable way to maintain a high-end skincare routine on a budget.
How to Incorporate This Gel into Your Routine
To get the best results from your water-based gel, application is key. This product works best when applied to slightly damp skin. After cleansing and toning, take a pea-sized amount and gently pat it into your face and neck. The dampness helps the hyaluronic acid pull even more moisture into the skin layers. Because it is so lightweight, it sits perfectly under sunscreen and makeup, acting almost like a primer by smoothing out skin texture.
Morning and Night Application
In the morning, this gel provides a refreshing wake-up call for your skin. It absorbs in seconds, allowing you to move on with your day without waiting for your moisturiser to dry. At night, you can apply a slightly thicker layer to act as a hydrating mask while you sleep. If you have particularly dry patches, you can layer a drop of facial oil over the gel in those specific areas, creating a custom moisture map for your face.
Storing Your Homemade Creation
Proper storage is essential for maintaining the integrity of your DIY moisturiser. Because it contains active vitamins and botanical extracts, it is best kept in a cool, dark place. Using a glass jar or a pump bottle is ideal. A pump bottle is especially recommended as it minimizes exposure to air and prevents you from introducing bacteria from your fingers into the container. If stored correctly, your gel should remain fresh for several months, depending on the preservative used.
A Refreshing Path to Clearer Skin
Taking the time to craft your own skincare is an act of self-care that pays off in visible results. This water-based gel moisturiser is more than just a beauty product; it is a specialized tool designed to help you regain confidence in your skin. By choosing ingredients that respect your skin’s natural balance, you are moving away from the cycle of harsh treatments and oily breakouts. Instead, you are embracing a routine that is pure, hydrating, and effective. Whether you are a seasoned formulator or a curious beginner, this recipe offers a simple way to achieve a glowing, shine-free complexion that feels as good as it looks. Enjoy the process of creating something unique for yourself and watch your skin transform with every application.