Easy DIY Tiger Balm Recipe Natural Pain Relief Muscle Soothing Ointment
Creating your own natural remedies at home is one of the most rewarding ways to take control of your wellness journey. There is something deeply satisfying about knowing exactly what goes into the products you use on your body, especially when it comes to managing daily aches and pains. This homemade tiger balm recipe is a perfect example of how simple, plant-based ingredients can be transformed into a powerful, soothing ointment. By combining traditional herbal wisdom with easy-to-find kitchen staples, you can craft a professional-grade salve that rivals any store-bought alternative. Whether you are dealing with a stiff neck, sore muscles after a workout, or just need a bit of respiratory relief, this DIY balm is designed to provide fast-acting, natural support.
The Magic Behind Homemade Tiger Balm
Tiger balm has been a staple in medicine cabinets for generations, known for its distinct aromatic scent and its unique ability to provide both cooling and warming sensations. When you make it yourself, you have the opportunity to ensure the potency and purity of every ingredient. The base of this recipe relies on a simple combination of olive oil and beeswax, which creates a smooth, spreadable consistency that stays on the skin long enough for the active ingredients to penetrate deeply. Unlike commercial versions that often use petroleum jelly, this natural version allows your skin to breathe while delivering the therapeutic benefits of essential oils.
Understanding the Key Ingredients
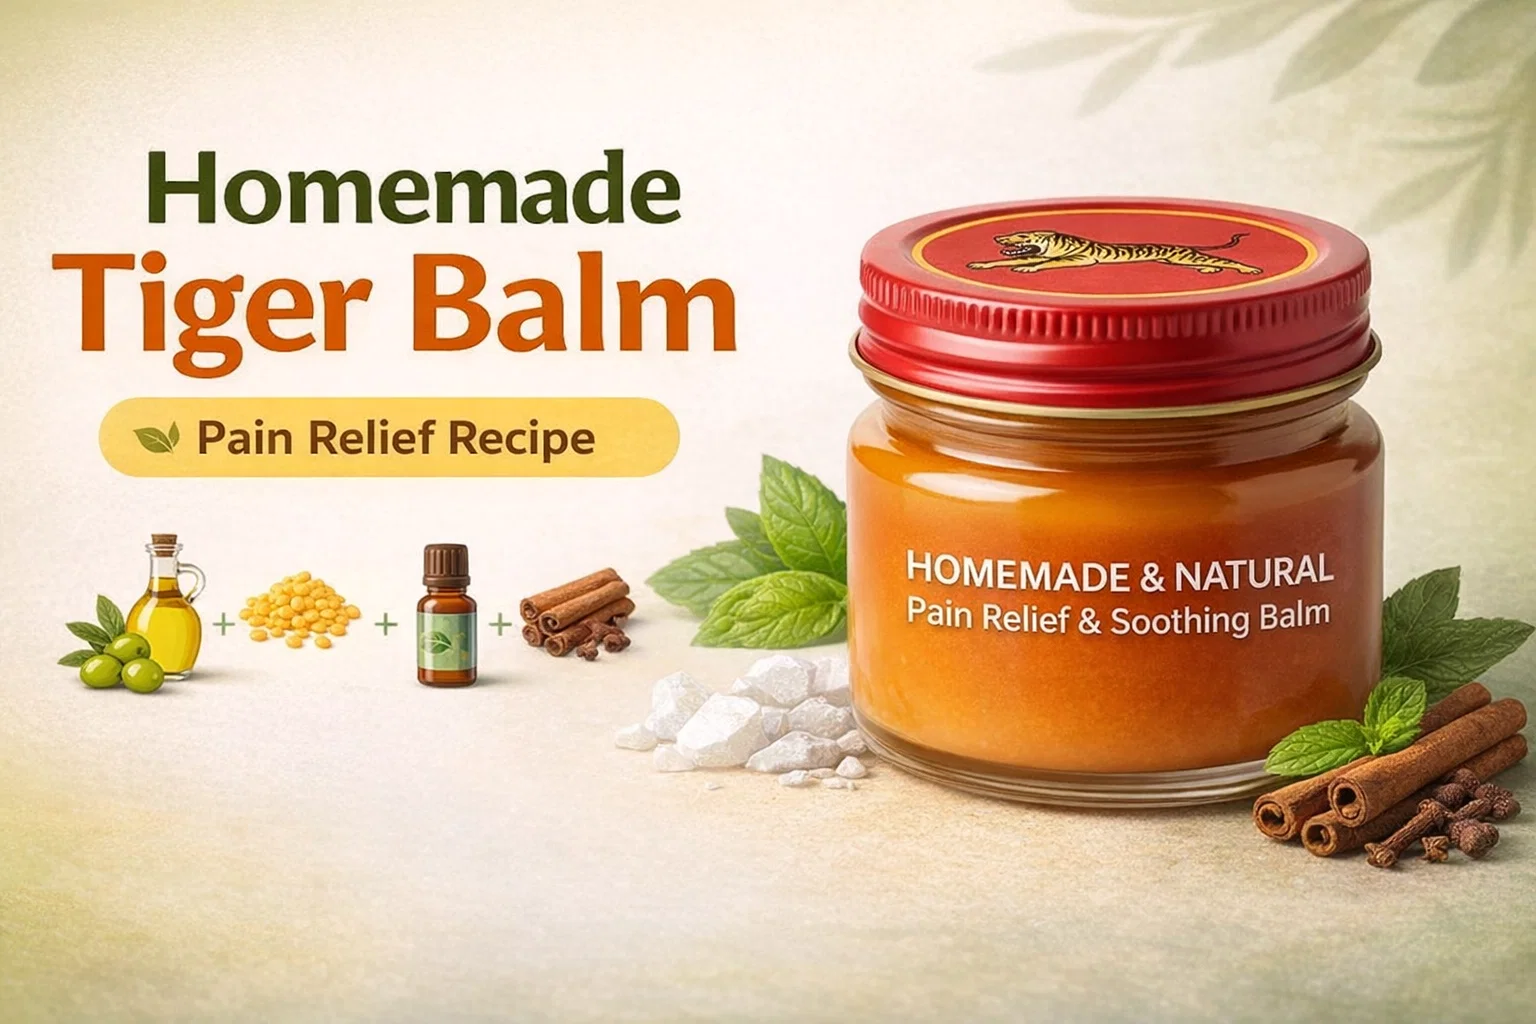
Every component in this balm serves a specific purpose, working in harmony to tackle discomfort from multiple angles. Here is a closer look at what makes this formula so effective:
- Olive Oil: This serves as your carrier base. It is incredibly nourishing for the skin and ensures that the concentrated essential oils are diluted safely for topical application.
- Beeswax Pellets: Beeswax acts as the hardener. It provides a protective barrier on the skin, locking in the moisture and the essential oils so they can work their magic over a longer period.
- Camphor Essential Oil: This is the heavy hitter for pain relief. It provides that classic cooling effect that helps to numb discomfort and reduce irritation.
- Peppermint Essential Oil: Known for its anti-inflammatory properties, peppermint oil adds to the cooling sensation and helps to relax tight muscles.
- Eucalyptus Essential Oil: This oil is a dual-threat. It acts as an analgesic for pain and also works as a decongestant, making this balm useful for chest rubs during cold season.
- Cinnamon Essential Oil: This provides the warming element. It helps to improve circulation to the area where it is applied, which can speed up the healing process.
- Clove Essential Oil: Clove is a natural anesthetic. It contains eugenol, which is highly effective at dulling sharp pains and providing a deep sense of relief.
Step-by-Step Preparation Guide
Making this balm is a straightforward process that requires minimal equipment. You will need a small pot or a double boiler, some glass jars or tins for storage, and a stirring utensil. Precision is helpful, but the beauty of DIY skincare is that you can slightly adjust the consistency to your liking.
Step 1: Melting the Base
Start by combining your olive oil and beeswax pellets in your pot. It is crucial to use low heat during this stage. You do not want to boil the oil; you simply want enough warmth to melt the beeswax completely. Stir gently until the mixture is a clear, uniform liquid. Using a double boiler is a great way to ensure the heat remains gentle and consistent, preventing any scorching of the precious wax.
Step 2: Incorporating the Essential Oils
Once the wax has fully melted, remove the pot from the heat source. This is a vital step because high heat can cause the volatile compounds in essential oils to evaporate, which reduces their effectiveness. Let the mixture cool for just a minute or two, then stir in your camphor, peppermint, eucalyptus, cinnamon, and clove oils. Mix thoroughly to ensure the oils are evenly distributed throughout the base. The aroma at this stage will be incredibly invigorating.
Step 3: Pouring and Storing
Carefully pour the liquid mixture into your clean, sterilized glass jars or metal tins. It is best to use smaller containers so you can keep one in your gym bag, one by your bedside, and perhaps one in your first aid kit. Make sure your containers are completely dry before pouring, as any water introduced into the balm can lead to spoilage over time.
Step 4: Setting the Balm
Leave the jars undisturbed at room temperature. As the mixture cools, it will begin to solidify into a firm but creamy balm. Do not be tempted to put the lids on right away; allowing the balm to cool completely before capping prevents condensation from forming inside the jar. Once it is solid and cool to the touch, secure the lids tightly and store them in a cool, dark place.
How to Use Your Natural Relief Balm
Using your homemade tiger balm is simple, but there are a few tips to maximize its effectiveness. For muscle aches, take a small amount of the balm and massage it vigorously into the affected area. The friction of the massage combined with the cinnamon oil will help stimulate blood flow, while the camphor and peppermint provide that signature soothing tingle. If you are using it for congestion, apply a thin layer to your chest and upper back before bed. The aromatic vapors will help open up your airways as you sleep.
Safety Precautions and Tips
Because this balm contains potent essential oils, it is always a good idea to perform a patch test on a small area of skin first. This ensures you do not have any sensitivities to the specific oils used. Avoid contact with your eyes, nose, or any broken skin, as the peppermint and cinnamon can be quite intense. Wash your hands thoroughly after each application to prevent accidentally rubbing the balm into sensitive areas. If you find the balm is too hard for your preference, you can remelt it and add a splash more olive oil. If it is too soft, add a few more beeswax pellets.
The Benefits of Choosing DIY Wellness
Transitioning to homemade alternatives like this tiger balm is a fantastic way to reduce your environmental footprint and avoid synthetic additives. Many commercial balms contain paraffin or artificial dyes that do not offer any therapeutic value. By using high-quality essential oils and natural waxes, you are providing your body with pure, concentrated care. Furthermore, making these items yourself is significantly more cost-effective in the long run. A single bottle of essential oil can make dozens of batches of balm, making it a sustainable choice for your budget as well.
Beyond the physical benefits, there is a mental health component to the DIY process. Engaging in a craft like this encourages mindfulness and a deeper connection to the items we use daily. It empowers you to be the maker of your own comfort. This balm also makes a thoughtful, handmade gift for friends and family who enjoy natural living or lead active lifestyles. Everyone appreciates a gift that is both practical and made with care.
Conclusion
This easy homemade tiger balm is more than just a recipe; it is a versatile tool for your natural health toolkit. By following these four simple steps, you can create a reliable source of relief that is free from chemicals and full of botanical power. The combination of warming and cooling oils provides a sophisticated sensory experience that helps the body relax and recover. Whether you are a seasoned DIY enthusiast or just starting to explore the world of natural remedies, this project is a rewarding way to bring the benefits of aromatherapy into your daily routine. Keep a jar handy, and you will find yourself reaching for it time and time again whenever you need a little extra comfort and care.