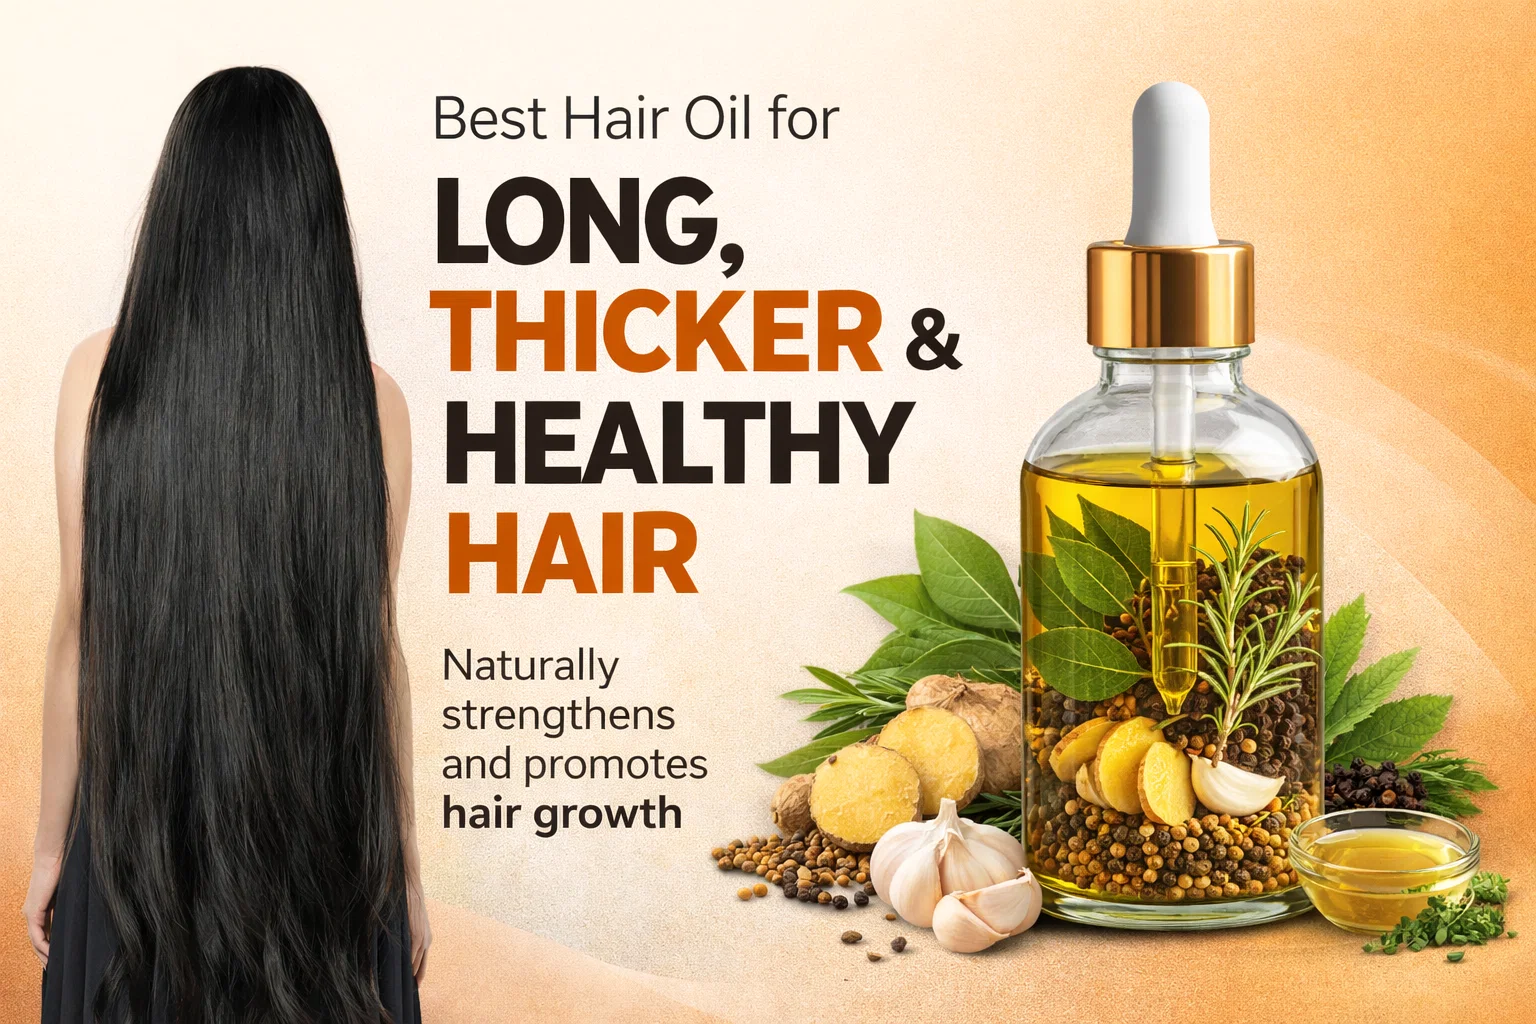
DIY Hair Growth Oil Recipe for Longer Thicker Healthy Hair Rosemary Ginger Scalp Treatment
Are you tired of spending a fortune on high end hair serums that promise the world but deliver very little? If you have been dreaming of long, thick, and lustrous hair that looks like it belongs in a shampoo commercial, the secret might actually be sitting right in your kitchen. Nature has provided us with some of the most potent ingredients for scalp health and hair follicle stimulation. Today, we are diving deep into a traditional, DIY hair growth oil recipe that combines the science of herbal medicine with the simplicity of home crafting. This specific blend of rosemary, ginger, garlic, and curry leaves is designed to wake up your roots and give your hair the nutrients it needs to grow stronger than ever before.
The Power of Natural Ingredients for Hair Growth
In a world full of synthetic chemicals and artificial fragrances, returning to raw, botanical ingredients can be a breath of fresh air for your scalp. Each ingredient in this potent oil serves a specific purpose. When you massage these nutrients into your skin, you are not just moisturizing your hair; you are improving blood circulation and providing the building blocks for healthy keratin production. Let’s break down exactly why this specific combination is so effective for achieving that Rapunzel-like length.
Fresh Rosemary: The Scalp Stimulator
Rosemary is perhaps the most famous herb in the world of natural hair care. Scientific studies have suggested that rosemary oil can be just as effective as some over the counter hair growth treatments without the harsh side effects. It works by improving blood flow to the scalp, which ensures that your hair follicles are getting a steady supply of oxygen and nutrients. Beyond growth, rosemary is also excellent for soothing an itchy scalp and reducing dandruff, making it a versatile foundation for any hair oil.
Fresh Ginger Slices: For Strength and Shine
Ginger is packed with bioactive compounds like gingerol, which has powerful anti-inflammatory and antioxidant effects. When applied to the scalp, ginger provides a warming sensation that further boosts circulation. It also contains essential fatty acids that help thin or brittle hair become more resilient. If you struggle with breakage or split ends, the strengthening properties of ginger are essential for retaining the length you grow.
Garlic Cloves: The Follicle Protector
While the scent might be strong, the benefits of garlic for hair are even stronger. Garlic is rich in sulfur and selenium, both of which are crucial for the structure of the hair shaft. It has antimicrobial properties that help kill germs and bacteria which can cause damage to the scalp and inhibit hair growth. Think of garlic as a deep cleanser for your follicles, ensuring a healthy environment where new hair can thrive without interference.
Curry Leaves: The Secret to Pigment and Vitality
Commonly used in Ayurvedic traditions, curry leaves are a goldmine of antioxidants and amino acids. They help prevent premature thinning and are often used to maintain the natural pigment of the hair, keeping it looking dark and vibrant. The amino acids in curry leaves help strengthen the hair fiber, preventing the “limp” look that often comes with long hair that lacks protein.
How to Make Your DIY Hair Growth Oil at Home
The beauty of this recipe lies in its simplicity. You do not need expensive laboratory equipment to create a high quality hair treatment. By using a slow heat infusion method, you can extract the essential oils and nutrients from the herbs and spices directly into a carrier oil of your choice.
Choosing Your Carrier Oil: Coconut vs. Olive Oil
The base of your recipe is just as important as the active ingredients. Coconut oil is famous for its ability to penetrate the hair shaft, providing deep protein protection. However, if you have very low porosity hair or a scalp that is prone to heavy buildup, you might prefer olive oil. Olive oil is rich in Vitamin E and antioxidants, making it incredibly softening for dry or damaged textures. You can even use a 50/50 blend of both to get the best of both worlds.
Step-by-Step Infusion Process
To begin, gather your fresh ingredients: a handful of curry leaves, two sprigs of rosemary, a one inch piece of sliced ginger, and three cloves of garlic. Add these to half a cup of your chosen carrier oil in a small saucepan. Turn the heat to the lowest possible setting. You want to simmer the mixture gently for about 5 to 10 minutes. Watch closely to ensure the ingredients do not burn; you are looking for a gentle infusion where the oil takes on the scent and color of the herbs. Once the time is up, let the oil cool completely before straining it through a fine mesh sieve or cheesecloth into a glass dropper bottle.
Advanced Tips for Maximizing Your Results
While the oil itself is a powerhouse, how you apply it can significantly change your results. Consistency is the most important factor when it comes to any natural remedy. You cannot expect overnight miracles, but with dedicated use over several months, the transformation can be incredible.
The Importance of the Scalp Massage
When you apply your warm oil, do not just slap it on and walk away. Spend at least 5 minutes using your fingertips to massage your scalp in circular motions. This technique, sometimes called the “Inversion Method” if done with your head tilted slightly downward, helps the oil penetrate deeper and further stimulates the nerves and blood vessels in the scalp. It is also a wonderful way to de-stress after a long day.
Frequency and Timing
For the best results, aim to use this treatment 2 to 3 times a week. Many people find success applying the oil in the evening, wrapping their hair in a silk scarf, and washing it out the next morning. If you have fine hair that weighs down easily, applying it as a pre-shampoo treatment for 30 minutes to an hour is still very effective. Just make sure you are consistent with your routine.
Storage and Shelf Life
Since this recipe uses fresh ingredients like ginger and garlic, it is important to store it correctly to prevent spoilage. Keeping your oil in a cool, dark place is essential. Using a dark amber glass bottle can help protect the botanical compounds from light degradation. Because there are no artificial preservatives, it is best to make small batches that you can use within two to three weeks to ensure the ingredients remain potent and fresh.
Signs Your Oil is Working
How do you know if the treatment is doing its job? During the first few weeks, you might notice that your scalp feels less dry and your hair has a healthier shine. By the end of the first month, many users report seeing “baby hairs” along the hairline, which is a sign of new growth. Over three to six months, you should notice improved thickness and less shedding during your normal shower routine.
Conclusion: Your Journey to Healthy Hair
Achieving long, thick, and healthy hair is a journey that requires patience and the right nutrients. By choosing to make your own hair oil, you are taking control of your beauty routine and avoiding the hidden chemicals found in many commercial products. This DIY recipe is more than just a trend; it is a blend of time-tested ingredients that work in harmony with your body. Remember to be patient with yourself and your hair. Natural growth takes time, but the results of a healthy, nourished scalp are always worth the wait. Start your first batch today and get ready to fall in love with your hair all over again. Save this guide so you can refer back to the recipe whenever you need a refill!