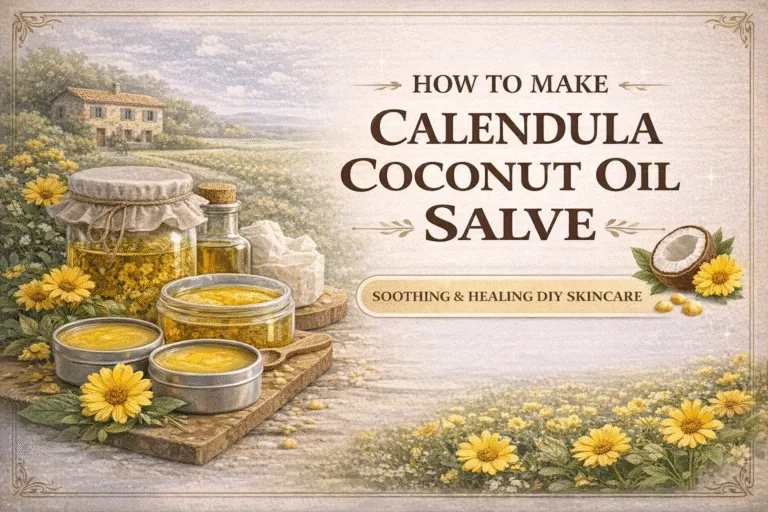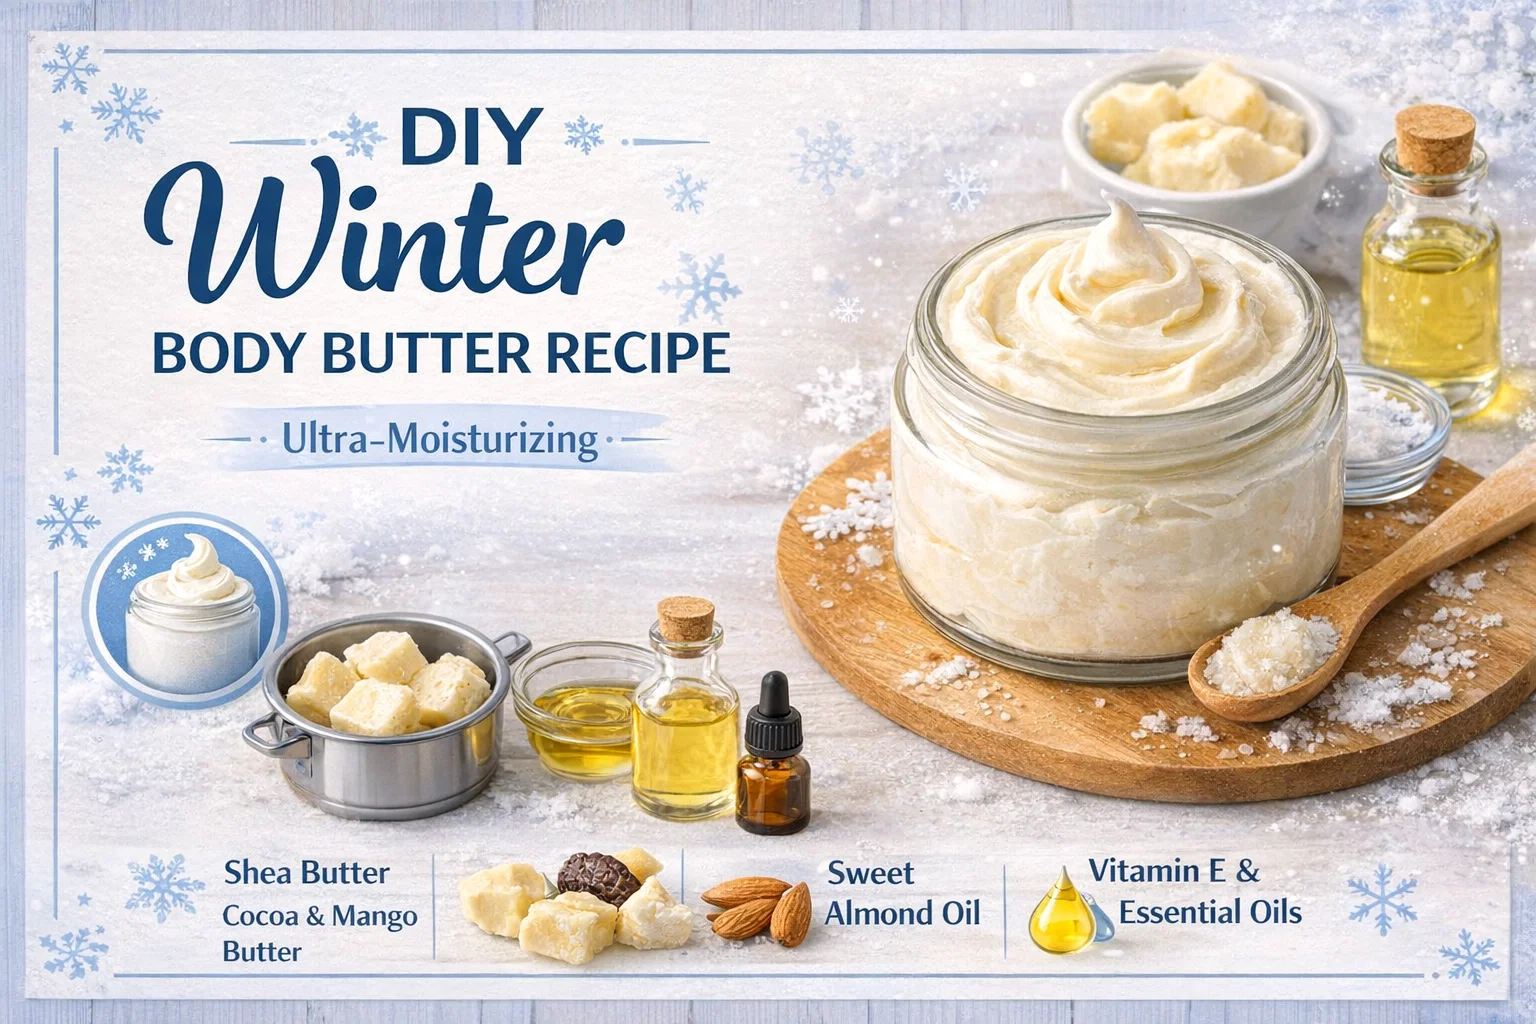
DIY Ultra-Moisturizing Winter Body Butter Recipe for Dry Skin Shea Cocoa Butter Guide
There is something undeniably magical about the first frost of winter, but for our skin, that magic can quickly turn into a dry, itchy nightmare. As the humidity drops and the indoor heating kicks into high gear, our natural moisture barrier takes a serious beating. While store-bought lotions offer a temporary fix, they are often loaded with water and preservatives that evaporate quickly, leaving your skin feeling just as parched as before. That is where the art of the homemade winter body butter comes in. By combining raw, plant-based butters with nutrient-dense oils, you can create a protective shield that locks in hydration for twenty-four hours or more.
Making your own skincare is not just a DIY project; it is an act of self-care. When you whip up a batch of this ultra-moisturizing cream, you know exactly what is going onto your body. No synthetic fragrances, no parabens, and no mysterious chemicals. This specific recipe focuses on a “triple butter” threat, using shea, cocoa, and mango butters to provide a multi-layered approach to skin repair. Whether you are dealing with cracked heels, ashy elbows, or just want that healthy winter glow, this whipped butter is the ultimate solution.
The Power of the Triple Butter Blend
Most DIY recipes stick to just one base, but to combat the harshness of a true winter, a blend is superior. Each butter brings a unique fatty acid profile and texture to the finished product. By balancing them, we create a body butter that is firm enough to stay stable in the jar but soft enough to melt instantly upon contact with your skin.
Shea Butter: The King of Hydration
Shea butter is the foundation of this recipe for a reason. Derived from the nuts of the shea tree, it is packed with vitamins A and E. It acts as a powerful emollient, meaning it fills in the tiny gaps in your skin cells to create a smooth surface. It is particularly effective for soothing inflammation, making it a dream for those who suffer from windburn after a day out in the cold.
Cocoa Butter: The Protective Barrier
If shea butter is the hydrator, cocoa butter is the protector. It is a occlusive ingredient, which means it forms a physical barrier on top of the skin to prevent water loss. It also smells faintly of chocolate, which adds a delicious natural base note to your scent profile. Cocoa butter is high in antioxidants, which help fight off free radical damage caused by environmental stressors.
Mango Butter: The Secret for Softness
Mango butter is often the unsung hero of the skincare world. It has a much lighter feel than cocoa butter and is less greasy than shea. It provides a boost of Vitamin C, which can help brighten the skin during those gloomy, grey months. Including mango butter ensures that your final product feels “whipped” and airy rather than heavy and waxy.
Essential Oils and Carrier Oils for Maximum Glow
Butters provide the structure, but oils provide the slip and deep penetration. In this recipe, we use Sweet Almond Oil as the primary carrier. It is an “oilier” oil that stays on the surface just long enough to allow for a good massage, but it eventually sinks deep into the dermis to deliver nutrients. If you find your skin is particularly sensitive, you can even swap a portion of this for Avocado Oil, which is even richer in oleic acid.
Vitamin E oil is another non-negotiable ingredient. While it is fantastic for skin healing and reducing the appearance of scars, it serves a dual purpose here. It acts as a natural antioxidant for the oils themselves, helping to prevent the butters from going rancid and extending the shelf life of your creation to nearly a full year.
Step-by-Step Guide to the Perfect Whipped Consistency
The secret to a professional-grade body butter is the cooling and whipping process. If you just melt everything and let it sit, you will end up with a hard, grainy brick. To get that cloud-like texture shown in the images, you have to follow a specific temperature profile.
Step 1: The Gentle Melt
Place your shea, cocoa, and mango butters in a double boiler. If you do not have one, a glass bowl over a pot of simmering water works perfectly. Avoid direct heat, as overheating can grain the shea butter and destroy the beneficial nutrients. Stir slowly until every lump has disappeared into a golden, translucent liquid.
Step 2: Incorporating the Liquid Gold
Once the butters are melted, remove the heat and stir in your Sweet Almond Oil and Vitamin E. This is the stage where the mixture looks like a simple oil, but the magic is about to happen. At this point, the mixture is too hot for essential oils, so we must wait.
Step 3: The Flash Chill
Place your bowl in the refrigerator or freezer. You are looking for a very specific state: the oil should be opaque and firm to the touch, but your finger should still be able to leave an indentation. This usually takes about thirty to forty-five minutes in the fridge. If it gets too hard, just let it sit at room temperature for a bit to soften up.
Step 4: The Whip
Use a hand mixer or a stand mixer to whip the chilled mixture. Start on low and move to high speed. Within minutes, the yellow oil will transform into a bright white, fluffy cream. This is when you fold in your 20 to 30 drops of essential oils. Vanilla and lavender are classic choices for a relaxing evening routine, while frankincense adds a touch of earthy luxury.
Winter Skin Tips for Total Body Health
While this body butter is a powerhouse, your application technique can change the results significantly. For the best experience, always apply your butter immediately after a shower. When your skin is slightly damp, the butter traps that extra water against your skin, doubling the hydration levels. Focus specifically on “high-friction” areas like your knees, elbows, and the heels of your feet.
For those struggling with severely cracked skin or “winter itch,” consider adding a tablespoon of beeswax to the melting stage. Beeswax adds an extra layer of waterproofing that is especially helpful for hands that are frequently washed or feet that are tucked into heavy boots all day. If you want a more “dry” oil feel, you can substitute two tablespoons of the almond oil for avocado oil, which is known for its rapid absorption rates.
Customizing Your Scent Profile
One of the best parts of DIY is the aromatherapy aspect. Since this butter sits on your skin all day, the scent will linger. Here are three popular combinations for the winter season:
- The Sleepy Sunday: 15 drops Lavender and 10 drops Vanilla. This is perfect for a post-bath ritual before bed.
- The Winter Forest: 10 drops Frankincense, 10 drops Cedarwood, and 5 drops Sweet Orange. It smells like a crisp walk through a snowy woods.
- The Candy Cane: 15 drops Peppermint and 10 drops Vanilla. It provides a cooling sensation that is great for sore muscles after shoveling snow.
Storage and Shelf Life
Because this recipe contains no water, it does not require a heavy-duty synthetic preservative. Bacteria need water to grow, and since this is an anhydrous (water-free) product, it is naturally shelf-stable. Generally, your winter body butter will stay fresh for six to twelve months. To keep it in peak condition, store it in a cool, dry place. If your bathroom gets very steamy, consider keeping your jar in the bedroom instead. Always use clean hands to scoop out the product to avoid introducing any moisture or contaminants into the jar.
Conclusion
There is no reason to suffer through dry, uncomfortable skin this season. By taking a few minutes to melt, chill, and whip these natural ingredients, you are creating a high-end skincare product that rivals any luxury department store brand. This winter body butter is more than just a moisturizer; it is a protective shield that allows you to enjoy the cold weather without the physical toll on your skin. Once you feel the difference of a triple-butter blend, you will never go back to standard lotions again. Grab your glass jars, choose your favorite essential oils, and get ready to glow all winter long.
Would you like me to help you design a custom label for your jars or perhaps suggest a variation for a lighter summertime version?