Learn Embroidery for Beginners 10 Essential Hand Embroidery Stitches Tutorial
Embroidery is more than just a hobby. It is a meditative practice that allows you to transform a simple piece of fabric into a textured masterpiece. When you look at a beautifully stitched hoop, it is easy to feel overwhelmed by the intricate details, but the secret lies in mastering the fundamentals. Every complex floral arrangement or detailed portrait you see on social media is built upon a foundation of basic stitches. By breaking down these techniques, you can unlock a world of creative possibilities and start your journey into the timeless art of needlework.
Getting Started with Your Embroidery Journey
Before you pull your first thread through the fabric, it is essential to understand the tools of the trade. Unlike many modern crafts that require expensive machinery, hand embroidery is remarkably accessible. You only need a few high quality supplies to get started: an embroidery hoop to keep your fabric taut, sharp needles, embroidery floss, and a piece of non stretch fabric like cotton or linen. Having the right setup makes a world of difference in the quality of your stitches and the overall enjoyment of the process.
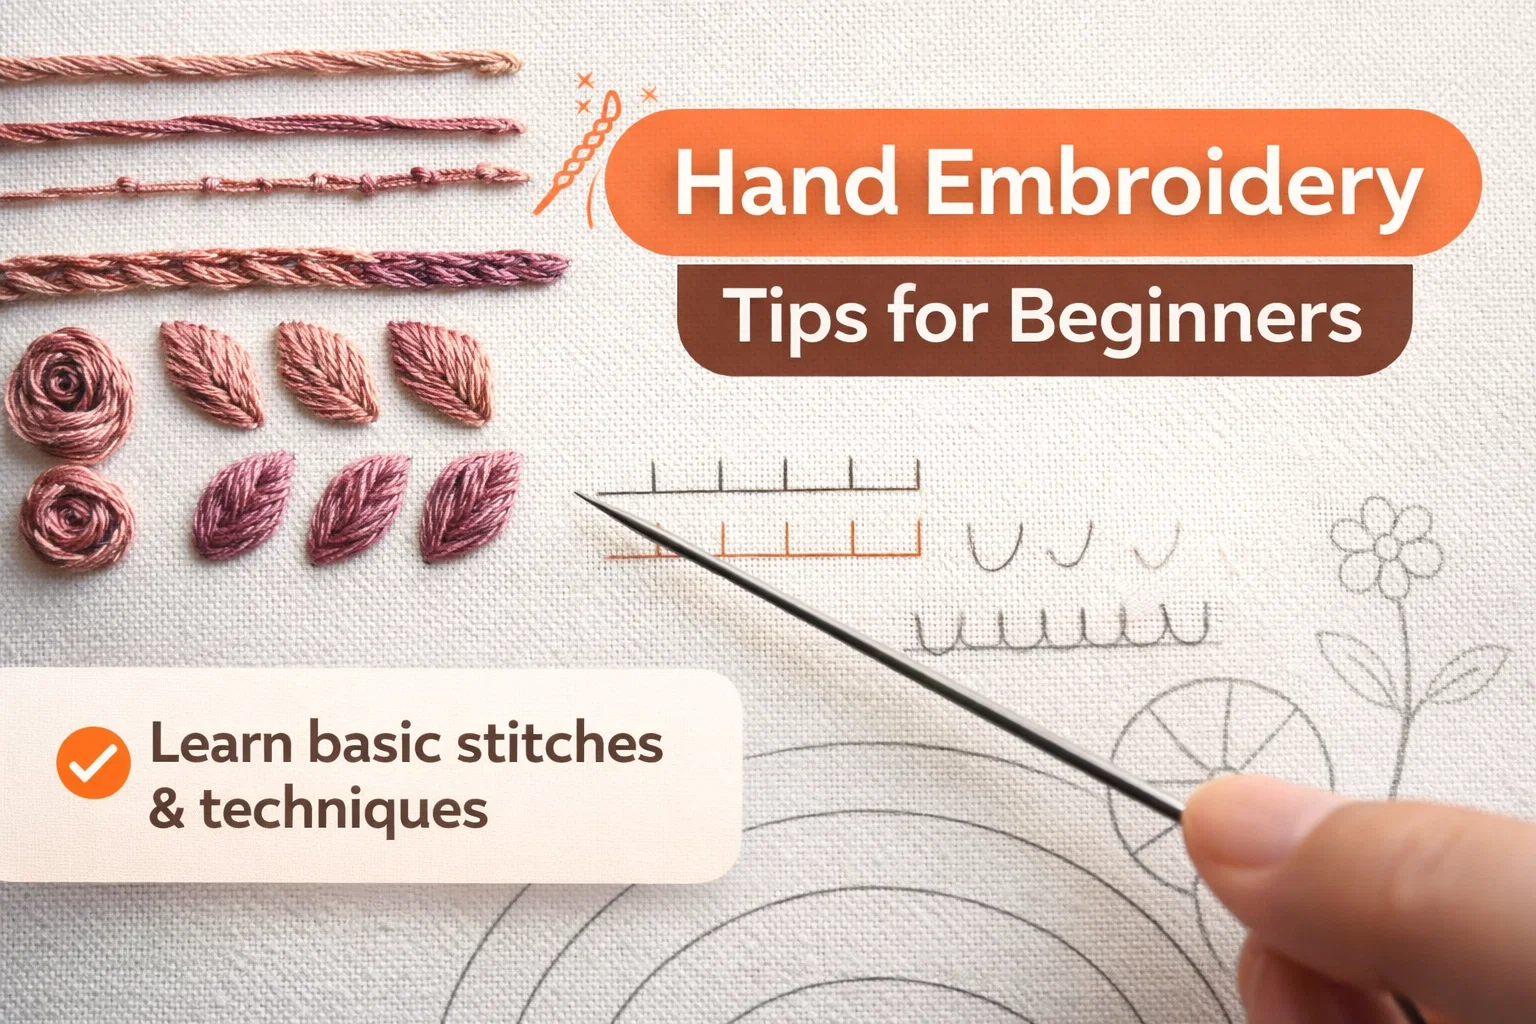
The image we are looking at today is a perfect example of a stitch sampler. Samplers have been used for centuries as a way for beginners to practice various techniques and for experienced crafters to keep a physical record of different styles. From the linear elegance of the chain stitch to the structural beauty of the fishbone stitch, each method serves a specific purpose in design. Understanding when and where to use these stitches is the first step toward becoming a confident fiber artist.
The Versatility of the Chain Stitch
One of the most recognizable and beloved techniques in the world of needlework is the chain stitch. As the name suggests, this stitch creates a series of looped links that look like a delicate chain resting on the surface of the fabric. It is a fantastic choice for outlining shapes because it provides a thicker, more textured line than a standard backstitch. If you are working on a design that requires bold borders or curvy typography, the chain stitch should be your go-to option.
How to Perfect Your Chain Stitch
To achieve a professional look, consistency is key. You want each loop of your chain to be roughly the same size. If some links are tight and others are loose, the line will look uneven. A great tip for beginners is to use a slightly thicker thread or multiple strands of floss to really emphasize the braided effect. Because the chain stitch is flexible, it follows curves beautifully, making it ideal for stems, vine patterns, or even filling in small areas by spiraling the stitch inward.
Adding Texture with the Fishbone Stitch
When you want to create realistic leaves or feathers, the fishbone stitch is absolutely essential. This stitch is characterized by its overlapping diagonal lines that meet in the center, mimicking the natural skeleton of a leaf. It provides a beautiful 3D effect that makes your greenery pop off the fabric. In the sampler shown in the image, you can see how the fishbone stitch creates a dense, layered look that feels organic and sophisticated.
Mastering the Leaf Shape
- Start at the Tip: Always begin your fishbone stitch at the very top point of your leaf shape.
- Maintain the Angle: The beauty of this stitch comes from the consistent slant of the thread. Keep your angles sharp to ensure the center line remains crisp.
- Layering: As you move down the shape, each new stitch should slightly overlap the previous one to prevent the fabric from showing through.
Structural Beauty with the Blanket Stitch
The blanket stitch is a powerhouse in the embroidery world. While it is often used for finishing the edges of blankets or appliqués, it is also a stunning decorative element. It creates a structured, comb like pattern that is perfect for borders or decorative frames. In modern embroidery, artists often use the blanket stitch to create stylized sunbursts, wheels, or even architectural details in landscape pieces.
What makes the blanket stitch so unique is the way the thread catches itself to create a perpendicular line. This creates a built in edge that prevents fraying on appliqué pieces. If you are working on a project that involves sewing one piece of fabric onto another, the blanket stitch provides both security and aesthetic charm. It is a rhythmic stitch that, once mastered, becomes incredibly fast and satisfying to execute.
The Elegance of the Satin Stitch
If you are looking to fill in large areas with a smooth, glossy finish, the satin stitch is the answer. It consists of a series of flat, parallel stitches that cover a shape entirely. When done correctly, it looks like a solid block of color with a subtle sheen, hence the name satin. It is most commonly used for flower petals, geometric shapes, and monograms. While it looks simple, the satin stitch requires a steady hand and a lot of patience to keep the edges perfectly straight.
Tips for a Smooth Satin Finish
One common mistake with the satin stitch is making the stitches too long, which can cause them to snag or sag over time. If you have a large area to fill, consider breaking it up into smaller sections or using a padded satin stitch by stitching a foundation layer underneath for extra volume. Always make sure your fabric is as tight as a drum in your hoop; any slack will cause the satin stitches to pucker and lose their clean look.
Creating Details with Couching and Split Stitches
As you progress in your practice, you will encounter stitches like the couching stitch and the split stitch. Couching is a unique technique where you lay a thick piece of thread on the surface and use a second, thinner thread to tack it down at regular intervals. This is perfect for creating thick outlines or adding metallic threads that are too difficult to pull through the fabric. The split stitch, on the other hand, involves piercing back through the previous stitch, creating a textured line that looks like a fine braid. It is excellent for delicate facial features or intricate floral stems.
Designing Your Own Embroidery Patterns
Once you have practiced the stitches shown in the sampler, you can start combining them to create your own unique designs. Look at the lower half of the image, where simple outlines of hearts, rainbows, and flowers wait to be filled. This is the stage where your creativity truly takes over. You might choose to fill a heart with dense satin stitches in various shades of pink, or use the blanket stitch to create a colorful, textured rainbow.
Do not be afraid to experiment with color theory. Using different shades of the same color, as seen in the dusty rose and mauve tones of the image, creates a sophisticated, monochromatic look. Alternatively, using high contrast colors can make a simple design feel modern and vibrant. The beauty of hand embroidery is that there are no strict rules. If a stitch looks good to you, it is the right stitch for the job.
The Benefits of Hand Embroidery for Well Being
Beyond the physical results, the act of stitching has profound mental health benefits. In a world that is increasingly digital and fast paced, the slow, repetitive nature of embroidery provides a much needed escape. It is often referred to as “yoga for the brain” because it requires focus and presence, helping to reduce stress and anxiety. There is a deep sense of accomplishment that comes from finishing a project, knowing that every single thread was placed there by your own hands.
Why You Should Start Today
- Portability: You can take your embroidery hoop anywhere, from the doctor’s office to a long flight.
- Affordability: A single skein of thread costs less than a dollar, making this one of the most budget friendly crafts available.
- Customization: You can use your skills to mend old clothes, personalize gifts, or decorate your home with unique art.
Concluding Your Stitching Adventure
Mastering hand embroidery is a journey that begins with a single stitch. By taking the time to learn the basic techniques shown in this sampler, you are giving yourself the tools to express your creativity in a tangible, beautiful way. Whether you are attracted to the boldness of the chain stitch or the delicate precision of the fishbone stitch, each new skill you acquire adds a new layer to your artistic voice. Remember that perfection is not the goal; the goal is to enjoy the process and embrace the unique character of handmade work.
As you continue to practice, you will find your own rhythm and style. Perhaps you will fall in love with modern, minimalist designs, or maybe you will be drawn to traditional, ornate patterns. Regardless of the path you choose, the foundations will always remain the same. So, grab your needle, choose a thread that inspires you, and start filling those blank spaces on your fabric. Your future masterpieces are just a few stitches away.