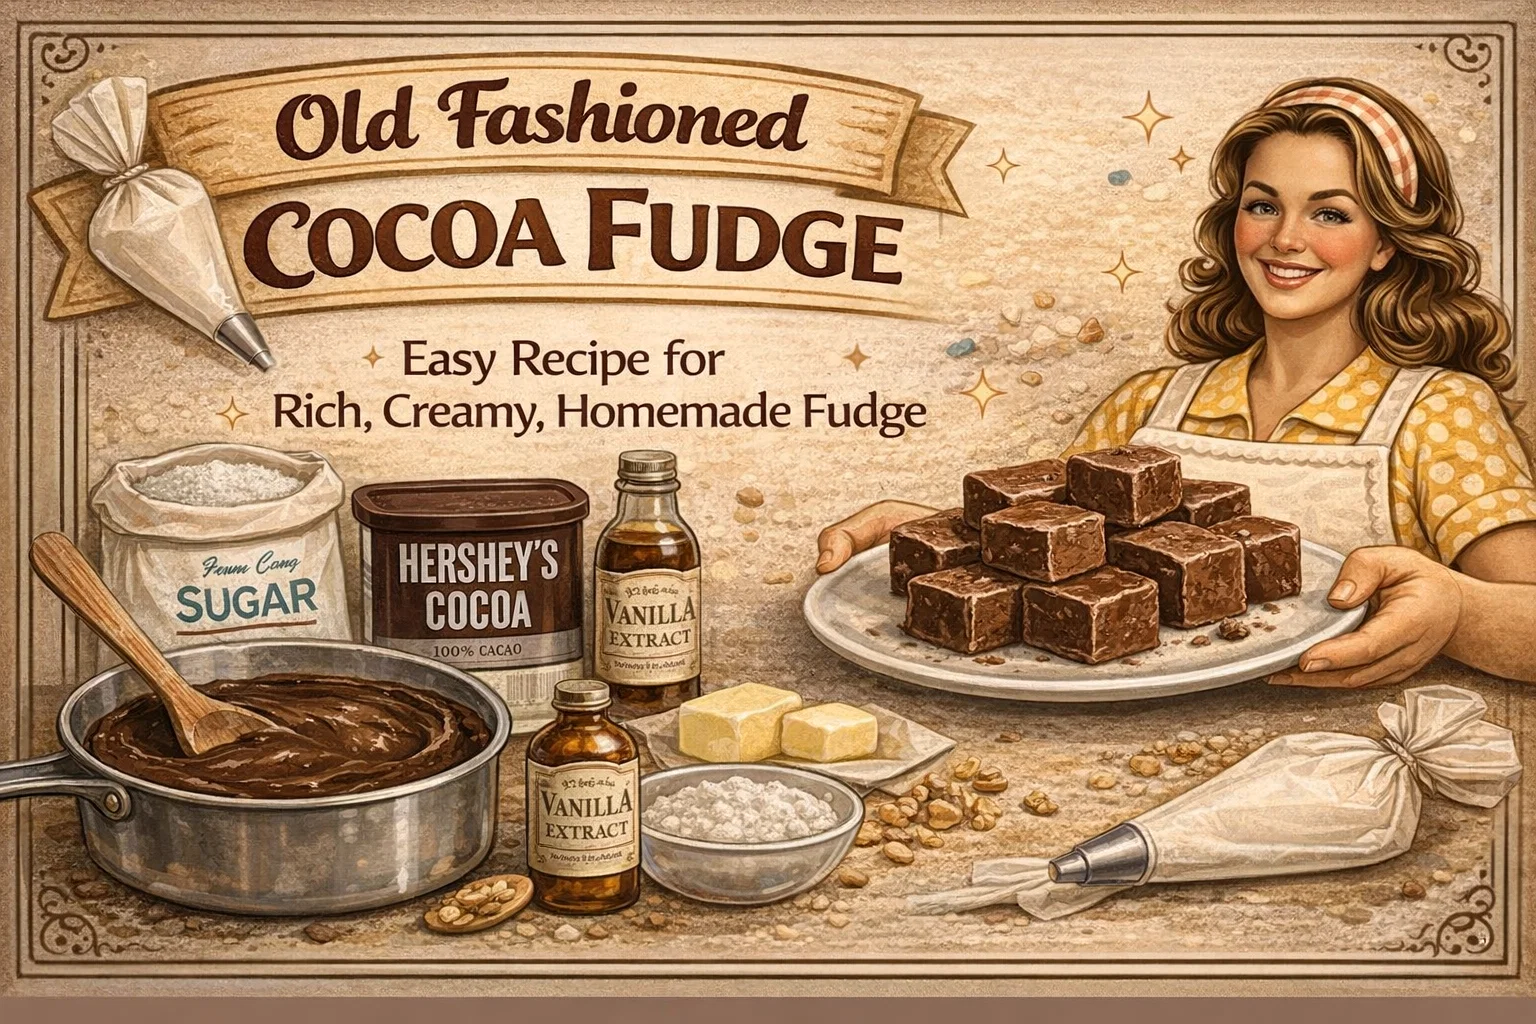
Easy Old Fashioned Cocoa Fudge Recipe
There is something incredibly magical about stepping into a kitchen filled with the rich, warm scent of simmering chocolate. It instantly transports you back to simpler times, perhaps to your grandmother’s house during the holidays or a cozy winter evening spent indoors. If you are craving a nostalgic, melt-in-your-mouth treat, you have found exactly what you are looking for. This old fashioned cocoa fudge recipe is a beloved classic that relies on simple pantry staples and traditional candy-making techniques to deliver a deeply chocolatey, perfectly sweet dessert. Whether you are an experienced baker or trying your hand at homemade candy for the very first time, this guide will walk you through every single step to ensure absolute perfection.
Why You Will Love This Classic Cocoa Fudge
In a world filled with complicated desserts requiring specialized equipment and hard-to-find ingredients, this vintage fudge recipe stands out for its beautiful simplicity. You do not need a culinary degree to master it. The beauty of this recipe lies in its straightforward approach and the incredible payoff it delivers. The texture is exactly what you want from an old-school fudge: slightly crumbly on the very edges but unbelievably smooth and creamy as it melts on your tongue.
Furthermore, this recipe is incredibly fast to prepare. With just five minutes of prep time and ten minutes of cooking time, you can have a fresh batch of fudge cooling on your counter in under twenty minutes. It yields sixteen generous servings, making it the ultimate solution for last-minute holiday gifts, bake sales, or sudden late-night chocolate cravings. At only 175 calories per serving, it is a delightfully rich treat that satisfies your sweet tooth without requiring you to spend hours in the kitchen.
The Magic Behind Old Fashioned Fudge
To truly appreciate this recipe, it helps to understand a little bit about the science and history of fudge making. Unlike modern shortcut fudges that rely heavily on sweetened condensed milk and chocolate chips melted together in a microwave, traditional fudge is technically a crystalline candy. This means you are actually boiling a sugar syrup and then controlling how the sugar crystals reform as the mixture cools down.
When you boil sugar, cocoa, milk, and butter together, you are evaporating the liquid and concentrating the sugar. The exact amount of time you boil the mixture determines the final texture. This is why the instructions emphasize precise timing. The goal is to create millions of microscopic sugar crystals that are so tiny your tongue cannot detect them individually, resulting in that signature smooth, creamy mouthfeel rather than a gritty or grainy texture.
Essential Ingredients for the Perfect Batch
Great recipes start with great ingredients. Because this fudge requires only a handful of items, the quality and exact measurements of what you use will directly impact your final product. Here is a detailed breakdown of what you will need to gather before you begin.
The Dry Base
Pure Cane Sugar (2 cups): Sugar is the structural backbone of this candy. It provides the sweetness and creates the necessary crystal structure. Standard granulated white sugar is exactly what you need here. Avoid substituting brown sugar or powdered sugar, as they contain different moisture levels and will drastically alter the chemistry of the fudge.
Hershey’s Cocoa Powder (4 tablespoons): Unsweetened cocoa powder brings that intense, authentic chocolate flavor. While the recipe highlights Hershey’s as a classic choice, any high-quality natural unsweetened cocoa powder will work beautifully. Make sure to sift it if it looks overly clumpy in the container.
The Dairy Components
Salted Butter (1/2 cup or 1 stick): Butter adds incredible richness and a luxurious mouthfeel to the fudge. The fat content helps to lubricate the sugar crystals, keeping the candy soft. The recipe specifically calls for salted butter, which is fantastic because the salt beautifully cuts through the intense sweetness of the sugar. If you only have unsalted butter on hand, simply add a pinch of regular table salt to the mixture.
Evaporated Milk (5 ounces): This is a crucial ingredient for vintage candy recipes. Evaporated milk is cow’s milk that has had about sixty percent of its water removed. It provides a concentrated, slightly caramelized dairy flavor and prevents the fudge from becoming too watery during the boiling process. Do not confuse this with sweetened condensed milk, which is heavily sugared and will completely ruin the proportions of this recipe.
Flavor Enhancers
Vanilla Extract (1 teaspoon): Vanilla is the unsung hero of chocolate desserts. It enhances the depth of the cocoa and provides a warm, floral background note. Always try to use pure vanilla extract rather than imitation vanilla for the absolute best flavor.
Chopped Nuts (1/2 cup, optional): If you love a little crunch in your desserts, chopped nuts are the perfect addition. Walnuts and pecans are the most traditional choices for old fashioned fudge. Toasting them lightly in a dry skillet before adding them to the fudge will elevate their natural oils and bring out a fantastic roasted flavor.
Step-by-Step Guide to Making Cocoa Fudge
Now that your ingredients are prepped and ready, it is time to dive into the cooking process. Candy making requires your full attention, so make sure you have all your tools within reach before turning on the stove.
Step 1: Whisking the Dry Ingredients. Begin by placing your two cups of sugar and four tablespoons of cocoa powder into a medium-sized, heavy-bottomed saucepan. Whisk them together thoroughly until no lumps remain. Mixing the dry ingredients first prevents the cocoa powder from clumping up when you add the wet ingredients.
Step 2: Adding the Richness. Next, add your stick of salted butter and the five ounces of evaporated milk to the saucepan. Place the pan over medium heat. At this stage, you want to stir gently and consistently as the butter melts and the ingredients combine into a dark, glossy liquid.
Step 3: The Rolling Boil. Keep a close eye on your saucepan as the heat works its magic. You want to bring the mixture to a full, rolling boil. A rolling boil means the bubbles are continuously bursting across the entire surface of the liquid and the boiling action cannot be stopped by simply stirring it.
Step 4: The Crucial Timing. The moment your fudge reaches a true rolling boil, set a timer for exactly seven minutes. This is the most critical step of the entire recipe. You must stir continuously for the entire seven minutes. Stirring prevents the heavy sugar mixture from scorching on the bottom of the pan and helps ensure the sugar properly crystallizes. Do not walk away, do not check your phone, just keep stirring steadily.
Step 5: Flavor and Cool Down. When the seven minutes are up, immediately remove the saucepan from the heat. Carefully and vigorously stir in your teaspoon of vanilla extract. If you are using chopped nuts, this is the time to fold them in as well. Be mindful, as the mixture will bubble up slightly when the alcohol in the vanilla hits the hot candy.
Step 6: Setting the Fudge. Quickly pour the hot fudge mixture into a buttered baking dish. An 8×8 inch square pan works wonderfully for thick squares of fudge. Smooth the top with a spatula if necessary, but work fast because the fudge will begin setting up almost immediately as it cools. Allow the dish to cool completely at room temperature before attempting to slice it.
Troubleshooting Common Fudge Failures
Even though this recipe is straightforward, the chemistry of sugar can sometimes be finicky. If your fudge does not turn out perfectly on the first try, do not be discouraged. Here are some common issues and how to avoid them in the future.
Why Is My Fudge Grainy?
Grainy fudge is the most common complaint in traditional candy making. This happens when the sugar crystals grow too large. There are a few reasons this might occur. First, you may not have stirred the mixture constantly during the seven-minute boil. Continuous stirring breaks up the crystals. Second, you might have scraped the sugary sides of the saucepan into the final mixture. The sugar crystals clinging to the sides of the pan can cause a chain reaction that crystallizes the whole batch. When you pour the fudge into your dish, let it flow naturally and do not aggressively scrape the bottom and sides of the pot.
Why Didn’t My Fudge Set?
If your fudge ends up more like a thick chocolate sauce than a firm candy, it means too much moisture was left in the mixture. This usually happens if the heat was too low during the seven minutes or if the mixture never reached a true, vigorous rolling boil before you started the timer. Next time, make sure the boil is active and bubbly across the whole surface before you start counting down.
Fun Variations and Add-ins
Once you master this base recipe, the creative possibilities are endless. You can easily customize this old fashioned fudge to suit different holidays or personal preferences.
- Peppermint Mocha Fudge: Swap out half of the vanilla extract for peppermint extract and sprinkle crushed candy canes on top immediately after pouring it into the dish. Perfect for winter holidays.
- Peanut Butter Swirl: After pouring the fudge into your baking dish, drop small dollops of warmed creamy peanut butter over the surface and drag a butter knife through them to create a beautiful marbled effect.
- Sea Salt Caramel: Omit the chopped nuts in the batter. Once the fudge is in the pan, drizzle it lightly with a thick caramel sauce and sprinkle generously with flaky sea salt before it cools.
- Marshmallow Mix-in: Fold a handful of miniature marshmallows into the fudge at the very end, right alongside the vanilla extract, for a rocky road inspired texture.
How to Store Your Homemade Fudge
Proper storage is essential to keep your fudge tasting fresh and maintaining its wonderful creamy texture. Once the fudge has cooled completely and has been cut into squares, transfer the pieces to an airtight container. Place layers of wax paper or parchment paper between the stacked pieces to prevent them from sticking together.
Fudge stored at room temperature in a cool, dry place will stay fresh for about one to two weeks. If your kitchen is particularly warm or humid, you can store the container in the refrigerator for up to three weeks. For long-term storage, fudge freezes exceptionally well. Wrap individual large blocks tightly in plastic wrap, then place them in a heavy-duty freezer bag. Frozen fudge can last up to three months. Simply let it thaw overnight in the refrigerator before serving.
Wrapping Up Your Fudge Making Adventure
Creating homemade old fashioned cocoa fudge is a highly rewarding experience that connects us to generations of bakers who came before us. Taking basic ingredients like sugar, cocoa, and butter and transforming them into a decadent, velvety confection feels like a true culinary accomplishment. This recipe proves that you do not need complex equipment to make incredibly delicious treats right in your own kitchen.
The next time you need a comforting dessert, a thoughtful homemade gift, or just a project to sweeten up a rainy afternoon, pull out your saucepan and gather your ingredients. Follow the steps carefully, respect the seven-minute boil, and get ready to enjoy some of the best chocolate fudge you have ever tasted.