DIY All-Natural Dry Skin Balm Recipe Super Moisturizing
Have you ever felt like your skin is endlessly thirsty? No matter how much lotion you pump out of that plastic bottle, your hands, heels, and elbows still feel like sandpaper within an hour. It is a frustrating cycle that many of us face, especially when the weather shifts or when we spend too much time in dry, air-conditioned rooms. But what if the secret to glowing, deeply hydrated skin was hiding right in your own home? Today, we are diving deep into the wonderful world of do-it-yourself skincare with a super moisturizing, all-natural dry skin balm that will completely transform your daily routine. If you are tired of reading complicated ingredient labels and spending a fortune on products that just sit on the surface of your skin without providing real relief, you are in exactly the right place. Let us explore how to create a rich, luxurious, and deeply penetrating balm that your skin will absolutely drink up.
Understanding the Root Causes of Dry Skin
Before we start melting butters and mixing oils, it helps to understand why our skin gets so incredibly dry in the first place. The outermost layer of your skin acts as a protective brick wall. The skin cells are the bricks, and the natural lipids (fats and oils) are the mortar holding everything together and keeping moisture locked inside. When that mortar is stripped away by harsh weather, hot showers, or chemical-laden soaps, the moisture easily escapes. This leads to that tight, itchy, and flaky feeling we all despise.
Most commercial lotions are formulated with a very high percentage of water. While water sounds hydrating, applying it directly to compromised skin without a strong occlusive barrier just leads to more evaporation. As the water evaporates from your skin, it can actually take more of your natural moisture with it. That is why you feel the need to reapply store-bought lotion constantly. The recipe we are making today is entirely anhydrous. This means it contains absolutely zero water. It is a concentrated powerhouse of pure plant butters and oils designed to repair that protective barrier, lock in existing hydration, and deliver intense nourishment exactly where you need it most.
The All-Natural Ingredient Lineup
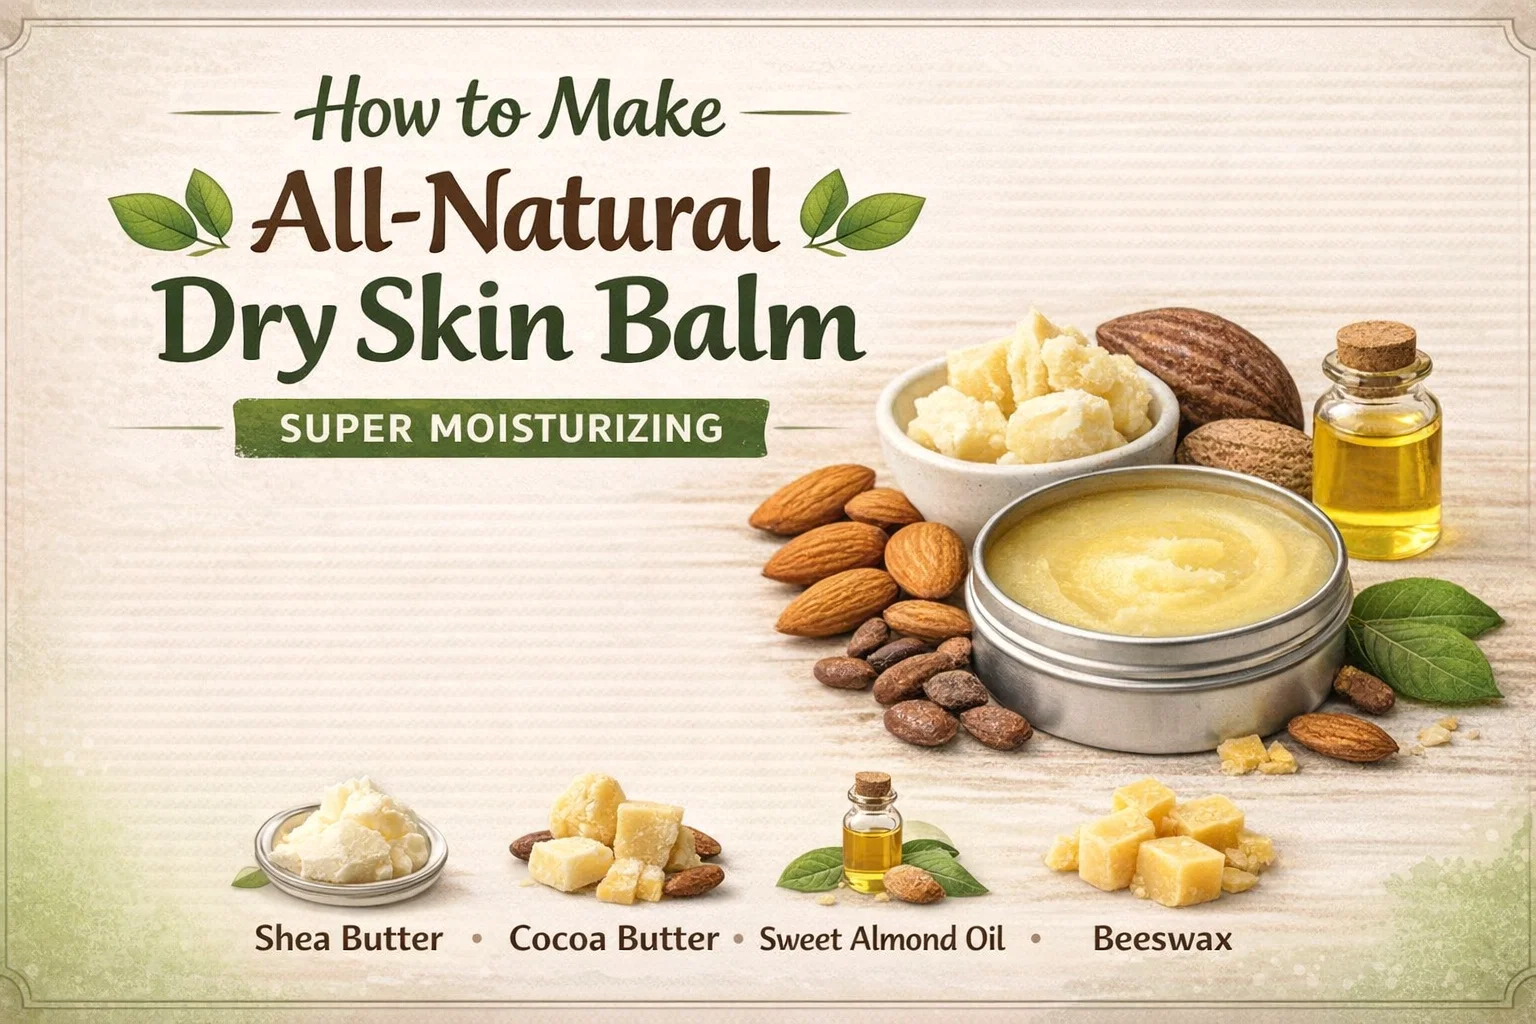
To create a standard 100g batch of this miracle balm, you will need a few simple, raw ingredients. Each component has been specifically chosen for its unique healing and moisturizing properties. Let us break down the stars of the show and discover what makes them so effective.
Shea Butter (40g): The Ultimate Healer
Shea butter is the foundational ingredient of our balm, and for a very good reason. Extracted from the nuts of the African shea tree, this rich fat is naturally loaded with vitamins A, E, and F. It is renowned for its incredible ability to soothe dry, irritated, and even eczema-prone skin. Because it has a melting point that is very close to our natural body temperature, shea butter absorbs beautifully upon contact. It provides deep conditioning without clogging pores, making it an absolute must-have for repairing rough skin textures.
Cocoa Butter (30g): The Moisture Lock
If you have ever smelled a high-quality cocoa butter, you know it carries a delightful, subtle scent of dark chocolate. Beyond its amazing aroma, cocoa butter is a dense, hard fat that provides incredible structural integrity to our balm. It creates a breathable yet highly effective protective layer over the skin to shield it from environmental stressors. Cocoa butter is also packed with phytochemicals that can improve blood flow to the skin and slow skin aging by protecting against damage from the sun’s harmful UV rays. Together with shea butter, it forms an unstoppable moisturizing duo.
Sweet Almond Oil (25g): The Smooth Carrier
While butters provide heavy-duty protection, liquid carrier oils ensure the balm spreads easily and penetrates deeply. Sweet almond oil is a fantastic choice here. It is a mild, hypoallergenic oil that is safe for almost all skin types, including highly sensitive skin. It is rich in zinc and potassium, which help to heal minor abrasions and soothe flakiness. If you do not have sweet almond oil on hand, do not worry! You can easily substitute it with olive oil for a richer, heavier feel, or golden jojoba oil, which closely mimics the skin’s natural sebum.
Beeswax (5g): The Protective Seal
Although marked as optional in our formulation, adding just a small amount of beeswax elevates this balm from a soft butter to a true protective salve. Beeswax is a natural humectant, meaning it actually attracts water molecules from the air and draws them into your skin. Furthermore, it creates a long-lasting, waterproof barrier that locks in the oils and butters we just discussed. It also gives the final product a beautiful, firm texture that will not melt easily if your house gets a little warm during the summer months.
Optional Add-Ins for Healing and Scent
To truly customize your skincare experience, we highly recommend incorporating a few targeted add-ins. Half a teaspoon of Vitamin E oil serves a dual purpose. First, it is a powerful antioxidant that works wonders for fading scars and healing severely cracked skin. Second, it acts as a natural way to extend the shelf life of your oils by preventing them from oxidizing too quickly. Additionally, adding 5 to 10 drops of high-quality essential oils can transform your balm into a spa-like treatment. Lavender essential oil is perfect for calming both irritated skin and an anxious mind, making it ideal for nighttime use. Frankincense is another incredible option, celebrated for centuries for its cellular regeneration properties and earthy, grounding aroma.
Your Step-by-Step Balm Crafting Guide
Creating your own skincare is surprisingly simple. It is very similar to melting chocolate for baking. The entire active preparation process takes less than fifteen minutes. Gather your ingredients, a kitchen scale for accuracy, and let us get started.
Step 1: Melt the Hardest Ingredients First
You will need a double boiler setup to ensure you do not scorch these delicate botanical ingredients. If you do not own a dedicated double boiler, simply place a heat-safe glass or stainless steel bowl over a saucepan filled with an inch or two of simmering water. Add your 5g of beeswax and 30g of cocoa butter to the bowl. Because these two ingredients have the highest melting points, they need to go in first. Stir them gently until they are completely melted into a translucent, golden liquid.
Step 2: Add the Shea Butter and Remove from Heat
This is a crucial step for achieving the perfect texture. Shea butter is notoriously sensitive to high temperatures. If you boil it or get it too hot, it can crystallize as it cools, leaving your final balm feeling grainy and unpleasant. To avoid this, take your bowl off the simmering water immediately after the cocoa butter and beeswax have melted. Add your 40g of shea butter into the warm liquid. The residual heat will be more than enough to gently melt the shea butter down smoothly.
Step 3: Mix in Your Oils and Vitamin E
Once everything in your bowl is liquid and thoroughly combined, it is time to add the finishing touches. Pour in your 25g of sweet almond oil (or your chosen substitute) and your half teaspoon of Vitamin E oil. If you have decided to use essential oils, add your 5 to 10 drops now. Stir the mixture slowly and steadily to ensure the essential oils are evenly distributed throughout the batch.
Step 4: Pour into a Jar and Let Cool
While the mixture is still warm and fully liquid, carefully pour it into your chosen storage containers. Wide-mouth glass mason jars or shallow metal cosmetic tins work brilliantly for this type of product. Leave the lids off and let the containers sit completely undisturbed on your counter. It will take roughly 30 to 60 minutes for the balm to cool, turn opaque, and set into a firm, luxurious solid. Resist the urge to poke it while it cools!
Maximizing the Benefits: How to Use Your Dry Skin Balm
Now that you have crafted this beautiful, all-natural product, you want to make sure you are getting the absolute maximum benefit from it. Because this balm is incredibly concentrated, a little bit goes a very long way. You only need a pea-sized amount to cover a large area of skin.
Timing is everything when it comes to hydration. The absolute best way to use this product is to apply it immediately after bathing or showering. When you step out of the water, gently pat your skin with a towel, leaving it just slightly damp. Scoop out a small amount of the balm, warm it up by rubbing it between your palms, and massage it directly into your damp skin. The balm will lock that surface water into your epidermis, providing intense, long-lasting hydration that a standard lotion simply cannot match.
Pay special attention to the areas of your body that take the most abuse. Massage it generously into rough heels, dry elbows, calloused hands, and ashy knees. For an intensive overnight treatment, try applying a thick layer of the balm to your feet right before bed. Slip on a pair of clean, breathable cotton socks to protect your sheets and trap the heat. When you wake up the next morning, your feet will feel unbelievably soft and renewed. Make this a regular habit, ideally applying morning and night, and you will see a dramatic transformation in your skin’s texture.
Customizing and Troubleshooting Your Creation
One of the greatest joys of making your own skincare is the ability to adjust the recipe to perfectly suit your preferences and your local climate. Room temperature plays a big role in how your final product feels. A home in a hot, tropical climate might cause the balm to stay quite soft, while a home in a freezing winter climate might make the balm feel rock solid.
If you find that your finished balm is too hard to easily scoop out with your fingers, do not throw it away! The fix is incredibly easy. Simply scoop the solid balm back into your double boiler and gently melt it down again. To soften the texture, you can either add a tablespoon more of your liquid sweet almond oil, or you can slightly reduce the amount of beeswax in your next batch.
Conversely, if your balm feels too soft or is melting into an oily puddle on your bathroom counter, you just need a bit more structure. Melt the mixture down again and add an extra gram or two of beeswax. Stir it well and let it reset. It is a highly forgiving process, so feel free to experiment until you find the exact consistency that you love.
Shelf Life and Proper Storage Guidelines
Because you have created a product entirely free of water, bacteria and mold have a very hard time growing in it. This means you do not need to rely on the harsh synthetic preservatives found in commercial cosmetics. When stored correctly, your all-natural dry skin balm will easily boast a shelf life of 6 to 12 months.
To ensure it stays fresh for as long as possible, always store your jars in a cool, dry place. Keep them away from direct, harsh sunlight or direct heat sources like radiators, as constant melting and solidifying can degrade the quality of the butters. A bathroom cabinet, a bedside drawer, or a linen closet are all perfect homes for your new skincare creation. The most important rule to remember is to always use clean, completely dry hands when dipping into the jar. Introducing even a drop of water from wet fingers can potentially introduce bacteria, so keep it dry and it will serve you well for months.
Conclusion: Embrace the Natural Skincare Journey
Taking the time to craft your own skincare products is a deeply rewarding act of self-care. Not only do you gain complete control over exactly what ingredients are absorbing into your body, but you also save a significant amount of money compared to buying high-end boutique brands. Most importantly, you are providing your skin with pure, unadulterated nourishment derived straight from nature. This super moisturizing, all-natural dry skin balm is the perfect starting point for anyone looking to ditch the plastic bottles, avoid confusing chemical compounds, and embrace a healthier, more holistic approach to personal care. Gather your ingredients, set up your double boiler, and treat your skin to the intense hydration it has been craving. Have you ever tried making your own body butter or healing salve before? What are your favorite essential oil blends for relaxation and skincare? Leave a comment below and share your DIY beauty experiences with us!