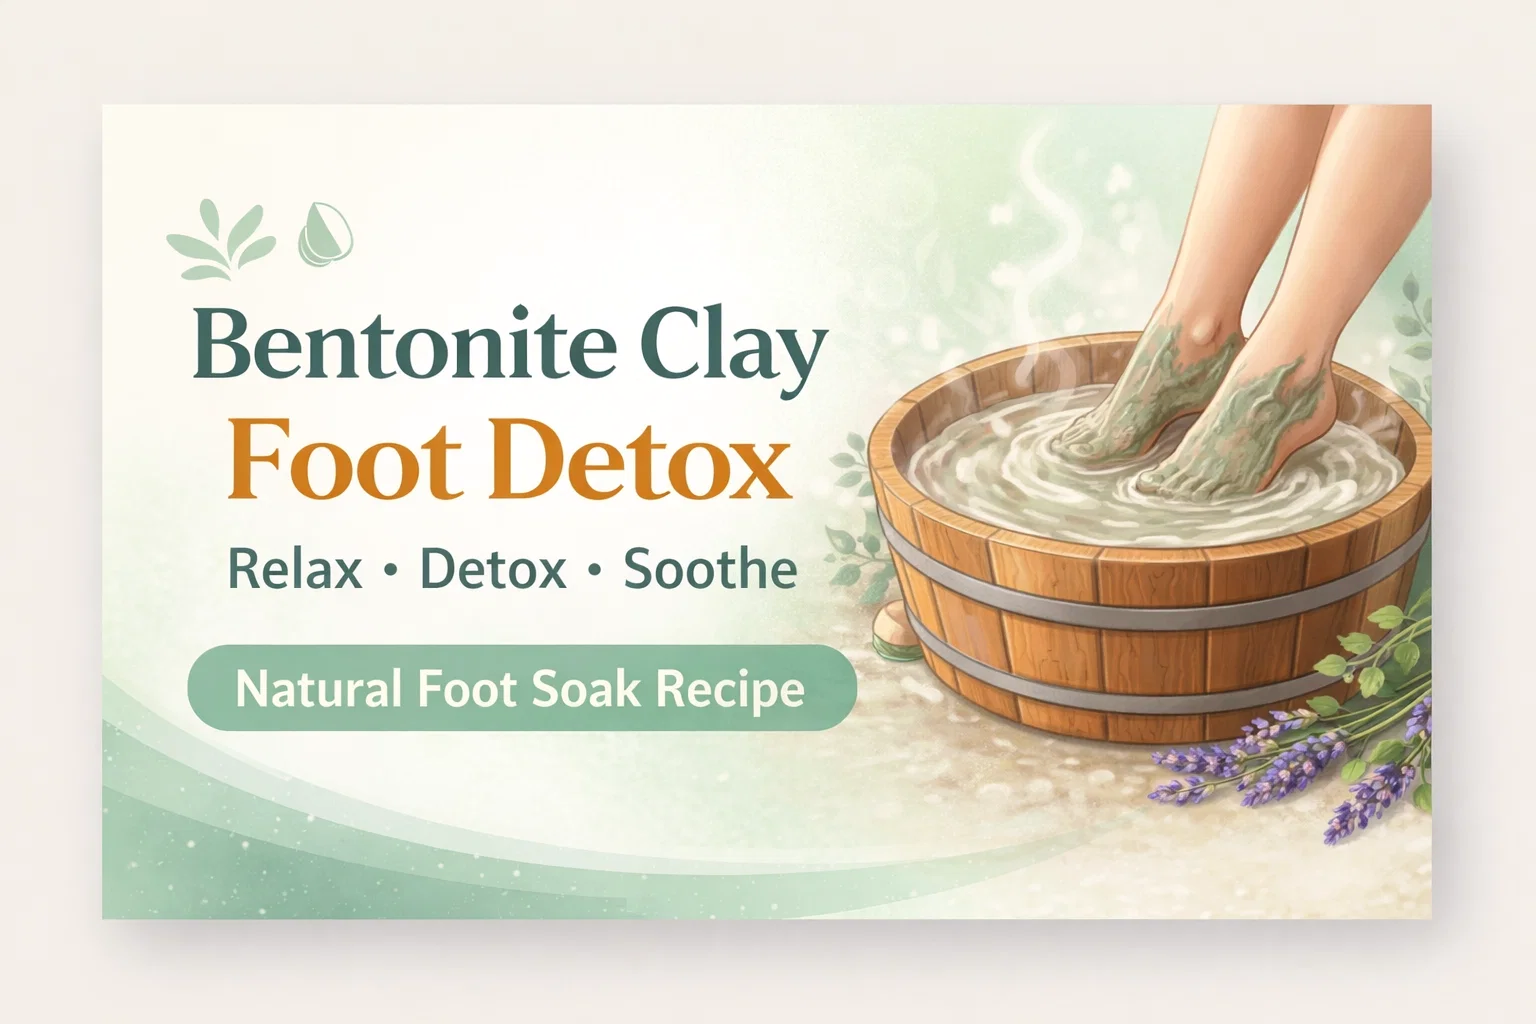
DIY Bentonite Clay Foot Detox Recipe Soothing Soak
We demand a lot from our feet every single day. From squeezing into rigid shoes to standing for long hours and rushing through our daily tasks, our poor soles bear the brunt of our busy lives. Yet, when it comes to our regular self-care routines, they are often the most neglected part of our bodies. If you are looking for a way to truly unwind while giving your body a refreshing reboot, you have found the perfect solution. Today, we are diving deep into the ultimate at-home spa treatment. This DIY bentonite clay foot detox recipe will not only soothe your tired muscles but also leave your skin feeling incredibly soft, cleansed, and rejuvenated.
Creating a spa-like experience at home does not require a massive budget or a cabinet full of expensive, chemical-laden products. In fact, some of the most effective and luxurious treatments rely on simple, natural ingredients that have been used for centuries. This specific foot soak combines the purifying properties of earth clay with the muscle-relaxing magic of mineral salts. It is a holistic approach to wellness that targets physical fatigue while providing a much-needed mental break. Let us explore exactly why this recipe works and how you can recreate it in the comfort of your own bathroom or living room.
The Philosophy Behind Foot Detoxing
The concept of drawing impurities from the body through the feet is rooted in various traditional wellness practices. Our feet contain thousands of pores, making them an excellent absorption point for beneficial minerals. When you soak your feet in a specially formulated mixture, the warm water opens up these pores. This process encourages sweat, which is one of the natural ways the body cools down and flushes out everyday pollutants. Combining warm water with active ingredients like clay creates a powerful drawing effect.
Beyond the physical cleansing, taking the time to soak your feet forces you to slow down. You are literally anchored to one spot while your feet rest in the basin. This mandatory pause is fantastic for your mental health. It gives you a designated window of time to read a book, meditate, sip some herbal tea, or simply close your eyes and breathe. The combination of targeted physical care and mental relaxation makes this practice a cornerstone of any effective self-care regimen.
Decoding the Magic Ingredients
The success of this DIY recipe relies entirely on three powerhouse ingredients. Each component brings its own unique benefits to the table, and together, they create a synergistic effect that leaves your feet feeling brand new.
Bentonite Clay
Bentonite clay is the star of this detoxifying show. Formed from volcanic ash, this unique natural clay has a very special property. When mixed with liquid, it produces a negative electrical charge. Most impurities, everyday toxins, and heavy metals carry a positive charge. Because opposites attract, the clay acts like a highly porous sponge or a magnet. It binds to these positively charged particles and draws them away from the surface of your skin. Additionally, bentonite clay is packed with beneficial minerals like calcium, magnesium, silica, sodium, copper, iron, and potassium. As it pulls the bad stuff out, it imparts these nourishing minerals into your skin, leaving it deeply cleansed and remarkably smooth.
Apple Cider Vinegar
Raw apple cider vinegar is a staple in natural health and beauty. In this recipe, it serves two crucial purposes. First, it acts as the perfect liquid activator for the bentonite clay. Mixing the clay with regular tap water can sometimes lead to a clumpy, uneven paste. The acidity of the apple cider vinegar reacts beautifully with the alkaline clay, creating a smooth, airy, and spreadable texture. Second, apple cider vinegar is inherently antimicrobial and antifungal. It helps to neutralize foot odor, balance the pH levels of your skin, and soften tough calluses, making it easier for dead skin cells to slough away during the soak.
Epsom Salts
Despite the name, Epsom salt is not actually salt at all. It is a naturally occurring pure mineral compound of magnesium and sulfate. Magnesium is known as the relaxation mineral. It plays a critical role in muscle function and reducing inflammation. When dissolved in hot water, Epsom salts are easily absorbed through the skin. This immediate absorption helps to relax overworked foot muscles, ease joint stiffness, and reduce swelling or water retention in the ankles. The sulfates help improve the absorption of nutrients and flush toxins. Together, they turn a simple bowl of hot water into a therapeutic, pain-relieving bath.
Gathering Your Supplies
Before you begin, you will need to gather your ingredients and supplies. Having everything prepared in advance ensures you will not have to walk around with wet or clay-covered feet looking for a towel. Here is exactly what you need for this recipe:
- 1/2 Cup Epsom Salts: Choose plain, unscented Epsom salts to keep the recipe completely natural.
- 6 Quarts Very Hot Water: The water should be as hot as you can comfortably tolerate, but absolutely not scalding.
- 2 Tbsp Bentonite Clay: Opt for high-quality, 100 percent pure cosmetic-grade calcium bentonite clay.
- 1 Tbsp Apple Cider Vinegar: Raw, unfiltered apple cider vinegar with the “mother” is best for optimal benefits.
- A Basin to Soak Feet: A plastic foot tub, a large mixing bowl, or even your bathtub will work perfectly.
- A Non-Metal Bowl and Spoon: This is highly important for the mixing phase.
- A Clean Towel: For drying off afterward.
The Step-by-Step Preparation Guide
Creating this foot spa experience is incredibly simple, but following the steps in the correct order guarantees the best possible results. Take your time with each phase to fully enjoy the process.
Step 1: Prepare the Soaking Water
Start by drawing your hot water. You will need about six quarts, or just enough to cover your feet up to the ankles in your chosen basin. Pour the hot water into your foot tub. Carefully add the one-half cup of Epsom salts. Stir the water gently until the salt granules are completely dissolved. The water should be very warm, almost to the point of being hot, as it will cool down slightly while you complete the next steps. Set the basin aside in a comfortable spot where you plan to sit for the duration of the treatment.
Step 2: Mix the Active Clay Paste
This is the most critical technical step of the entire recipe. You must use a glass, ceramic, wooden, or plastic bowl and utensil. Do not use metal. Because bentonite clay works by generating an electrical charge to attract toxins, metal will instantly deactivate the clay, rendering your detox ineffective. In your non-metal bowl, combine the two tablespoons of bentonite clay with the one tablespoon of apple cider vinegar. Stir them together. The mixture will fizz slightly. If the paste is too thick or dry, add a tiny splash of warm water until you achieve a smooth, mud-like consistency that is easy to spread.
Step 3: Apply the Clay Mask to Your Feet
Find a comfortable place to sit, perhaps on the edge of your bathtub or on a chair with a towel underneath your feet. Using your hands or an old makeup brush, apply the clay mixture generously all over your feet. Be sure to coat the tops of your feet, your soles, your heels, and even between your toes. Once your feet are fully coated, sit back and let the clay dry for about 10 minutes. As the clay begins to dry and tighten, you might feel a light pulsating sensation. This is completely normal. It is just the clay contracting and doing its job to stimulate circulation and draw out impurities.
Step 4: The Epsom Salt Soak
Once the 10 minutes are up and the clay is mostly dry, carefully place your clay-coated feet into the basin of hot Epsom salt water you prepared earlier. Do not worry about rinsing the clay off beforehand. The hot water will immediately begin to soften the hardened mask.
Step 5: Relax and Let it Dissolve
Sit back, relax, and soak your feet for a full 15 minutes. During this time, the clay will slowly dissolve into the water and naturally fall off your skin. You can gently rub your feet together underwater to help loosen any stubborn patches of clay. The water will turn murky, which is exactly what is supposed to happen. Enjoy the soothing warmth as the magnesium works its way into your tired muscles. Once the 15 minutes are up, lift your feet out of the basin and pat them thoroughly dry with your clean towel.
Maximizing Your Spa Experience
To turn this simple recipe into a truly restorative ritual, focus on the environment around you. Dim the lights in the room or light a natural beeswax candle. Play some soft, ambient music or instrumental acoustic tracks in the background. If you enjoy aromatherapy, you can add two or three drops of pure essential oil, such as lavender for relaxation or peppermint for a cooling effect, directly to the Epsom salt before dissolving it in the water.
Hydration is another key factor. Detoxifying treatments can sometimes make you feel thirsty. Keep a large glass of filtered water or a mug of herbal tea next to you while you soak. Drinking water helps your body flush out toxins internally while the clay works externally.
Post-Soak Foot Care
Your treatment does not end the moment you take your feet out of the water. Post-soak care is vital for locking in the benefits. Because the clay acts as an exfoliant and removes dead skin cells, your feet will be incredibly primed to absorb moisture. Immediately after patting your feet dry, massage a generous amount of rich moisturizer into your skin. Shea butter, coconut oil, or a specialized foot cream with urea are excellent choices.
Pay special attention to your heels and the balls of your feet, massaging deeply to continue promoting blood circulation. Once your feet are thoroughly moisturized, slip on a pair of thick, clean cotton socks. The socks will trap the heat and the moisture, forcing the lotion deeper into the newly softened skin. If you do this treatment right before bed, leaving the socks on overnight will leave you waking up with baby-soft feet.
Frequently Asked Questions
Why is there a strict warning against using metal bowls or spoons?
Bentonite clay carries a strong negative electromagnetic charge when activated by liquid. This charge is what allows it to draw out positively charged toxins. If the wet clay comes into contact with metal, it will immediately leach the metal from the bowl or spoon, neutralizing its own electrical charge. This essentially “kills” the clay, making it useless for detoxifying purposes. Always stick to glass, wood, plastic, or ceramic.
How often should I do this foot detox?
For general maintenance and relaxation, treating yourself to this DIY foot detox once every two weeks is ideal. If you spend long hours on your feet for work, suffer from foot odor, or are actively trying to soften severe calluses, you might benefit from doing it once a week. Because the clay is highly effective at drawing out oils, doing it more frequently than once a week could potentially dry out your skin.
Can I reuse the water or the clay?
No, you should never reuse the mixture. The entire purpose of this treatment is to pull impurities away from your body. The leftover water and dissolved clay will be full of whatever the treatment drew out, alongside dead skin cells and sweat. Always pour the used water down the drain and mix a fresh batch of clay for your next session.
What if the pulsating sensation feels too intense?
A mild tingling or pulsating feeling is normal as blood flow increases to the area and the clay tightens. However, if your skin feels extremely itchy, burns, or becomes painful, you should wash the clay off immediately with warm water. It is always recommended to do a small patch test on the side of your foot before applying a thick layer everywhere, especially if you have sensitive skin or have never used bentonite clay before.
Wrapping It Up
Taking care of your feet is an essential part of taking care of your whole body. They carry you through every challenge, every workout, and every long day. By setting aside just a half hour for this DIY bentonite clay foot detox, you are actively investing in your physical comfort and your mental well-being. The combination of drawing impurities with clay, softening skin with apple cider vinegar, and relaxing muscles with Epsom salts is truly a winning formula. Gather your simple ingredients, find a quiet corner, and treat yourself to the relaxation you absolutely deserve. Your feet will thank you.