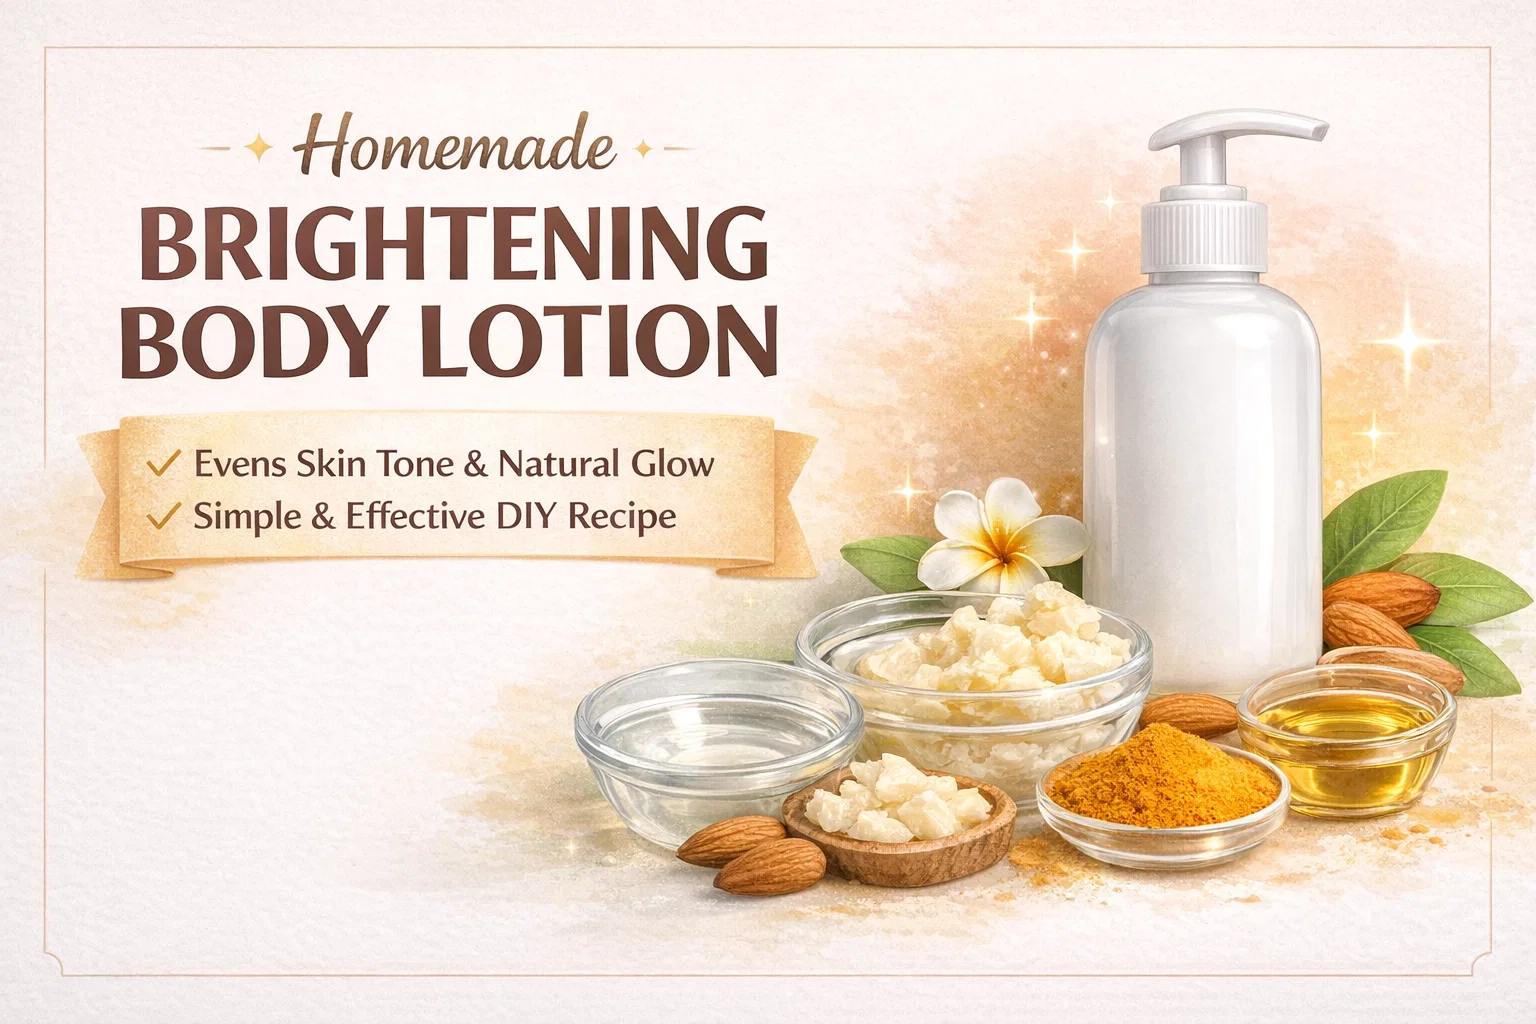
DIY Brightening Body Lotion Recipe for Even Skin Tone and Natural Glow
Stepping into the world of DIY skincare is like opening a door to a laboratory where you are the lead scientist. There is something profoundly satisfying about knowing exactly what goes into the products you apply to your skin every day. If you have been searching for a way to achieve a luminous, even skin tone without relying on harsh commercial bleaches or expensive store-bought treatments, making your own brightening body lotion is the ultimate power move. This guide will walk you through a professional-grade formula that balances deep hydration with powerful natural botanical extracts to give your skin a healthy, lit from within glow.
The Philosophy of Natural Skin Brightening
Before we dive into the mixing bowls, it is important to understand what skin brightening actually means. Unlike skin bleaching, which often uses aggressive chemicals to strip pigment, brightening is about enhancing your natural radiance. It focuses on fading dark spots, soothing inflammation, and encouraging cell turnover so that the freshest, healthiest skin can shine through. By using ingredients like licorice root and kojic dipalmitate, we are working with the skin’s natural rhythm rather than against it. This homemade lotion is designed to be a slow and steady companion to your daily routine, providing results that look natural and feel sustainable.
Deconstructing the Ingredients: What Makes This Lotion Work
A great lotion is more than just a pleasant scent. It is a carefully balanced emulsion of water and oil, held together by science. Let’s break down the key players in our brightening formula to understand why they are essential for your skin health.
The Water Phase: Hydration First
Distilled water serves as the primary carrier for hydration. While it might seem simple, water is what allows the skin to plump up and absorb the active ingredients. We add vegetable glycerin to this phase because it is a humectant. This means it acts like a magnet for moisture, pulling water from the air into the outer layers of your skin to prevent dehydration throughout the day.
The Oil Phase: Nourishment and Barrier Protection
Sweet almond oil is the star of our oil phase. It is lightweight, non-greasy, and rich in Vitamin E, making it perfect for all skin types. To add a layer of luxury, we incorporate shea butter. Shea butter is famous for its high concentration of fatty acids and vitamins, which help to soften the skin and create a protective barrier that locks in the moisture provided by the water phase. To ensure these two phases mix into a creamy consistency, we use emulsifying wax, which acts as the bridge between the oil and water.
The Active Phase: The Brightening Powerhouses
This is where the magic happens. Kojic dipalmitate is a stable derivative of kojic acid, known for its ability to inhibit melanin production and fade hyperpigmentation. We pair this with licorice root extract, a natural anti-inflammatory that helps soothe redness and lighten dark patches. Finally, Vitamin E oil acts as both a skin-healer and an antioxidant, protecting your skin from environmental stressors that can cause dullness.
Step-by-Step Guide to Crafting Your Brightening Lotion
Creating an emulsion at home requires a bit of precision, but the process is incredibly rewarding. Follow these steps to ensure your lotion is stable, creamy, and effective.
Step 1: Preparation and Sanitation
Since we are making a product that contains water, hygiene is your top priority. Bacteria love water-based environments. Start by wiping down your workspace and all your tools, including glass beakers, whisks, and spoons, with 70 percent isopropyl alcohol. This ensures that your lotion stays fresh and safe for your skin.
Step 2: Heating the Phases
Place your water phase ingredients (distilled water and glycerin) in one heat-proof container and your oil phase ingredients (almond oil, shea butter, and emulsifying wax) in another. Use a double boiler method to heat both containers until they reach approximately 70 degrees Celsius. This ensures the wax is fully melted and both phases are at a similar temperature for successful bonding.
Step 3: The Emulsification Process
Once both phases are heated, slowly pour the water phase into the oil phase while stirring constantly. For the best results, use a stick blender (immersion blender) for short bursts. You will notice the mixture turning from a clear yellow liquid into a white, milky substance. As it cools, it will thicken into a rich, decadent cream.
Step 4: Cooling and Adding Actives
Wait until the mixture has cooled down to below 40 degrees Celsius before adding your brightening actives like kojic dipalmitate and licorice root. Adding these while the mixture is too hot can degrade their effectiveness. This is also the time to add your preservative and any essential oils for fragrance. Stir thoroughly to ensure everything is evenly distributed.
Customizing Your Recipe for Different Skin Needs
One of the best parts of DIY skincare is the ability to tweak the formula to suit your specific concerns. No two bodies are the same, and your lotion should reflect that.
- For Extra Glow: If you want an even more luminous finish, try replacing a portion of the sweet almond oil with rosehip oil. Rosehip is packed with Vitamin A and helps with skin regeneration.
- For Very Dry Skin: If your skin drinks up moisturizer instantly, increase the amount of shea butter or add a teaspoon of mango butter for a thicker, more occlusive texture.
- For Sensitive Skin: If you find that your skin reacts easily to new ingredients, you can skip the turmeric extract and stick purely to licorice root, which is incredibly calming.
The Importance of Preservatives in Homemade Skincare
There is a common misconception that “natural” means “preservative-free.” However, any product that contains water requires a preservative to prevent the growth of mold, yeast, and bacteria. Without a broad-spectrum preservative, your beautiful homemade lotion will only stay fresh for about a week in the refrigerator. By adding a proper cosmetic preservative, you can enjoy your creation for three to six months at room temperature, making your hard work much more practical for daily use.
How to Use Your Brightening Lotion for Best Results
Consistency is the secret ingredient in any skincare routine. To see a visible difference in skin tone, apply your lotion daily, preferably right after you step out of the shower. When your skin is slightly damp, it is more permeable, allowing the oils and brightening actives to sink in deeper. Massage the lotion in circular motions, focusing on areas that tend to be darker or drier, such as elbows, knees, and ankles. Over the course of four to six weeks, you should begin to notice a more uniform and radiant complexion.
Safety and Patch Testing
Even though we are using natural ingredients, it is always a good idea to perform a patch test. Apply a small amount of the finished lotion to the inside of your forearm and wait 24 hours to ensure you don’t have any sensitivities to the botanical extracts or the emulsifiers. This is a professional habit that will save you a lot of trouble in the long run.
Wrapping Up Your DIY Skincare Journey
Crafting your own brightening body lotion is an empowering way to take control of your beauty routine. By combining the science of emulsification with the power of nature’s best brighteners, you have created a product that is uniquely yours. Not only will your skin look better, but you will also have the peace of mind that comes from using a clean, handmade formula. So, gather your ingredients, clear your counter, and get ready to glow. Your skin will thank you for the extra love and attention you have poured into this bottle.