DIY Herbal Hair Balm Recipe for Growth Shine Natural Hair Care Guide
In a world filled with synthetic beauty products and chemical laden treatments, returning to the roots of nature feels like a breath of fresh air for your hair care routine. There is something deeply satisfying about crafting your own beauty remedies from scratch, knowing exactly every single ingredient that touches your skin and scalp. This herbal hair balm recipe is more than just a styling product; it is a concentrated dose of botanical goodness designed to nourish, protect, and revitalize your tresses from the follicle to the tip.
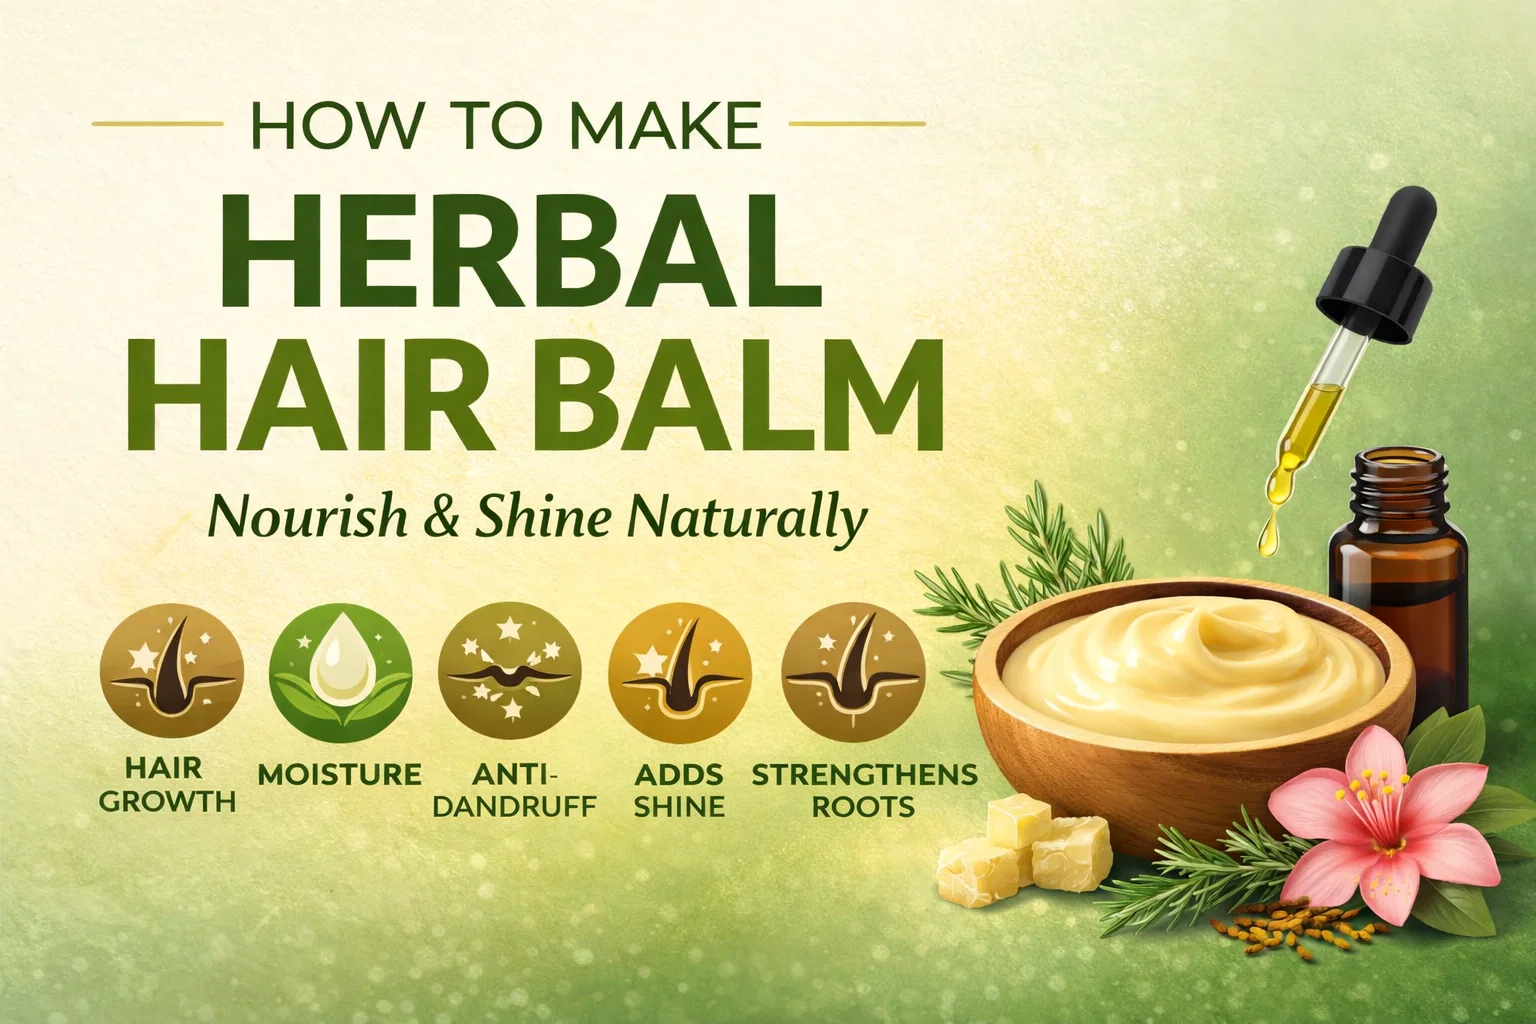
Whether you are dealing with persistent dryness, looking to boost your natural growth, or simply wanting to add a mirror like shine to your hair, this handmade balm offers a holistic solution. By combining the deep moisturizing properties of coconut oil and shea butter with the therapeutic benefits of rosemary, hibiscus, and peppermint, you create a powerhouse formula that rivals any high end salon treatment. Let us dive into the wonderful world of herbal infusions and discover how you can transform your hair health at home.
The Power of Herbal Infusion: Why Your Hair Needs Botanicals
The secret to an effective hair balm lies in the infusion process. By steeping dried herbs in a carrier oil, you extract the essential vitamins, minerals, and antioxidants that these plants naturally provide. Unlike water based moisturizers that can evaporate quickly, an oil based balm creates a protective barrier that seals in moisture while delivering nutrients directly where they are needed most.
Rosemary for Scalp Stimulation
Rosemary is often celebrated as the holy grail of hair growth herbs. It works by improving circulation to the scalp, which in turn encourages hair follicles to produce stronger, healthier strands. Regular use of rosemary infused products has been shown to reduce hair thinning and even combat premature graying by protecting the pigment in your hair.
Hibiscus Petals for Radiant Shine
Hibiscus is rich in vitamin C and amino acids, making it a fantastic ingredient for adding luster and softness. It helps to smooth down the hair cuticle, which reduces frizz and allows light to reflect off the hair more effectively. If you find your hair looking dull or lifeless, hibiscus is the botanical boost you have been searching for.
Fenugreek and Peppermint for Strength and Freshness
Fenugreek seeds are a hidden gem in hair care, packed with protein and nicotinic acid which are known to be beneficial against hair fall and dandruff. Pair this with the cooling, antimicrobial properties of dried peppermint, and you have a recipe that keeps your scalp feeling clean, refreshed, and free from irritation.
Gathering Your Ingredients: The Foundation of Quality
Before you begin the preparation process, it is essential to source high quality, organic ingredients whenever possible. Since this balm is designed to stay on your scalp for extended periods, using pure components ensures that you are not accidentally introducing pesticides or synthetic fillers to your body.
- 1 Cup Organic Coconut Oil: This serves as your primary carrier oil, known for its ability to penetrate the hair shaft deeply.
- 2 tbsp Dried Rosemary: Use dried herbs rather than fresh to prevent moisture from causing mold in your final product.
- 2 tbsp Hibiscus Petals: These add a lovely hint of color and a wealth of antioxidants.
- 1 tbsp Fenugreek Seeds: These should be slightly crushed to release their beneficial oils more easily.
- 1 tbsp Dried Peppermint: For that tingly, refreshed sensation and scalp clarity.
The Balm Base: Creating the Perfect Texture
While the infused oil provides the nutrients, the balm base provides the structure. You want a consistency that is firm enough to stay in a tin but creamy enough to melt instantly between your palms. This is achieved through a careful balance of fats and waxes.
Shea Butter for Deep Conditioning
Shea butter is an incredible emollient. It is rich in fatty acids and vitamins A and E, which help to repair damaged hair and soothe a dry, itchy scalp. It provides the “slip” that makes the balm easy to apply through the lengths of your hair.
Beeswax for Protection
Beeswax acts as a natural humectant and a thickening agent. It helps the balm hold its shape in warmer temperatures and provides a light hold if you use the balm for styling. More importantly, it creates a breathable layer that protects the hair from environmental stressors like pollution and harsh weather.
Essential Oils for Aromatherapy and Healing
Lavender oil is famous for its calming scent, but it also has antimicrobial properties that help maintain scalp health. Tea tree oil is a powerful antifungal, making it the perfect addition for those who struggle with dandruff or scalp congestion. Together, they create a scent profile that is both relaxing and medicinal.
Step by Step: How to Prepare Your Herbal Hair Balm
Creating this balm is a two part process that requires a bit of patience but is incredibly rewarding. The goal is to move slowly to ensure the delicate plant compounds are not destroyed by excessive heat.
Phase 1: Making the Herbal Infused Oil
Start by placing your coconut oil and the dried herbs (rosemary, hibiscus, fenugreek, and peppermint) in a double boiler. If you do not have a double boiler, you can place a glass bowl over a pot of simmering water. Keep the heat very low. You want the oil to be warm enough to draw out the herbal properties but never so hot that it begins to fry the herbs.
Allow the mixture to steep for at least one to two hours. The oil will begin to change color and take on a rich, herbal aroma. Once the infusion is complete, use a fine mesh strainer or a piece of cheesecloth to strain the oil into a clean bowl. Make sure to squeeze the herbs firmly to get every last drop of the nutrient dense oil.
Phase 2: Crafting the Final Balm
Clean your double boiler and add the shea butter and beeswax. Melt them together until the mixture is a clear liquid. Remove from the heat and stir in your freshly strained herbal oil. Allow the mixture to cool slightly before adding your drops of lavender and tea tree essential oils. This prevents the volatile oils from evaporating too quickly. Pour the liquid into a glass jar or tin and let it sit undisturbed until it completely solidifies.
Customizing Your Recipe with Optional Add Ons
Every person has unique hair needs, and this recipe is easily adaptable. If you want to target specific concerns, consider adding these boosters during the cooling phase of your balm making process.
- Castor Oil: Add a tablespoon if your primary goal is faster hair growth. Castor oil is thick and rich in ricinoleic acid, which is excellent for thickening the look of hair.
- Vitamin E Oil: This acts as a natural preservative to extend the shelf life of your balm while also providing extra antioxidant protection for your scalp.
- Clove Oil: Known for its warming properties, clove oil can further stimulate blood flow to the roots for even thicker hair growth.
How to Use Your Herbal Balm for Maximum Results
To see a real transformation in your hair, consistency is key. This balm is versatile and can be used in several ways depending on your hair type and goals.
As a Scalp Treatment
Divide your hair into sections and apply a small amount of the balm directly to your scalp. Use your fingertips to massage it in using circular motions. This not only helps the product penetrate but also stimulates blood flow. Leave it on for at least 30 minutes before washing, or leave it overnight for a deep treatment.
As a Split End Sealer
After styling your hair, take a tiny amount of balm (about the size of a pea) and rub it between your fingers. Lightly touch the ends of your hair to smooth down split ends and add a healthy shine. This is particularly helpful for those with curly or textured hair that tends to get dry at the tips.
Frequency of Use
For most hair types, using this balm 3 to 4 times weekly is the sweet spot. If you have very fine hair, you might prefer using it as a pre wash treatment only. If you have thick, curly, or very dry hair, you may find that your strands drink it up daily.
Storage and Shelf Life
Because this balm is made without water, it has a naturally long shelf life. When stored in a cool, dry place away from direct sunlight, your herbal hair balm will stay fresh for 3 to 6 months. Always use clean, dry hands when scooping the product out of the jar to prevent any bacteria or moisture from entering the container, which could cause it to spoil prematurely.
Embracing the Natural Path to Hair Health
Taking the time to handcraft your own hair care products is an act of self love. It encourages you to slow down and connect with the natural world, while also giving your body the purest ingredients available. This herbal hair balm is a testament to the fact that we do not need complex chemicals to achieve beautiful, glowing hair. With a few simple herbs and nourishing oils, you can support hair growth, reduce dandruff, and strengthen your roots naturally.
As you begin to use your handmade balm, pay attention to how your hair responds. You might find that you no longer need heavy silicone based conditioners or expensive scalp serums. Nature has provided everything we need to flourish. By feeding your hair with these botanical treasures, you are investing in its long term health and vitality. Happy crafting, and enjoy the beautiful, shiny results of your hard work.