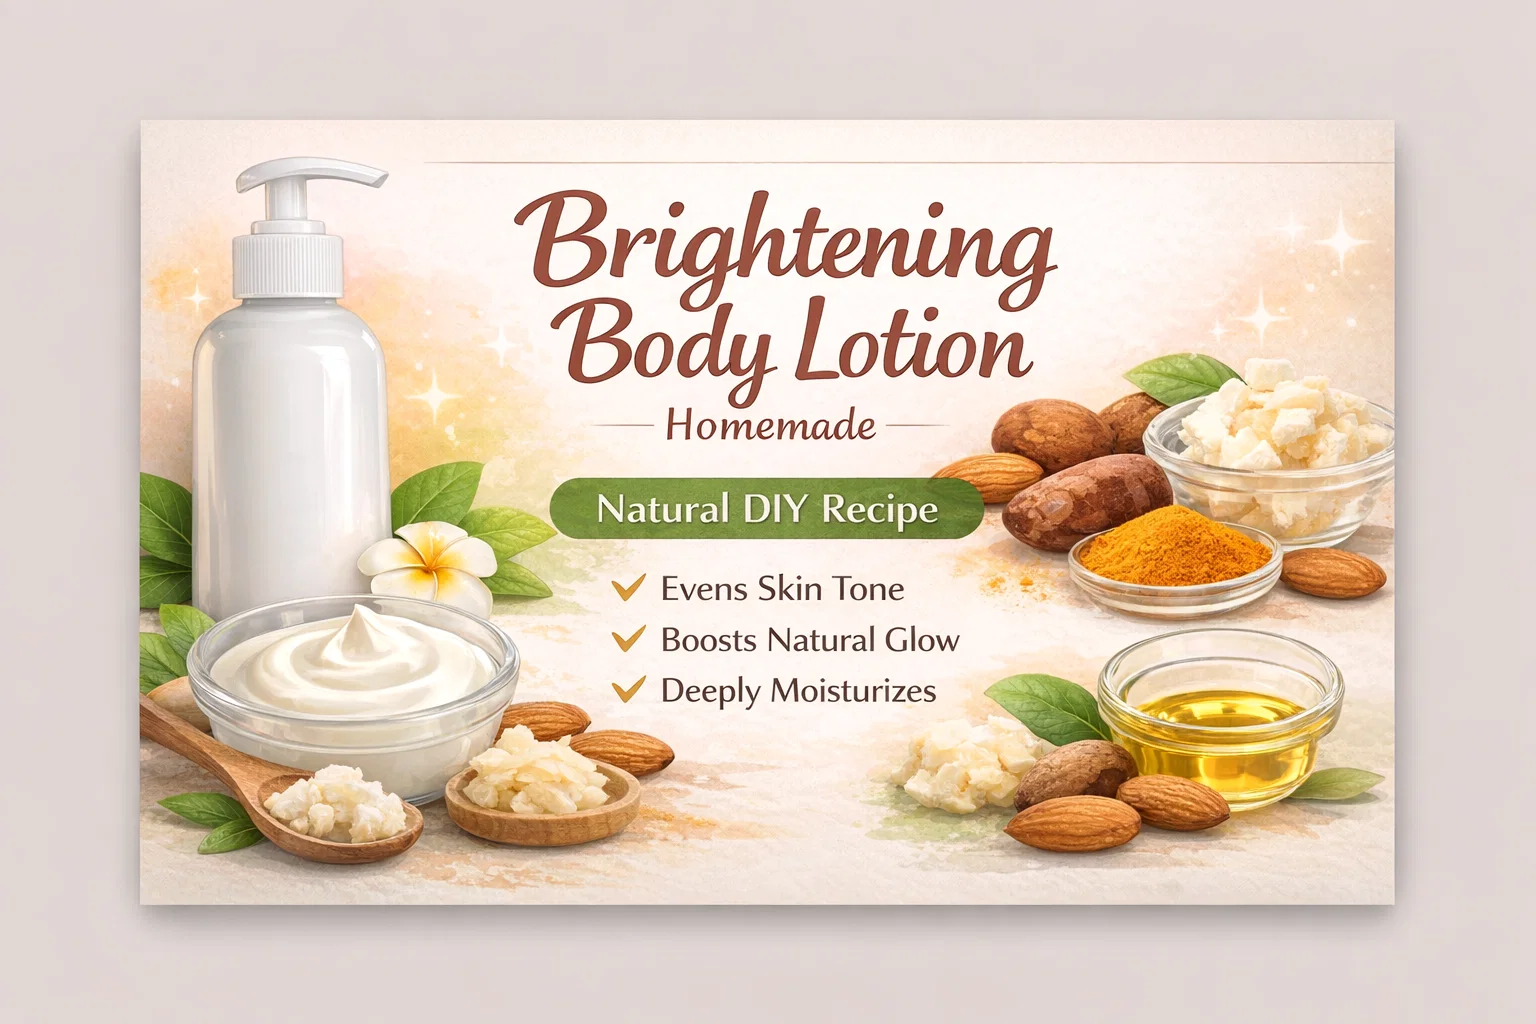
DIY Homemade Brightening Body Lotion Recipe for Even Skin Tone Glow
Creating your own skincare products is more than just a fun weekend project. It is a powerful way to take control of what goes onto your skin and into your body. If you have been searching for a solution to uneven skin tone, dark spots, or a lackluster complexion, this homemade brightening body lotion is a game changer. Unlike many commercial products that rely on harsh chemicals or synthetic bleaching agents, this formula uses the power of nature and proven skincare actives to give you a radiant, healthy glow from head to toe.
Making lotion at home might seem intimidating at first, but it is actually a scientific process that is easy to master once you understand the basics of emulsification. By combining a water phase and an oil phase with the right tools, you can create a creamy, luxurious moisturizer that rivals high end boutique brands. This specific recipe focuses on brightening and hydration, ensuring your skin remains supple while gradually becoming more even and luminous.
The Science of Skin Brightening
Before we dive into the recipe, it is important to understand how skin brightening actually works. Brightening is not the same as bleaching. While bleaching involves aggressive chemicals that can damage the skin barrier, brightening focuses on increasing radiance and vibrancy. It works by inhibiting excess melanin production and gently exfoliating dead skin cells to reveal the fresh, glowing skin underneath.
Ingredients like licorice root extract and kojic dipalmitate are the stars of this show. They are known as tyrosinase inhibitors, which means they help prevent the enzyme responsible for dark spots from overacting. When used consistently in a daily lotion, these ingredients help fade hyperpigmentation caused by sun damage, acne scars, or hormonal changes, resulting in a more uniform complexion.
Breaking Down the Ingredients
To create a stable and effective lotion, we divide our ingredients into three distinct phases. Each phase plays a vital role in the final texture and performance of the product.
The Water Phase
The water phase provides the hydration. Since our skin needs both water and oil to stay healthy, this phase is the foundation of the lotion’s moisturizing capabilities.
- Distilled Water: It is crucial to use distilled water rather than tap water to prevent mineral buildup and bacterial growth in your DIY products.
- Vegetable Glycerin: This is a powerful humectant, meaning it draws moisture from the air into your skin, keeping you hydrated all day long.
The Oil Phase
The oil phase provides the nourishment and creates the barrier that locks moisture in. It also contains the emulsifier that allows the oil and water to mix.
- Sweet Almond Oil: A lightweight, non-comedogenic oil rich in Vitamin E and fatty acids. It absorbs easily without leaving a greasy residue.
- Shea Butter: This thick, creamy butter is a skin superfood. It deeply moisturizes and provides a protective layer against environmental stressors.
- Emulsifying Wax: This is the magic ingredient. Without it, your oil and water would never stay blended. It acts as the glue that keeps your lotion creamy and stable.
The Cool Down Phase
This phase is where we add our potent actives. These ingredients are heat sensitive, so they must be added once the mixture has cooled to a safe temperature to ensure they remain effective.
- Vitamin E Oil: A classic antioxidant that protects the skin and also helps extend the life of the oils in your recipe.
- Kojic Dipalmitate: A more stable version of kojic acid, this ingredient is highly effective at evening out skin tone.
- Licorice Root Extract: A natural powerhouse for soothing inflammation and brightening dark spots.
- Turmeric Extract: Optional but highly recommended for an extra boost of antioxidants and a natural glow.
- Preservative: Essential for any water based DIY product to prevent the growth of mold and bacteria.
Step by Step Guide to Crafting Your Lotion
Now that you have your ingredients ready, it is time to start the making process. Follow these steps carefully to ensure a successful emulsion.
Step 1: Preparing the Phases
Start by cleaning and sanitizing all your tools and containers with 70 percent isopropyl alcohol. In one heat safe glass beaker or bowl, combine your distilled water and vegetable glycerin. In a second heat safe container, combine your sweet almond oil, shea butter, and emulsifying wax. Using a double boiler method, heat both phases until the wax and butter are completely melted and both containers reach approximately 160 degrees Fahrenheit.
Step 2: Creating the Emulsion
Once both phases are at the correct temperature, slowly pour the water phase into the oil phase. You will notice the mixture immediately turn milky. Use a stick blender (immersion blender) to pulse the mixture. You will see it begin to thicken and turn into a creamy white liquid. Continue to blend for a few minutes, then let it sit for a moment and blend again. This ensures a tight, stable bond between the water and oil molecules.
Step 3: Cooling and Adding Actives
Allow the mixture to cool down until it reaches about 100 degrees Fahrenheit or feels just warm to the touch. This is the crucial moment to add your brightening actives, Vitamin E, fragrance, and preservative. If you add these while the lotion is too hot, you risk ruining the efficacy of the kojic dipalmitate and licorice extract. Stir everything in thoroughly with a spatula or give it one final quick pulse with the blender.
Step 4: Bottling and Storage
Once everything is fully incorporated, pour your fresh lotion into clean pump bottles or jars. The lotion will continue to thicken over the next 24 hours as it cools completely. Don’t forget to label your bottle with the date you made it!
Customizing Your Recipe
One of the best parts about making your own skincare is that you can tweak the formula to suit your specific needs. Here are a few ways to customize this brightening lotion:
- For Extra Glow: Replace a portion of the sweet almond oil with Rosehip oil. Rosehip is packed with Vitamin A and C, which further enhances the brightening effects.
- For Very Dry Skin: Increase the amount of shea butter for a thicker, more occlusive cream that provides intense moisture for dry elbows and knees.
- For Sensitive Skin: If your skin is prone to irritation, you might want to skip the turmeric extract and stick purely to licorice root, which is incredibly soothing.
Understanding Shelf Life and Safety
Because this lotion contains water, it is a breeding ground for bacteria if not handled correctly. Using a broad spectrum preservative is non-negotiable if you plan to store this at room temperature. With a proper preservative, your lotion should stay fresh for 3 to 6 months. If you choose to go preservative free, you must keep the lotion in the refrigerator and use it within 7 to 10 days.
Always perform a patch test when trying a new skincare recipe. Apply a small amount of the finished lotion to your inner forearm and wait 24 hours to ensure you don’t have an adverse reaction to any of the ingredients, particularly the concentrated extracts.
Why Homemade is Better
When you look at the back of a standard drugstore lotion bottle, you often see a long list of fillers, petroleum derivatives, and synthetic fragrances that don’t actually benefit your skin. By making this DIY brightening body lotion, you are feeding your skin high quality botanical oils and concentrated actives. You are avoiding parabens, sulfates, and artificial dyes. The result is a product that feels better, smells better, and provides visible results over time.
Beyond the physical benefits, there is a sense of ritual and self care involved in creating your own beauty products. Knowing exactly what went into the bottle makes the act of moisturizing feel more intentional and rewarding. You are investing in your skin health in the most direct way possible.
Bringing the Glow to Your Daily Routine
Consistency is key when it comes to brightening. To see the best results, apply this lotion daily, ideally right after you step out of the shower when your skin is still slightly damp. This helps lock in maximum moisture. Over the course of several weeks, you will notice your skin becoming softer, smoother, and more even toned.
Remember to always pair a brightening routine with sun protection. Since these ingredients work to inhibit melanin, your skin may become more sensitive to UV rays. Applying a daily sunscreen to exposed areas will protect your progress and prevent new dark spots from forming.
Crafting your own brightening body lotion is an empowering step toward a more natural, effective beauty routine. It is a simple luxury that you can easily recreate in your own kitchen, giving you professional results and a radiant glow that shines from within. Whether you are making it for yourself or as a thoughtful gift for a friend, this recipe is sure to become a staple in your skincare cabinet. Save this guide and start your journey to brighter, healthier skin today!