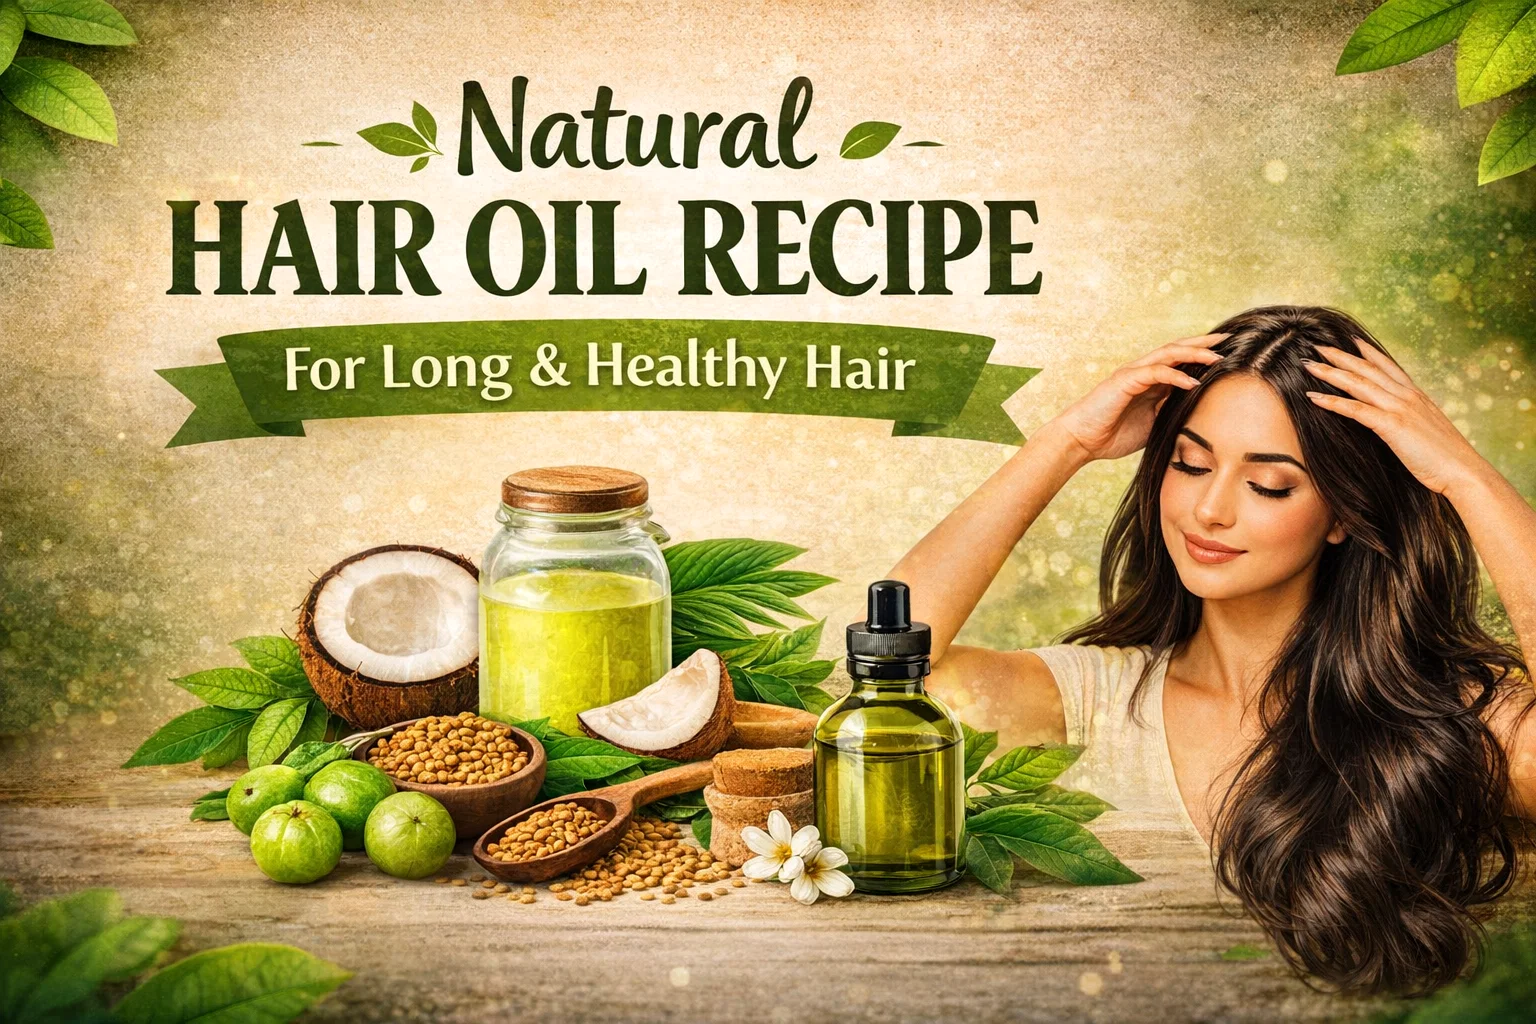
DIY Homemade Hair Growth Oil Recipe Natural Coconut Oil Treatment for Long Healthy Hair
Achieving the long, lustrous hair of your dreams often feels like an uphill battle against environmental stressors, heat styling, and chemical treatments. While the beauty aisles are packed with expensive serums promising overnight miracles, the most effective secrets to hair health are often found right in your kitchen. Traditional hair care rituals have relied on the power of nature for centuries, using botanical infusions to deeply nourish the scalp and strengthen every strand from the root. This guide explores a potent, time tested recipe for a natural hair growth oil that you can easily craft at home to transform your hair care routine.
The Power of Natural Ingredients for Hair Growth
When you take control of your beauty products, you eliminate the harsh parabens and sulfates that often do more harm than good. The recipe featured in our guide uses four powerhouse ingredients: Coconut Oil, Curry Leaves, Amla (Indian Gooseberry), and Fenugreek Seeds. Each of these components brings a specific set of nutrients to the table, creating a synergistic effect that promotes growth, prevents premature graying, and adds a brilliant shine to dull hair.
The Golden Base: Coconut Oil
Coconut oil is perhaps the most famous natural oil for hair, and for good reason. Unlike many other oils that simply sit on top of the hair shaft, coconut oil has a unique molecular structure that allows it to penetrate deep into the hair cuticle. This helps to reduce protein loss, which is the primary cause of hair breakage and thinning. It acts as a protective shield, locking in moisture and providing a fatty acid rich environment that keeps the scalp hydrated and healthy.
The Secret of the East: Curry Leaves
Curry leaves are a staple in Ayurvedic hair care. They are loaded with antioxidants and essential nutrients that help to remove dead hair follicles and prevent clogging. High in beta-carotene and protein, curry leaves are specifically known for their ability to tackle hair fall and thinning. When infused into oil, they release compounds that help maintain the natural pigment of your hair, keeping it darker and more vibrant for longer.
The Vitamin C Boost: Amla
Amla, or Indian Gooseberry, is one of the richest sources of Vitamin C on the planet. For your hair, this means a massive boost in collagen production. Collagen is the building block of hair, and increasing its levels can lead to thicker, faster growth. Amla also acts as a natural conditioner, smoothing the hair texture and providing an incredible gloss. Its antimicrobial properties also help in keeping dandruff and scalp infections at bay.
The Strengthening Force: Fenugreek Seeds
Fenugreek seeds, also known as Methi, are tiny powerhouses of lecithin and nicotinic acid. Lecithin hydrates the hair and strengthens the roots, while nicotinic acid is highly effective against hair fall. These seeds are also rich in mucilage, which provides a slippery texture that helps in detangling and reducing frizz, making your hair much more manageable after every wash.
Step by Step Guide to Making Your Hair Growth Oil
Creating this infusion is a therapeutic process that fills your home with a wonderful herbal aroma. Follow these steps to ensure you extract the maximum benefits from your botanical ingredients without burning the oil or losing the vital nutrients.
Step 1: Gather and Prepare Your Ingredients
Start by collecting high quality, organic ingredients whenever possible. You will need about one cup of pure, cold pressed coconut oil, a handful of fresh curry leaves, two or three fresh or dried amla fruits (chopped), and two tablespoons of fenugreek seeds. Ensure your leaves and amla are washed and completely dried before starting, as any water content can cause the oil to splatter or spoil faster during storage.
Step 2: The Heating and Simmering Process
Pour the coconut oil into a heavy bottomed pot or a traditional clay vessel if you have one. Turn the stove to the lowest possible heat setting. Add the curry leaves, chopped amla, and fenugreek seeds into the oil. It is crucial to use low heat because high temperatures can destroy the delicate vitamins and antioxidants we are trying to preserve. Let the mixture simmer gently. You will notice the oil changing color to a light green or brownish tint as the ingredients release their essences. Continue this for about 15 to 20 minutes until the ingredients look slightly crisp but not burnt.
Step 3: Infusion and Cooling
Once the simmering is complete, turn off the heat and let the mixture sit. This is the infusion stage. As the oil cools down to room temperature, it continues to soak up the goodness from the herbs. Leaving it to sit for a few hours is ideal. This ensures that the oil is fully saturated with the medicinal properties of the curry leaves and fenugreek.
Step 4: Straining and Storage
Prepare a clean, dry glass bowl and a fine mesh strainer or a piece of cheesecloth. Carefully pour the cooled oil through the strainer to remove all the solid particles. Once strained, transfer the clear, infused oil into a glass bottle. Using a glass bottle with a dropper or a secure cap is best for maintaining the shelf life of the product. Store it in a cool, dark place to keep the oil fresh for several months.
How to Use Your Homemade Oil for Best Results
The way you apply the oil is just as important as the oil itself. To see a real difference in hair length and health, consistency is key. We recommend incorporating this into your routine two to three times a week.
- The Scalp Massage: Take a small amount of oil and warm it slightly between your palms. Use your fingertips to massage it into your scalp using circular motions. This stimulates blood flow to the hair follicles, which is essential for growth.
- Full Length Coverage: Once your scalp is covered, work the remaining oil through the lengths of your hair, paying extra attention to the ends which are usually the driest part.
- The Waiting Period: Leave the oil in for at least an hour. For a deeper treatment, you can leave it on overnight by covering your hair with a silk cap or using an old pillowcase.
- Washing Out: Use a mild, sulfate free shampoo to wash your hair. You might need to lather twice to ensure all the oil is removed, but try not to over strip your hair.
The Benefits of a Consistent Oil Routine
Switching to a natural hair oil routine offers more than just growth. It is a holistic approach to hair health. Regular oiling creates a protective barrier against environmental pollutants and UV rays. It also helps in balancing the pH levels of your scalp, which can reduce oiliness for those with greasy hair or alleviate itchiness for those with dry scalps. Over time, you will notice that your hair becomes more resilient to breakage, has fewer split ends, and develops a natural, healthy weight and bounce that chemical products simply cannot replicate.
Common Mistakes to Avoid
While making and using hair oil is simple, there are a few pitfalls to watch out for. First, avoid using too much oil; a little goes a long way, and over saturating your hair can make it difficult to wash out. Second, never apply oil to a very dirty or sweaty scalp, as this can trap bacteria and lead to irritation. Lastly, ensure your storage bottle is completely dry before filling it, as moisture is the enemy of oil preservation and can lead to mold growth.
Frequently Asked Questions
Can I use this oil every day?
While the oil is natural, using it every day might be too heavy for most hair types and could lead to buildup. Stick to two or three times a week for the best balance of nourishment and cleanliness.
How long does it take to see results?
Hair growth is a slow process. Most people begin to notice an improvement in hair texture and shine within the first few uses, but significant growth and thickness changes usually take about 8 to 12 weeks of consistent application.
Is this oil suitable for all hair types?
Yes, this blend is beneficial for all hair types. If you have very fine hair, focus the application mostly on the scalp and use a lighter amount on the ends to avoid weighing your hair down.
Conclusion: Your Journey to Better Hair
Embracing a natural recipe for long and healthy hair is a rewarding commitment to your personal well being. By choosing to use ingredients like coconut oil, curry leaves, amla, and fenugreek, you are providing your hair with the exact nutrients it needs to thrive. This DIY process is not just about the end result but also about the ritual of taking time for yourself and caring for your body with the best that nature has to offer. Be patient with your progress, enjoy the soothing scents of your homemade infusion, and watch as your hair transforms into its strongest, healthiest version yet. Start your batch today and take the first step toward the beautiful hair you deserve.