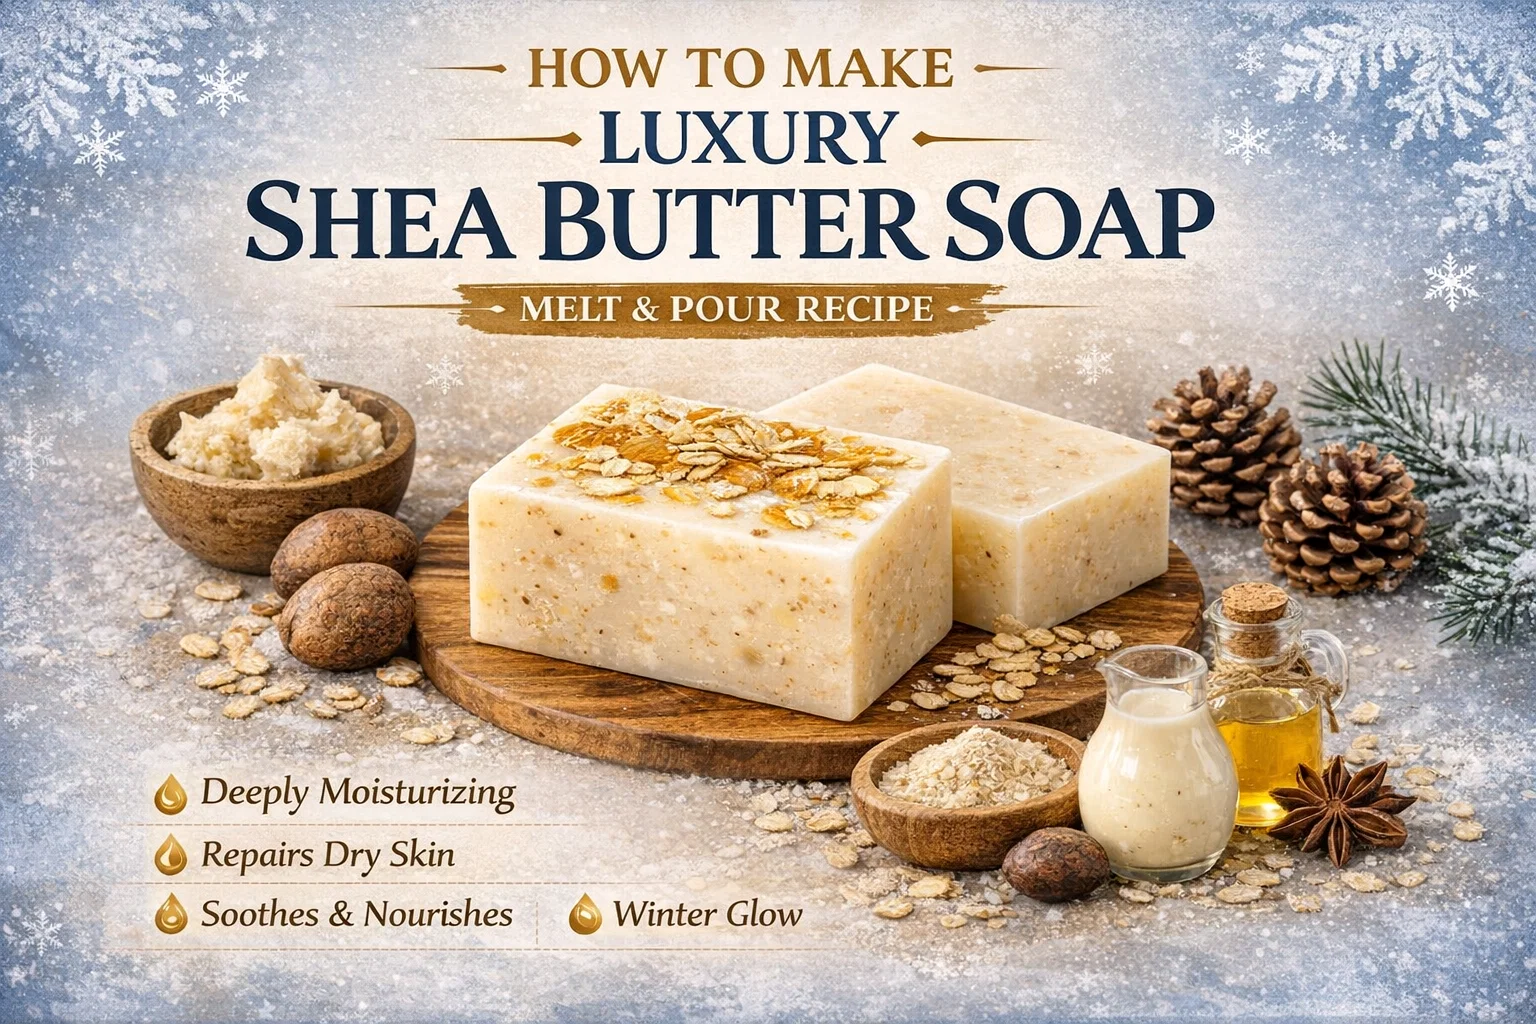
DIY Luxury Shea Butter Winter Soap Melt Pour Recipe for Dry Skin Easy Soap Making Tutorial
As the winter wind begins to howl and the temperatures drop, our skin is often the first to feel the impact. The combination of biting cold outside and dry artificial heat inside can leave your skin feeling tight, itchy, and uncomfortably parched. While store-bought lotions offer a temporary fix, there is something profoundly satisfying and effective about creating your own skincare solutions. Enter the Luxury Shea Butter Winter Soap. This isn’t just a cleansing bar; it is a concentrated burst of hydration designed to rescue your skin from the seasonal blues. By using a simple melt and pour method, you can craft a professional-grade, artisanal soap that looks as beautiful as it feels, all from the comfort of your kitchen.
The Magic of Shea Butter for Winter Skin
If there is one ingredient that stands as the undisputed king of winter skincare, it is shea butter. Extracted from the nuts of the shea tree native to Africa, this thick, creamy butter is packed with fatty acids and vitamins. When the air loses its humidity, your skin loses its natural moisture barrier. Shea butter steps in to provide a breathable yet protective layer that locks in hydration while delivering essential nutrients deep into the dermis.
In this specific winter soap recipe, we don’t just stop at a shea butter soap base. We amplify the benefits by adding raw shea butter into the mix. This ensures that even after the soap is rinsed away, your skin retains a soft, supple texture. It is particularly effective for those prone to “winter itch” or cracked knuckles, as it possesses natural anti-inflammatory properties that soothe redness and irritation almost instantly.
Breaking Down the Powerhouse Ingredients
To create a truly luxury bar, the formulation needs to be balanced. Each ingredient in this 1kg batch has been selected for its specific contribution to skin health during the coldest months of the year.
Sweet Almond Oil and Coconut Oil
Sweet almond oil is a lightweight emollient that is fantastic for evening out skin tone and softening the surface. It is rich in Vitamin A, which helps in the production of new skin cells. Complementing this is coconut oil, which provides the soap with a satisfying, bubbly lather while acting as a natural antimicrobial agent. Together, they ensure the soap cleanses without stripping away the natural oils your skin desperately needs to stay healthy.
Glycerin and Honey: The Humectant Duo
Glycerin is a humectant, meaning it literally pulls moisture from the air and draws it into your skin. Most commercial soaps actually have the natural glycerin removed to be sold in expensive lotions, which is why they often feel drying. By making your own, you keep that goodness right where it belongs. Adding honey to the recipe takes this a step further. Honey is naturally antibacterial and a powerful humectant that gives the soap a lovely, warm scent and a silky glide across the skin.
Vitamin E: The Skin Repairer
Often referred to as the workhorse of skincare, Vitamin E is an antioxidant that helps repair damaged skin tissue. In a winter soap, it serves two purposes: it helps heal any existing cracks or dry patches and it acts as a natural preservative for the other oils in your recipe, extending the shelf life of your handmade bars.
Step-by-Step Guide to the Melt and Pour Method
The beauty of the melt and pour method is that it allows you to skip the dangerous handling of lye, making it a perfect project for beginners or busy crafters. You get to focus on the artistry and the additives rather than the complex chemistry of cold-process soap making.
Step 1: Preparing Your Workspace
Before you begin, ensure your environment is clean and all your tools are laid out. You will need a microwave-safe glass bowl or a double boiler, a stir stick (silicone or stainless steel works best), and your soap molds. Having everything ready prevents the soap from cooling too quickly while you are searching for an ingredient.
Step 2: Melting the Base and Oils
Cut your shea butter soap base into small, uniform cubes. This ensures even melting. Combine the base with your raw shea butter, sweet almond oil, and coconut oil. If using a microwave, heat in 30 second intervals, stirring in between. You want the mixture to be completely liquid but not boiling. Overheating can scorch the soap and cause it to become rubbery.
Step 3: Integrating the Nutrients
Once your base is fluid, gently stir in the glycerin, honey, and Vitamin E. This is also the stage where you add your optional lavender essential oil. Lavender is a classic choice for winter as it is incredibly calming to the senses and gentle on sensitive skin. Stir slowly to avoid creating excess air bubbles, which can leave tiny holes in your finished bars.
Step 4: The Pour and Set
Carefully pour the liquid soap into your chosen molds. If you see bubbles forming on the top, a quick spray of rubbing alcohol will pop them instantly, leaving a smooth surface. Let the soap sit undisturbed at room temperature. Depending on the size of your molds, this can take anywhere from two to four hours. Resist the urge to move them or put them in the freezer, as this can affect the clarity and texture of the soap.
Pro Tips for an Elevated Experience
While the basic recipe is fantastic, there are a few “pro secrets” that can turn a great soap into a masterpiece. These small additions make a world of difference in the final performance of the product.
- The Power of Powders: Adding oat powder or goat milk powder provides an extra layer of nourishment. Oats are famous for soothing itchy skin, while goat milk contains lactic acid which gently exfoliates dead skin cells, allowing the moisturizing oils to penetrate deeper.
- Preventing Glycerin Dew: You may notice tiny beads of moisture forming on your soap after a few days. This is “sweating” or glycerin dew. Because your soap is so rich in humectants, it is literally pulling moisture from the air. To prevent this, wrap your soap in airtight plastic or wax paper immediately after it has cured and been removed from the mold.
- Aesthetic Finishes: For a rustic, luxury look, sprinkle a few dried oats or a tiny bit of honeycomb texture on the top of the soap while it is still slightly tacky in the mold. It makes the bars look like they came straight from a high-end apothecary.
Why Handmade Soap Makes the Best Gift
During the holiday season, everyone is looking for a gift that feels personal and thoughtful. A bundle of handmade winter soaps, tied with a bit of twine and a sprig of evergreen, is a gesture of care. You aren’t just giving a cleaning product; you are giving the gift of a self-care ritual. Because these bars are so rich, they feel like a luxury spa treatment every time the recipient steps into the shower.
Furthermore, by making your own, you can guarantee that the product is free from harsh sulfates, parabens, and synthetic fragrances that often irritate dry winter skin. It is a clean, green, and beautiful way to show someone you care about their well-being.
The Science of Cleansing Without Irritation
Most commercial “beauty bars” are actually synthetic detergents. They are designed to strip everything away, which is why your skin feels “squeaky clean.” In reality, that squeak is the sound of your skin crying out for moisture. The Luxury Shea Butter Soap works on the principle of lipid replacement. As the soap cleanses away dirt and sweat, it simultaneously replaces the lost lipids with the oils and butters included in the recipe. This creates a balanced environment for your skin’s microbiome to thrive, even when the weather is at its worst.
Final Thoughts on Your Winter Skincare Journey
Embracing the DIY lifestyle doesn’t have to be complicated or time consuming. This winter soap project is a testament to the idea that a few high-quality ingredients can produce results that far surpass mass-produced alternatives. By taking an hour out of your weekend to melt, mix, and pour, you are investing in your skin’s health for the entire season.
As you use these bars, you will notice a transition in how your skin reacts to the cold. Instead of the usual tightness and flaking, you will find a resilient, glowing complexion that looks like it has been kissed by the summer sun. It is a small luxury that makes the long winter months feel a little bit warmer and a lot more comfortable.
Conclusion
The journey to healthy winter skin starts with the basics. By focusing on deep moisturization, repair, and nourishment, the Luxury Shea Butter Winter Soap provides everything you need to combat the elements. From the creamy lather of coconut oil to the healing touch of Vitamin E and the humectant power of honey, every ingredient plays a vital role in your skincare routine. Whether you are crafting these for yourself, your family, or as heartfelt gifts, these bars represent the pinnacle of at-home wellness. So, gather your ingredients, clear your counter, and get ready to create a batch of winter magic that your skin will thank you for. Happy soap making!
Would you like me to generate some custom labels or a packaging guide to go along with your new soap creation?