DIY Milk Crate Potato Tower Guide Grow 25 lbs of Potatoes in Small Spaces
Gardening is often perceived as a hobby that requires sprawling acres of land or a perfectly manicured backyard. However, as urban living becomes more common and garden spaces shrink, the need for innovative, space saving solutions has never been higher. If you have ever dreamed of harvesting your own buttery, homegrown potatoes but felt limited by a small balcony or a tiny patio, the milk crate potato tower is the game changer you have been waiting for. This vertical gardening method is not just about saving space; it is about working smarter, reducing the physical strain of traditional farming, and maximizing every square inch of your available outdoor area.
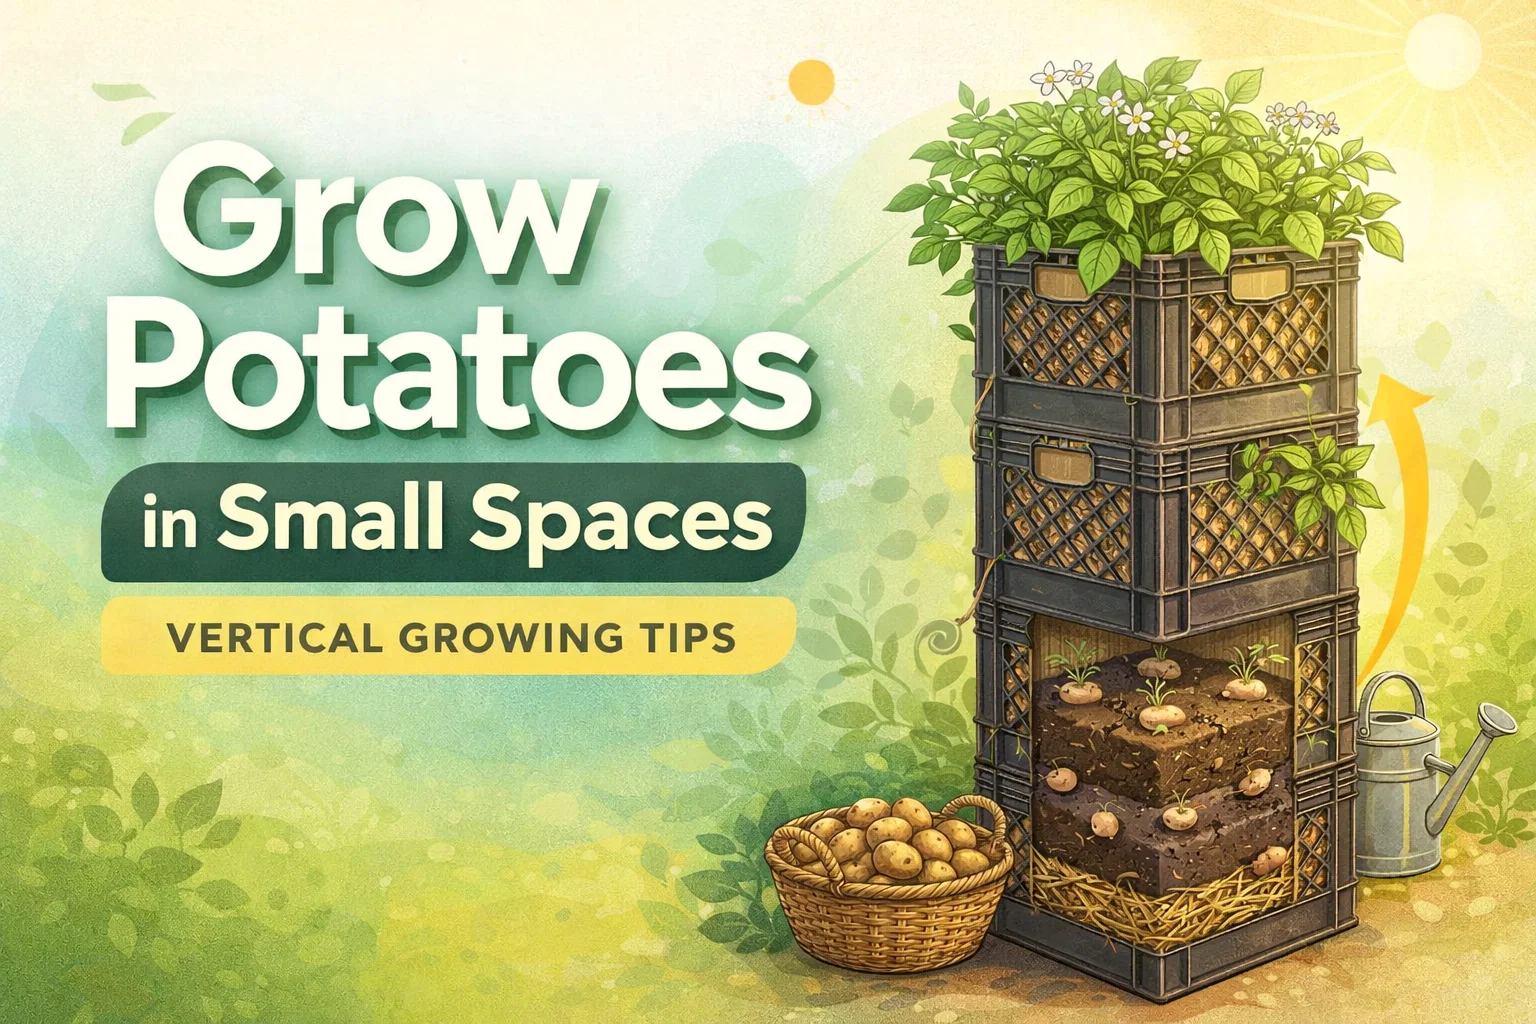
The beauty of the milk crate system lies in its simplicity and accessibility. By using repurposed materials and a bit of ingenuity, you can transform a stack of plastic crates into a high yielding vegetable factory. This method allows you to grow up to 25 pounds of potatoes in a footprint of just four square feet. In this comprehensive guide, we will dive deep into why this method works, the science behind potato hilling, and a step by step walkthrough to help you build your own thriving potato tower from scratch.
The Benefits of Vertical Potato Gardening
Traditional potato farming involves digging deep trenches and hilling up soil as the plants grow. While effective, it is backbreaking work that requires significant ground space. Vertical gardening flips this concept on its head. By stacking crates, you encourage the potato plant to grow upward, creating more surface area along the stem for tubers to develop. This leads to a much higher yield per square foot than horizontal planting.
Beyond the yield, the milk crate method offers superior drainage and aeration. Potatoes are susceptible to rot if they sit in waterlogged soil. The mesh structure of a milk crate, combined with a breathable liner like burlap, ensures that excess water escapes easily while allowing oxygen to reach the root zone. This results in healthier plants and a more robust harvest. Additionally, when it comes time to harvest, there is no need for a pitchfork or heavy digging. You simply unstack the crates and collect your prize.
Gathering Your Supplies
Before you get your hands dirty, you need to gather the right materials. The success of your tower depends on the quality of your foundation and the breathability of your setup. You will need three to five standard plastic milk crates. These are durable, stackable, and provide the perfect skeletal structure for your tower. Ensure they are clean and free of any chemical residues.
Next, you will need a liner. Landscape fabric or burlap works best because it keeps the soil inside the crate while allowing water to pass through. For the growing medium, a mix of high quality potting soil and organic compost is essential. Avoid heavy garden soil which can compact and crush the developing tubers. You will also need straw for the drainage base, zip ties or twine to secure the stack, a trowel, and, most importantly, high quality seed potatoes.
Seed Potato Prep: Starting with the Right Foundation
You cannot simply toss a grocery store potato into a crate and expect a massive harvest. Most store bought potatoes are treated with growth inhibitors to prevent sprouting. Instead, purchase certified disease free seed potatoes from a garden center. These are specifically bred for planting and will give you the best start possible.
Preparation begins with a process called greening or chitting. About two weeks before planting, place your seed potatoes in a cool, bright spot to encourage sturdy sprouts to form. Once they have sprouted, cut the larger potatoes into two inch chunks. Each chunk must have at least one or two healthy eyes. After cutting, let the pieces sit in a dry area for 24 hours. This allows the cut surface to callous over, which prevents the potato from rotting once it hits the moist soil.
Building the Drainage Base
The bottom of your tower is the most critical area for moisture management. Start by placing your first crate on a level surface that receives at least six to eight hours of sunlight. Line the bottom and sides with your burlap or landscape fabric. Begin the filling process by adding about two inches of straw at the very bottom. This acts as a natural filter and prevents the drainage holes from clogging with silt.
On top of the straw, add four to six inches of your soil and compost mix. This layer provides the initial nutrients your seed potatoes need to establish their root systems. The straw and soil combination ensures an airy environment where roots can expand without resistance. This loose structure is exactly what potatoes need to grow large and uniform in shape.
Planting and Spacing for Maximum Growth
With your base layer ready, it is time to plant. Place your prepared potato chunks on top of the soil layer, ensuring the sprouts or eyes are facing upward. Proper spacing is key here. In a standard milk crate, aim to set the pieces about six inches apart. This usually means three to four pieces per crate depending on the size of the container. Overcrowding will result in smaller potatoes as the plants compete for nutrients and water.
Cover the seed potatoes with an additional two to three inches of soil. Water the crate thoroughly until you see moisture dripping from the bottom. At this stage, you only have one crate on the ground. You will add the subsequent crates as the plants grow, which mimics the traditional hilling process used in ground gardens.
The Art of Hilling and Stacking
As your potato plants begin to sprout and reach upward, you will notice green stems and leaves emerging from the soil. Once these stems reach about six to eight inches in height, it is time to add the next layer. This is known as hilling. Place a second milk crate on top of the first. Align them carefully so the structure is stable. If you plan on going higher than three crates, it is highly recommended to use zip ties or heavy duty twine to secure the crates together at the corners.
Fill the new crate with more soil mix, leaving only the top few inches of the green foliage exposed. The buried portion of the stem will begin to send out new roots, and those roots will eventually turn into potatoes. Repeat this process weekly or biweekly as the plants continue to climb. By the time you reach the third or fourth crate, you will have a massive vertical column of soil packed with developing tubers.
Watering and Nutrient Management
Because your potato tower is elevated and well drained, it will dry out faster than a traditional garden bed. Consistent moisture is the secret to a high yield. You should aim to keep the soil feeling like a wrung out sponge. During the heat of summer, you may need to water your tower every morning. Avoid letting the soil dry out completely, as this can cause the potatoes to become misshapen or stop growing altogether.
Potatoes are heavy feeders, meaning they require plenty of nutrients to produce starch. While your compost provides a great start, a liquid organic fertilizer high in phosphorus and potassium can be beneficial once the plants begin to flower. Avoid high nitrogen fertilizers at this stage, as nitrogen encourages leafy green growth at the expense of the actual potato tubers.
Monitoring for Pests and Disease
One of the advantages of vertical gardening is that it keeps the foliage off the ground, reducing the risk of soil borne diseases and certain pests. However, you should still keep an eye out for the Colorado Potato Beetle. These distinctive striped insects can quickly defoliate your tower if left unchecked. Hand picking them or using neem oil is usually enough to manage small infestations.
Also, watch for signs of blight, which appears as dark, water soaked spots on the leaves. Because the milk crate system allows for excellent airflow, blight is less common than in crowded garden rows, but it is still important to ensure your plants are not staying too wet during humid nights. Good air circulation is your best defense against fungal issues.
Harvesting Your Vertical Potato Bounty
The most exciting part of the process is the harvest. About ten to twelve weeks after planting, the foliage on top of the tower will begin to turn yellow and eventually die back. This is a natural signal that the potatoes have reached maturity and are ready to be picked. Stop watering the tower once the plants begin to yellow to help the potato skins toughen up for storage.
To harvest, you simply reverse the building process. Cut any zip ties or twine and unstack the crates one by one. You can tip the soil out onto a tarp or into a wheelbarrow, where you can easily sift through the loose mix to find your potatoes. There is no need for heavy digging or worrying about accidentally slicing a potato with a shovel. It is a clean, efficient, and incredibly satisfying way to end the growing season.
Curing for Long Term Storage
Once you have gathered your harvest, do not wash the potatoes immediately if you plan on storing them. Instead, gently brush off the excess dirt. Potatoes need to be cured to allow their skins to thicken, which prevents rot and extends their shelf life. Place them in a cool, dark, and well ventilated area for one to two weeks. A basement or a dark corner of a garage is perfect for this.
After the curing period, store your potatoes in burlap bags or crates in a dark place. Keep them away from onions, as onions release gases that can cause potatoes to sprout prematurely. If stored correctly, your homegrown harvest can last for several months, providing you with delicious, organic spuds well into the winter.
Conclusion: Your Path to Potato Success
The milk crate potato tower is more than just a garden project; it is a testament to the fact that anyone can grow their own food regardless of their living situation. It combines the principles of sustainability, efficiency, and accessibility into one neat, vertical package. Whether you are a seasoned gardener looking to save your back or a beginner with a small balcony, this method offers a reliable path to a successful harvest.
By following these steps, you are not just growing vegetables; you are reclaiming your connection to the food you eat and making the most of the resources around you. So, go out and find some crates, prep your seed potatoes, and get ready for a season of growth. The satisfaction of digging through that loose soil and finding a hidden treasure of golden potatoes is an experience every gardener deserves to have. Happy planting.