DIY Natural Brow Gel Recipe for Defined Eyebrows Easy Homemade Beauty
Finding the perfect balance between defined arches and a natural look can feel like a never ending quest in the beauty world. We have all been there, standing in the makeup aisle staring at dozens of tiny tubes, wondering if the chemical additives inside are actually doing our skin any favors. If you have been looking for a way to simplify your beauty routine while nourishing your hair follicles, you are in the right place. Creating your own DIY brow gel is one of the most satisfying and effective ways to take control of your grooming routine. Not only is it incredibly cost effective, but it also allows you to use high quality, organic ingredients that provide a soft, flexible hold without the crunchiness of commercial products.
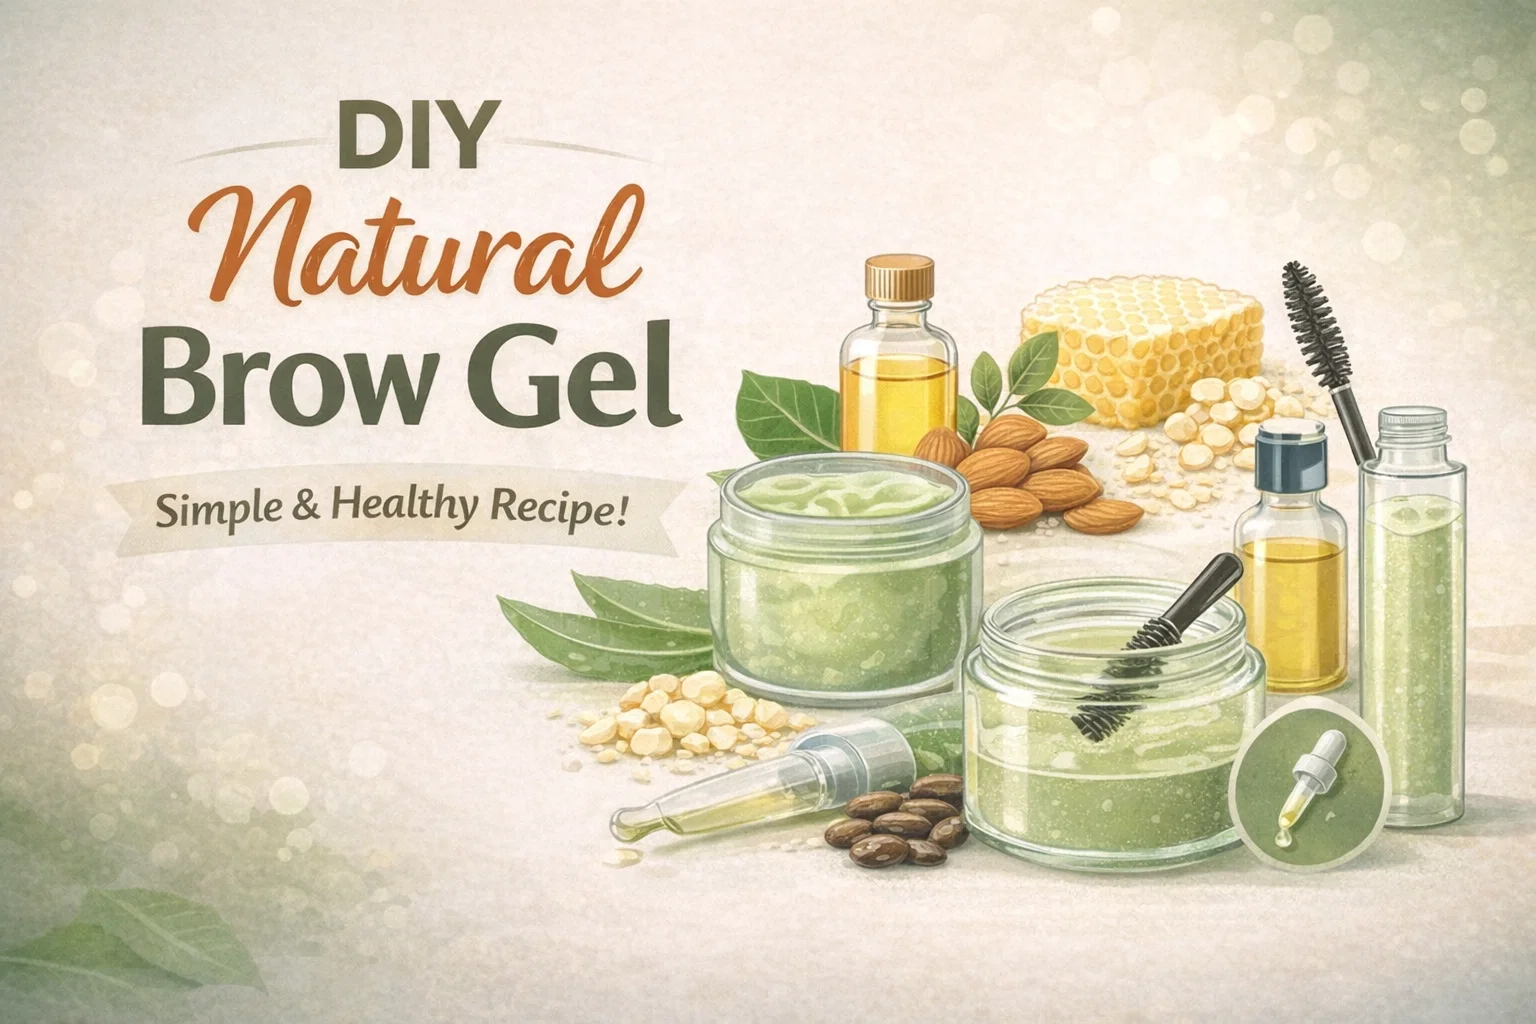
The beauty of a homemade solution lies in its transparency. When you mix your own gel, you know exactly what is going onto your face. This particular recipe focuses on a blend of soothing aloe vera, moisturizing oils, and natural wax to create a product that works double duty as both a styling tool and a growth serum. It is time to ditch the expensive, synthetic alternatives and embrace a more holistic approach to your morning mirror time. Let us dive into why this DIY brow gel is about to become your new favorite bathroom staple.
The Power of Natural Ingredients for Your Brows
Before we get into the mixing bowl, it is important to understand why the specific ingredients in this recipe are so effective. Unlike store bought gels that often rely on alcohols and polymers to keep hairs in place, this DIY version uses nature’s own toolkit to provide structure and shine.
Aloe Vera Gel: The Soothing Base
The star of this recipe is aloe vera gel. Known for its incredible hydrating properties, aloe vera acts as the perfect lightweight base. It provides a gentle hold that doesn’t feel heavy or sticky. Because aloe is packed with enzymes and vitamins, it also helps to soothe the skin beneath your brows, which is especially helpful if you frequently pluck or wax. It keeps the hair hydrated, preventing that brittle feeling that some high hold gels can cause.
Castor Oil: The Growth Powerhouse
If you have ever looked up ways to get thicker eyebrows, you have undoubtedly seen castor oil at the top of every list. This thick, nutrient dense oil is rich in ricinoleic acid, which helps to stimulate blood circulation to the follicles. By incorporating it directly into your daily brow gel, you are essentially applying a growth treatment every single morning. Over time, many users find that their brows appear fuller and healthier just by making this simple switch.
Almond Oil: For Shine and Softness
While castor oil provides the heavy lifting for growth, almond oil brings the shine. It is a much lighter oil that absorbs beautifully, ensuring your brow gel doesn’t look greasy. Almond oil is high in Vitamin E and magnesium, which helps to strengthen the hair shaft. It gives your brows a healthy, groomed luster that makes them look naturally polished rather than painted on.
Beeswax: Nature’s Styling Wax
To give the gel enough “grip” to actually hold your hairs in place all day, we use a small amount of grated beeswax. Beeswax is a natural emulsifier that helps the oils and the aloe vera stay combined. More importantly, it provides a water resistant barrier. This means your brows stay in place even if you are out in the humidity or heading to a light workout. It creates a flexible film over the hair that keeps everything looking neat without the dreaded flaking.
Step by Step Guide to Crafting Your Brow Gel
Now that we understand the “why,” let us get into the “how.” Making this gel is a quick process that takes less than ten minutes, but the results will last you for weeks. Follow these steps to ensure a smooth, professional consistency.
Gathering Your Supplies
To get started, you will need a few basic kitchen and beauty tools. Make sure you have a small heat safe glass bowl, a spoon or small whisk for stirring, and a clean container for storage. A recycled mascara tube is a great eco friendly option, or you can use a small glass cosmetic jar. If you use a jar, you will just need a clean spoolie brush for application. Ensure all your tools are sanitized with a bit of rubbing alcohol before you begin to keep your product shelf stable.
Step 1: Melting the Wax and Oils
The first step is to create the structural heart of your gel. Place your grated beeswax, almond oil, and castor oil into your heat safe bowl. Using a double boiler method, or very short 10 second bursts in the microwave, gently melt the mixture. You want it to be a clear, uniform liquid. Be careful not to overheat the oils, as you want to preserve their nutritional integrity. Stir the mixture gently to make sure the beeswax is completely incorporated with the oils.
Step 2: Incorporating the Aloe Vera
Once your oil and wax mixture is liquid, it is time to add the aloe vera gel. This is the trickiest part because you are essentially creating an emulsion. Add the aloe vera slowly, whisking constantly. As the mixture cools, the beeswax will start to thicken, trapping the aloe vera and oils together in a creamy, gel like consistency. If the mixture seems to separate, just keep whisking! The friction and cooling process will eventually bring it all together into a smooth, light green or translucent paste.
Step 3: Transfer and Storage
While the mixture is still slightly warm and pourable, transfer it into your chosen container. If you are using a mascara tube, a tiny funnel or a plastic syringe can make this process much cleaner. Once it is in the container, let it sit undisturbed for about an hour to fully set. Because this recipe contains no synthetic preservatives, it is best to store it in a cool, dry place. If you use fresh aloe vera from a plant, you should keep it in the refrigerator and make a new batch every two weeks. If you use store bought stabilized aloe vera gel, it will last much longer at room temperature.
How to Apply for the Best Results
Using your homemade brow gel is just as easy as using any high end brand. The key is in the technique to ensure you get that “naturally defined” look rather than a heavy application.
- Start with Clean Brows: Make sure your eyebrows are free of any lotions or foundation so the gel can grip the hair properly.
- Less is More: Dip your spoolie into the gel and wipe off any excess. You want a very thin layer on the brush to start.
- Brush Upwards: Start at the inner corner of your brow and brush the hairs upward and outward. This “feathers” the brows and makes them look much fuller.
- Shape the Tail: Once you have the volume you want, use the tip of the spoolie to smooth down just the very top edge of the hairs and define the tail of your brow.
- Layer if Needed: If you have particularly stubborn or thick brow hairs, let the first layer dry for thirty seconds before applying a second light coat.
The Benefits of Going DIY with Your Beauty Routine
Beyond just having great looking eyebrows, there are several reasons why making your own cosmetics is a lifestyle win. First, it is an incredible way to reduce plastic waste. By reusing a single glass jar or a high quality mascara wand, you are keeping dozens of plastic tubes out of landfills over the course of a year.
Second, the cost savings are significant. The initial investment in a bottle of castor oil or a block of beeswax might seem higher than a five dollar tube of cheap gel, but those ingredients will last you for dozens of batches. When you break it down per application, you are spending pennies for a product that performs like a luxury brand. Finally, there is a sense of empowerment that comes from self sufficiency. Knowing how to create your own grooming products allows you to customize your beauty standards and rely less on massive corporations.
Customizing Your Recipe
One of the best parts about this DIY project is that it is infinitely customizable. If you find that the hold is too soft, you can add a tiny bit more beeswax in your next batch. If your brows feel a bit dry, increase the almond oil. You can even turn this into a tinted brow gel! Simply stir in a tiny pinch of cocoa powder for light brown hair, or a bit of activated charcoal or dark brown mica powder for darker shades. This allows you to fill in sparse spots and hold hairs in place in one single step.
Conclusion: Simple, Natural, and Effective
Taking care of your appearance doesn’t have to mean compromising your health or your budget. This DIY brow gel is the perfect example of how a few simple, natural ingredients can outperform complex chemical formulas. By spending just a few minutes in the kitchen, you are creating a product that not only makes you look polished today but also works to improve the health of your brows for the future.
The combination of aloe vera, almond oil, castor oil, and beeswax provides the perfect balance of hydration, nourishment, and hold. It is a gentle reminder that beauty can be simple, sustainable, and fun. So, the next time you run out of your favorite brow product, don’t head to the store. Head to your pantry instead. Give this recipe a try and enjoy the confidence that comes with naturally defined, healthy brows. Your arches and your skin will thank you for the extra love and care.