DIY Natural Lip Balm Recipe Easy Homemade Organic Lip Balm with Beeswax Shea Butter
There is something incredibly satisfying about creating your own beauty products from scratch. Not only do you get to control every single ingredient that touches your skin, but you also tap into a tradition of natural wellness that has been passed down for generations. If you have ever looked at the back of a store bought lip balm tube and felt overwhelmed by the long list of synthetic chemicals and petroleum based waxes, you are not alone. Making a natural, organic lip balm at home is one of the easiest ways to transition into a non toxic lifestyle without sacrificing quality or performance.
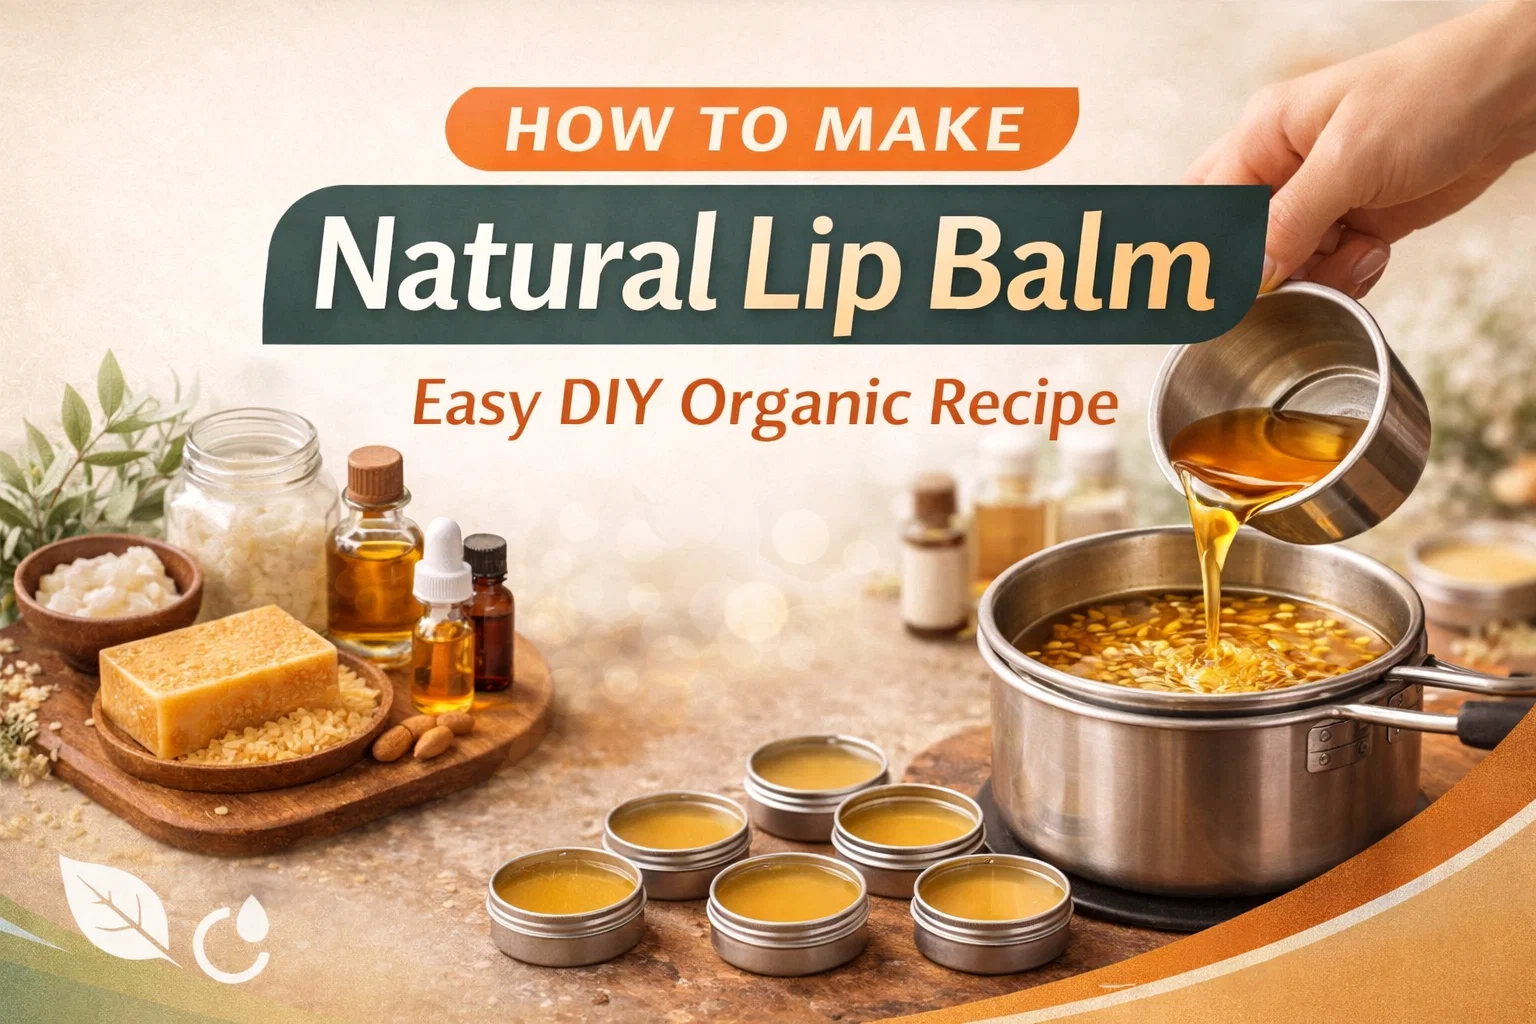
The beauty of a homemade recipe is its simplicity. By combining the power of beeswax, nourishing plant based butters, and essential vitamins, you can create a barrier that locks in moisture and protects your lips from harsh environmental factors like wind and cold. This specific recipe focuses on the harmony between hydration and protection, ensuring your lips stay soft, supple, and healthy throughout every season. Let us dive deep into the world of organic lip care and explore how these simple ingredients work together to create magic.
The Power of Pure Ingredients: Why Go Organic?
When it describes skincare, the lips are often overlooked, yet they are one of the most sensitive areas of our body. Unlike the rest of your skin, the skin on your lips is much thinner and lacks oil glands. This makes them prone to drying out, cracking, and peeling. When you use conventional products, you might be applying paraffin, artificial fragrances, and chemical dyes that actually strip away moisture over time, creating a cycle of dependency on the product.
By choosing organic ingredients, you are feeding your skin vitamins and fatty acids that promote healing. Raw beeswax acts as a natural humectant, drawing moisture into the skin, while shea butter provides deep nourishment that penetrates beneath the surface. Using high quality oils ensures that you are not just coating your lips in a layer of wax, but actually repairing the delicate skin barrier.
The Role of Beeswax in Lip Protection
Beeswax is the backbone of any solid lip balm recipe. It provides the structure needed to keep the balm in a tin or tube, but its benefits go far beyond its texture. Beeswax is a natural exfoliator and anti inflammatory agent. It creates a breathable protective layer on the lips that shields them from UV rays and pollution without clogging pores. In this recipe, the two tablespoons of beeswax ensure that your balm has a professional finish and a long shelf life.
Shea Butter: The Ultimate Skin Superfood
Shea butter is extracted from the nuts of the shea tree and is famous for its high concentration of vitamins A and E. It acts as an emollient, meaning it softens and soothes the skin. For those who suffer from chronically chapped lips, shea butter is a game changer because it stimulates collagen production and helps the skin recover from damage. Adding one and a half tablespoons to your mixture gives the balm a creamy, luxurious feel that glides on effortlessly.
Detailed Step by Step Guide to Making Your Lip Balm
Preparation is key when working with waxes and oils. Before you begin, ensure that all your equipment is clean and dry. Since this recipe uses organic ingredients, we want to maintain their purity by avoiding any contamination. You will need a double boiler, a measuring spoon, and your choice of storage containers, such as small metal tins or glass jars.
Step 1: Setting Up Your Double Boiler
Never melt beeswax or oils directly over a flame, as they can burn easily and lose their therapeutic properties. Fill a medium pot with about two inches of water and place a heat safe glass bowl or a smaller stainless steel pot on top. Turn the heat to medium low. This indirect heat method allows the ingredients to melt slowly and evenly, preserving the integrity of the vitamins and minerals.
Step 2: Combining Your Primary Ingredients
Start by adding your two tablespoons of beeswax pellets to the bowl. Once the beeswax begins to soften, add one and a half tablespoons of shea butter and one and a half tablespoons of coconut oil. Coconut oil is a fantastic addition because it is rich in lauric acid, which has antimicrobial properties. Finally, pour in two tablespoons of sweet almond oil. Sweet almond oil is a lightweight carrier oil that helps the balm absorb quickly without leaving a greasy residue.
Step 3: The Secret Ingredient: Vitamin E
Once your mixture is completely liquid and clear, remove it from the heat. This is the perfect time to add one tablespoon of Vitamin E oil. Vitamin E is not just great for your skin; it also acts as a natural preservative, helping your homemade balm last much longer. Stir the mixture gently to ensure the Vitamin E is fully incorporated into the oils.
Customizing Your Homemade Recipe
One of the best parts of DIY skincare is the ability to customize. While the base recipe is perfect on its own, you can experiment with different scents and therapeutic benefits by adding essential oils. However, always remember that a little goes a long way when it describes essential oils on the lips.
- Peppermint: For a refreshing, cooling sensation that also helps stimulate blood flow to the lips.
- Lavender: Known for its calming properties, it is perfect for a bedtime lip treatment.
- Sweet Orange: Provides a bright, uplifting scent that pairs beautifully with the natural aroma of honey from the beeswax.
- Vanilla: For a warm, comforting scent that feels like a treat.
Adding Natural Tints
If you want your lip balm to double as a subtle lip stain, you can add a pinch of beetroot powder or a tiny amount of organic cocoa powder. These ingredients provide a beautiful, sheer wash of color while keeping the product 100% natural. Simply whisk the powder into the melted mixture before pouring it into the tins to ensure there are no clumps.
Storage and Shelf Life Tips
Because this recipe does not contain water, it is naturally resistant to bacteria. However, to keep it fresh for as long as possible, store your tins in a cool, dry place. Excessive heat can cause the balm to melt and then re solidify, which might change the texture over time. If stored correctly, your organic lip balm should stay fresh for six to twelve months.
Choosing the Right Containers
Small metal tins are a popular choice because they are durable, recyclable, and easy to carry in a pocket or purse. Glass jars are also an excellent eco friendly option. If you prefer the convenience of a twist up tube, you can purchase BPA free empty lip balm tubes online. Just make sure to pour the liquid carefully, as the tubes can be a bit more finicky than wide mouth tins.
Common Mistakes to Avoid
Even though the process is straightforward, beginners often run into a few hurdles. One common issue is the balm being too hard or too soft. If your balm is too hard, you might have used too much beeswax. You can fix this by remelting the mixture and adding a bit more almond oil. If it is too soft, add a few more beeswax pellets. Another mistake is adding essential oils while the mixture is still on the stove. High heat can cause the volatile oils to evaporate, so always add them after removing the pot from the heat source.
Ensuring a Smooth Finish
Sometimes, as the balm cools, a small “sinkhole” can form in the center. This happens because the mixture shrinks slightly as it solidifies. To avoid this, try to pour the mixture when it has cooled down just slightly but is still liquid. If a hole does form, you can do a second pour of a tiny bit of liquid over the top to level it out and create a professional, smooth surface.
Conclusion: Embrace the Glow of Natural Beauty
Transitioning to a homemade lip care routine is a small step that makes a big impact on your overall health and the environment. By following this simple organic recipe, you are treating your body to the finest ingredients nature has to offer. There is a special kind of confidence that comes from knowing exactly what is in your skincare products, and your lips will certainly thank you for the extra love and attention.
This project is not just about the final product; it is about the process of slowing down and creating something beautiful with your own hands. Whether you are making a batch for yourself or creating heartfelt gifts for friends and family, this natural lip balm is sure to become a staple in your beauty cabinet. So, gather your ingredients, set up your double boiler, and enjoy the journey toward healthier, more radiant lips today.