DIY Natural Lip Balm Recipe How to Make Homemade Lip Balm with Beeswax
There is something incredibly satisfying about creating your own skincare products from scratch. Not only do you get to control every single ingredient that touches your skin, but you also tap into a tradition of natural healing that predates the modern chemical-heavy beauty industry. Today, we are diving deep into the world of DIY cosmetics by breaking down a foolproof, nourishing recipe for homemade lip balm. Whether you are tired of dealing with chapped lips in the winter or you simply want a cleaner, more sustainable beauty routine, this guide will show you exactly how to achieve professional results right in your own kitchen.
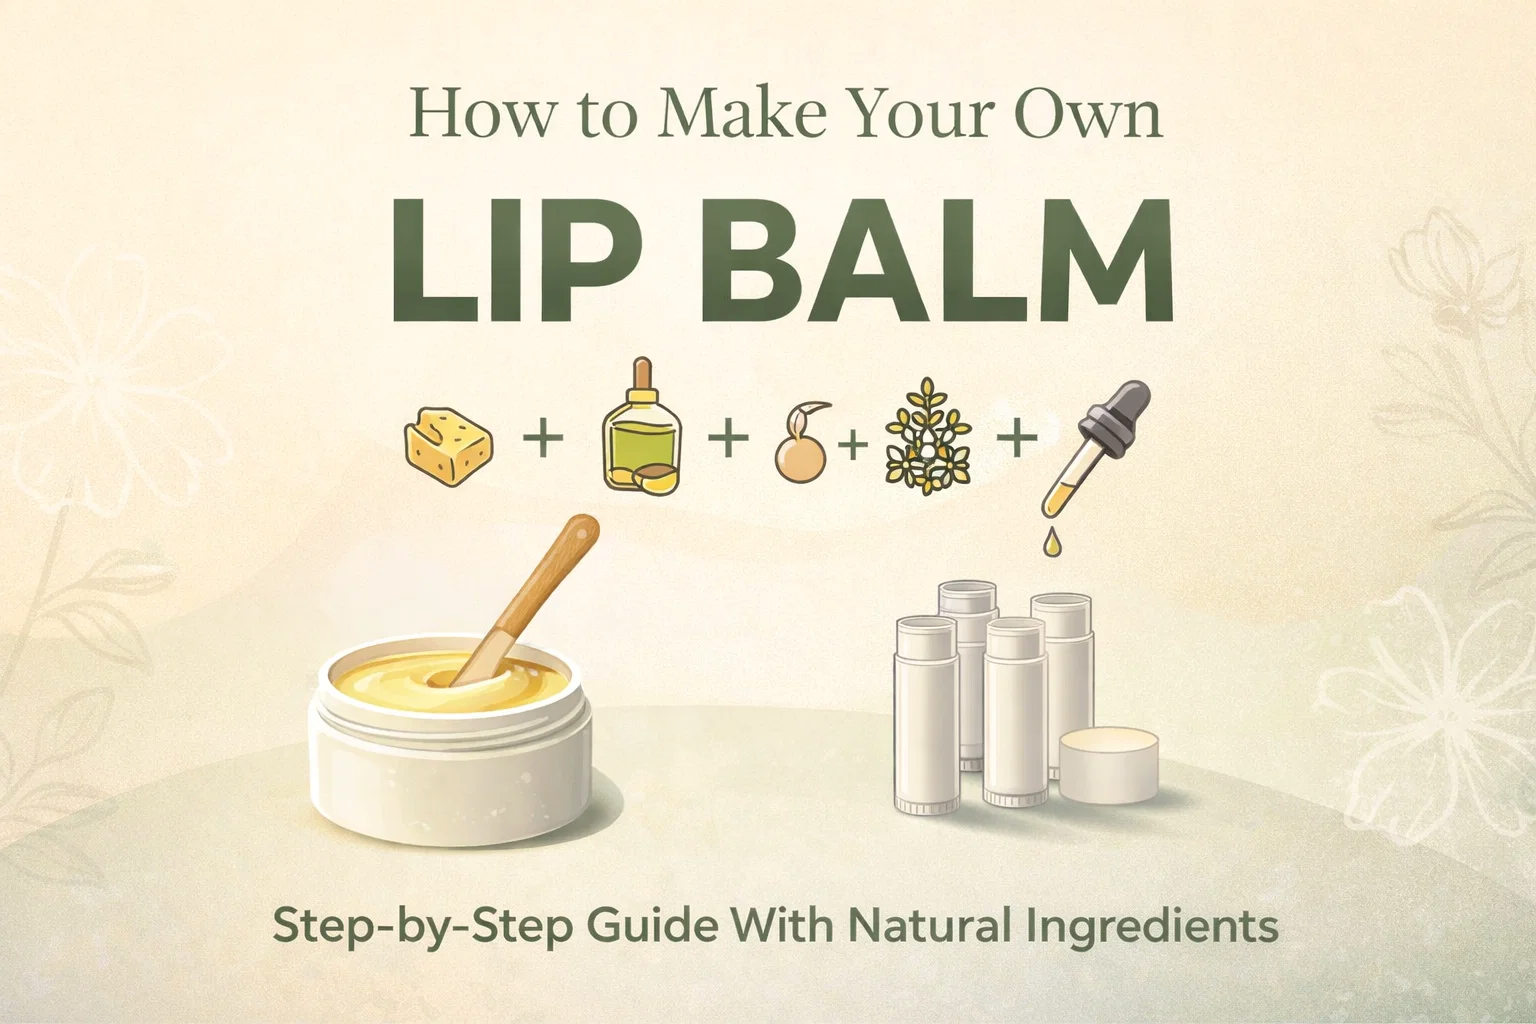
The beauty of the recipe featured in our visual guide lies in its simplicity. By combining the structural integrity of beeswax with the deep hydration of coconut, olive, and jojoba oils, you create a barrier that locks in moisture while allowing your skin to breathe. Let’s explore why these specific ingredients are the gold standard for lip care and how you can master the process of blending them perfectly.
The Science of Soft Lips: Why Natural Ingredients Win
Most commercial lip balms contain petroleum-based jellies, synthetic fragrances, and preservatives that can actually end up drying out your lips over time. This leads to a cycle of constant reapplication. When you switch to a natural, oil-based balm, you are providing your skin with essential fatty acids and vitamins that promote actual healing rather than just providing a temporary coating.
The Power of Beeswax
Beeswax is the backbone of any quality lip balm. In this recipe, we use 2 tablespoons of beeswax pellets. Beeswax acts as a humectant, which means it attracts water to the skin. More importantly, it provides a physical protective layer that shields your lips from harsh wind, cold air, and pollution. Because it is non-comedogenic, it won’t clog the pores around your mouth, making it ideal for daily use.
Why Coconut Oil is a Skincare Staple
With a quarter cup of coconut oil in this mix, you are getting a heavy dose of lauric acid. Coconut oil is unique because it has a low molecular weight, allowing it to penetrate the skin more deeply than many other oils. It provides that creamy, smooth texture that makes a lip balm feel luxurious during application. It also possesses mild antimicrobial properties, which is a great bonus for protecting small cracks or cold sores.
The Role of Liquid Carriers: Olive and Jojoba Oils
While beeswax and coconut oil provide the structure, the liquid oils provide the slip. Olive oil (5 tablespoons) is rich in antioxidants and Vitamin E, which helps repair damaged skin cells. Jojoba oil (2 tablespoons) is technically a liquid wax that closely mimics the natural sebum produced by human skin. By including jojoba, you ensure that the balm feels natural and absorbs efficiently without leaving a greasy residue.
Step by Step Guide to Crafting Your Lip Balm
Preparation is key when working with waxes and oils. Before you begin the melting process, ensure that all your containers are clean, dry, and laid out on a flat surface. Once the wax begins to cool, it hardens quickly, so you want to move with confidence and speed.
Step 1: The Melting Phase
Start by combining your beeswax pellets and coconut oil in a heat-safe glass bowl. The best way to melt these is using a double boiler method. Place the bowl over a pot of simmering water, ensuring the bottom of the bowl does not touch the water directly. Stir gently until the mixture is completely liquid and clear. Avoid using high heat, as overheating can degrade the beneficial nutrients in the coconut oil.
Step 2: Incorporating the Nutrients
Once the wax and coconut oil have melted, remove the bowl from the heat. Now is the time to stir in your olive oil and jojoba oil. Because these oils are at room temperature, the mixture might cloud up slightly. Continue stirring until everything is perfectly integrated. If it begins to solidify too fast, you can place it back over the steam for a few seconds.
Step 3: Customizing with Essential Oils
This is where you can get creative. The recipe calls for 20 drops of essential oil. For a refreshing tingle, peppermint is a classic choice. If you prefer something calming, lavender works beautifully. For a bright, summery feel, sweet orange or grapefruit oils are fantastic, though you should always ensure your citrus oils are steam-distilled to avoid photosensitivity issues. Stir these in last to prevent the scents from evaporating in the heat.
The Pouring and Hardening Process
This is often the most nerve-wracking part for beginners, but it is easy once you get the hang of it. Carefully pour the liquid mixture into empty lip balm tubes or small tin containers. If you find your hand is a bit shaky, using a small glass dropper or a funnel can make the process much cleaner. Fill them right to the brim, as the mixture will sink slightly as it cools.
Place your filled containers in the refrigerator. This rapid cooling helps prevent the oils from separating and ensures a smooth, even texture throughout the balm. Leave them for at least 30 minutes to an hour before testing them out. Once they are firm to the touch, they are ready for use.
Usage and Benefits: Beyond Just Hydration
While we primarily think of lip balm as a solution for dryness, a high-quality homemade version offers a variety of secondary benefits. Because this recipe is so clean and nutrient-dense, it can actually serve as a multi-purpose salve in your beauty kit.
- Protection: The beeswax creates a barrier against environmental stressors.
- Prevention: Regular use keeps the skin elastic, preventing painful cracking.
- Exfoliation: When applied and wiped away with a damp cloth, the oils help lift dead skin cells.
- Cuticle Care: This exact mixture works wonders as a softening balm for dry cuticles and nail beds.
How to Store Your Homemade Balm
Since this recipe does not contain water, it has a surprisingly long shelf life. Generally, your lip balm will stay fresh for six to twelve months. To keep it at its best, store your tubes in a cool, dry place away from direct sunlight. If you live in an extremely hot climate, you might want to add an extra teaspoon of beeswax to the recipe to ensure the balm stays solid in your pocket or purse.
Troubleshooting Common DIY Issues
If your first batch isn’t exactly how you imagined it, don’t worry. The beauty of DIY is that you can always melt it down and try again. If the balm feels too hard and difficult to apply, you can melt it back down and add a tablespoon more of olive oil. If it feels too oily or melts too easily in your pocket, melt it down and add a small amount of extra beeswax pellets.
Another common issue is graininess. This usually happens if the shea butter (if you choose to add it) or the coconut oil cools too slowly. Using the refrigerator method mentioned earlier is the best way to prevent those tiny beads from forming, ensuring your balm is as smooth as any high-end brand you would find in a boutique.
Conclusion: Your Journey to Natural Beauty
Creating your own lip balm is more than just a craft project; it is a step toward a more intentional and sustainable lifestyle. By mastering this simple recipe, you have gained the ability to provide your body with high-quality care that is free from mystery chemicals and unnecessary plastic waste. These little tubes also make incredible gifts that show your friends and family you care about their well-being.
Now that you have the knowledge and the recipe, it is time to get into the kitchen and start experimenting. Try different oil combinations, play with scents, and enjoy the process of making something beautiful with your own hands. Your lips will thank you for the extra love and nourishment.