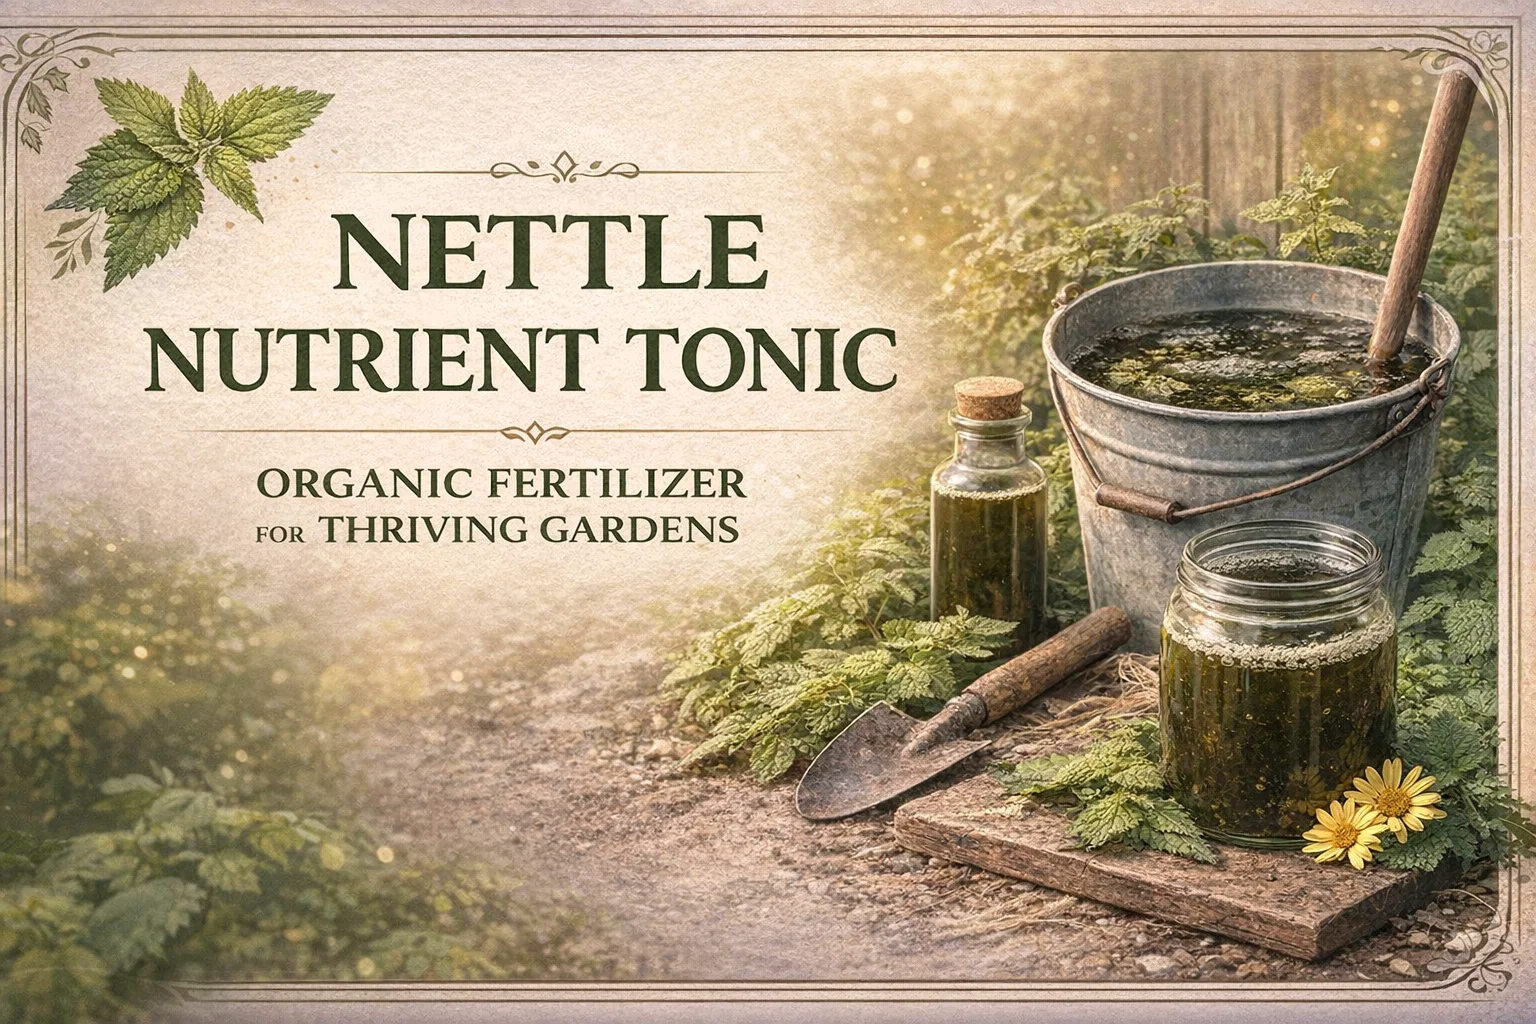
DIY Nettle Tea Fertilizer Organic Plant Food Recipe
Welcome to the ultimate guide on transforming a common garden nuisance into liquid gold for your plants. If you are passionate about organic gardening, you likely already know the immense value of feeding your soil naturally. We often spend a small fortune on organic fertilizers, soil amendments, and specialized plant foods packed in plastic bottles. But what if one of the most potent, nutrient-rich feeds for your garden is currently growing wild, completely free, and probably stinging your ankles when you weed? Enter the stinging nettle, a misunderstood powerhouse that you can easily brew into a phenomenal DIY plant tonic.
Stinging nettles are what permaculture experts call dynamic accumulators. These robust plants send their roots deep into the earth, mining essential minerals and nutrients that are otherwise trapped in the subsoil. They pull these elements up and store them in their rich, green leaves. By harvesting these leaves and putting them through a simple fermentation process, we can unlock those nutrients, creating a bioavailable liquid fertilizer that your garden vegetables, leafy greens, and heavy-feeding plants will absolutely devour. Today, we are going to walk through the exact steps to brew your own nettle nutrient tonic, explore the science behind why it works so incredibly well, and discover how this simple recipe can revolutionize your sustainable gardening practice.
Why Your Garden Needs Nettle Tea
The concept of making “weed tea” is not new. Gardeners have been utilizing fermented plant extracts for centuries. However, stinging nettle holds a special place in the organic gardener’s toolkit due to its specific and highly concentrated nutritional profile. Let us break down exactly what makes this homemade fertilizer so effective.
A Massive Nitrogen Boost
Nitrogen is the primary macronutrient responsible for vigorous, leafy growth. If your plants are looking yellow, stunted, or simply lacking that vibrant, deep green color, they are likely crying out for nitrogen. Nettle tea is exceptionally high in this vital element. When you apply a diluted nettle feed, the nitrogen is delivered in a readily available liquid form, triggering a rapid growth surge. This makes it the absolute perfect fertilizer for leafy greens like spinach, lettuce, and kale, as well as for heavy feeders like tomatoes and brassicas during their early vegetative growth stages.
Vital Minerals for Long Term Soil Health
While nitrogen gets the immediate visible results, the true magic of this tonic lies in its micronutrient profile. Nettles are absolutely packed with essential minerals, most notably magnesium and iron. Magnesium is the central atom in the chlorophyll molecule, meaning without it, your plants literally cannot photosynthesize effectively. Iron is equally crucial for enzyme functions and overall plant vitality. By drenching your soil with this mineral-rich tea, you are not just feeding the plant for today; you are enriching the soil web, supporting beneficial microbes, and ensuring long-term soil fertility.
The Ultimate Eco Friendly Solution
Perhaps the most beautiful aspect of making your own nettle fertilizer is the positive impact it has on the environment. We call this a closed-loop system. You are taking a resource that already exists in your local environment, processing it without external energy, and returning it to the soil to grow your food. This completely replaces the need for synthetic, petroleum-based chemicals that degrade soil health over time. Furthermore, you eliminate the massive carbon footprint associated with manufacturing, shipping, and packaging commercial garden products in single-use plastics. You are healing the earth while growing your garden.
Gathering Your Ingredients
The beauty of this recipe is in its extreme simplicity. You only need two ingredients, but sourcing them correctly is key to brewing a successful batch of fertilizer.
- Fresh Stinging Nettles: You will need enough to pack your chosen container roughly three-quarters full. Timing is important here. You want to harvest your nettles when they are lush and green, but strictly before they go to seed. If you ferment nettles that have already developed seeds, you run the risk of spreading viable nettle seeds all over your garden beds when you water your plants. Remember to wear thick gloves and long sleeves when harvesting!
- Water: The type of water you use can make or break your fermentation. The absolute best choice is fresh rainwater collected from a barrel. Rainwater is pure, slightly acidic, and free of the chemicals found in municipal supplies. If you do not have access to rainwater, you can use tap water, but it must be dechlorinated first. Chlorine is designed to kill bacteria, but we desperately need beneficial bacteria to break down the plant matter. Simply fill your buckets with tap water and let them sit uncovered in the sun for 24 to 48 hours to allow the chlorine to off-gas before adding your nettles.
Step by Step Recipe: Brewing Your Organic Garden Feed
Making nettle tea is more about patience than active labor. The process relies on anaerobic fermentation, where bacteria break down the cellular structure of the leaves and release the nutrients into the water. Here is how to set up your brew.
Step 1: Packing and Bruising
Once you have safely harvested a massive haul of fresh nettles, it is time to prep them. Take a large bucket or a designated fermentation container. Roughly chop or tear the nettle stalks and leaves to fit them in. As you pack them tightly into the bucket, try to bruise the leaves. You can do this by crushing them with your gloved hands or vigorously tamping them down with a sturdy stick or garden tool. Bruising breaks the tough cell walls of the plant, which drastically speeds up the decomposition process and helps the nutrients leach into the water much faster. Fill the bucket about three-quarters of the way to the top with the compacted, bruised weeds.
Step 2: The Water Soak
Pour your prepared rainwater or dechlorinated tap water over the nettles. You must ensure that all the plant material is completely submerged. If leaves are exposed to the open air, they can attract the wrong kind of mold and ruin the batch. If your nettles keep floating to the surface, you can weigh them down with a clean brick or a heavy stone. Leave a few inches of headspace at the top of the bucket because the mixture will bubble and expand as it ferments.
Step 3: The Fermentation Process
Place your bucket in a warm, sunny spot in your garden. The heat from the sun will accelerate the bacterial action. Now, the waiting game begins. This process typically takes anywhere from two to four weeks, depending on the ambient temperature. During this time, you need to stir the mixture occasionally, perhaps every two or three days. Use a long, sturdy stick to agitate the water.
A word of warning to the uninitiated: as the nettles ferment, the mixture will begin to smell incredibly strong and pungent. It has a distinct, earthy, manure-like odor. This smell is the hallmark of a successful organic fermentation. It means the bacteria are doing their job, breaking down the proteins into bioavailable nitrogen. You will also notice vigorous bubbling on the surface. When the bubbling eventually stops and the liquid has turned a dark, opaque, almost blackish-green color, your tonic is ready.
Step 4: Straining and Dilution
Do not pour this dark sludge directly onto your plants! In its concentrated form, the tea is far too strong and the high nitrogen content will burn your delicate plant roots. First, strain the mixture. You can use an old pillowcase, a fine mesh sieve, or burlap to separate the liquid from the decomposed plant mush. The solid leftover matter is fantastic for your compost bin, acting as a superb compost activator.
Now you have your liquid concentrate. To use it, you must dilute it with fresh water. The golden rule for nettle tea is a 1:10 ratio. That means mixing one part of your dark nettle concentrate with ten parts of water. The resulting mixture should look like a weak, pale tea. This dilution provides a safe, steady stream of nutrients that your plants can absorb instantly without any risk of root burn.
How to Store Your Nettle Concentrate
If you have brewed a large batch, you likely will not use it all at once. Thankfully, this homemade fertilizer stores remarkably well. Keep the strained, undiluted concentrate in a sealed container, such as a glass jar, a repurposed plastic jug, or an airtight bucket. Place the container in a cool, dark place, like a garage, shed, or basement, away from direct sunlight and extreme temperature fluctuations. Under these conditions, your nutrient tonic will remain potent and effective for up to six months. This means a good spring brew can easily feed your garden throughout the entire summer growing season.
Best Practices for Feeding Your Garden
Knowing when and where to apply this magical elixir is just as important as brewing it correctly. Because nettle tea is so heavily biased towards nitrogen, it is best utilized during the early stages of plant growth when developing a strong structure and expansive foliage is the primary goal. Use your diluted 1:10 mixture to water the base of your plants every couple of weeks.
It is an absolute miracle worker for leafy crops like cabbage, broccoli, spinach, chard, and lettuce. For fruiting plants like tomatoes, peppers, and cucumbers, use the nettle feed generously while they are young and actively growing tall. However, once these plants begin to set flowers and develop fruit, you should stop applying the nettle tea. Too much nitrogen during the fruiting phase will encourage the plant to grow more leaves at the expense of producing actual vegetables. At that stage, you would want to switch to a fertilizer higher in potassium, such as a homemade comfrey tea.
Conclusion
Creating your own DIY organic plant food is one of the most rewarding and empowering skills a gardener can master. By harnessing the wild power of the stinging nettle, you are choosing to work in harmony with nature. You are taking a plant often dismissed as a painful weed and elevating it to a crucial component of your garden’s ecosystem. This fermented nettle nutrient tonic provides an unmatched surge of nitrogen, delivers vital trace minerals for lasting soil health, and completely bypasses the environmental damage caused by synthetic, store-bought fertilizers. The next time you spot a patch of nettles encroaching on your yard, do not reach for the weed killer. Reach for your thickest gloves, grab a bucket, and start brewing the ultimate organic feast for your thriving garden.