DIY Outdoor Misting Cooling System for Patio Garden Greenhouse Beat the Heat
Creating a personal sanctuary in your backyard often starts with a vision of lush greenery and vibrant flowers, but the reality of a scorching summer sun can quickly turn your outdoor haven into an unbearable heat zone. The image provided captures a pivotal moment in any DIY garden project: the installation of a high-quality outdoor misting cooling system. By integrating this simple yet highly effective technology, you are not just watering plants; you are re-engineering the local climate of your patio or garden. This guide explores how you can achieve professional-level cooling results with a hands-on approach, ensuring your outdoor spaces remain a refreshing retreat even during the peak of July.
Understanding the Mechanics of Outdoor Misting
At its core, an outdoor misting system relies on the principle of evaporative cooling. When water is forced through tiny nozzle orifices, it breaks down into microscopic droplets that form a fine mist. As these droplets encounter the warm ambient air, they evaporate almost instantly. This transition from liquid to gas requires energy in the form of heat, which is pulled directly from the surrounding air. The result is a significant drop in temperature without leaving your furniture or guests feeling soaked.
The beauty of the system shown in the image is its versatility. Whether you are running lines along a wooden fence, a specialized garden border, or the eaves of a pergola, the goal remains the same: to create a cooling curtain of moisture. High-pressure systems are often the gold standard for achieving that dry mist effect, but even low to medium-pressure kits can provide immense relief for residential gardens and greenhouses.
The Essential Components of a DIY Misting Kit
To replicate the setup seen in the visual, you need to understand the individual parts that make the magic happen. Most comprehensive kits include several key items that work in harmony to deliver consistent cooling.
Durable Tubing and Piping
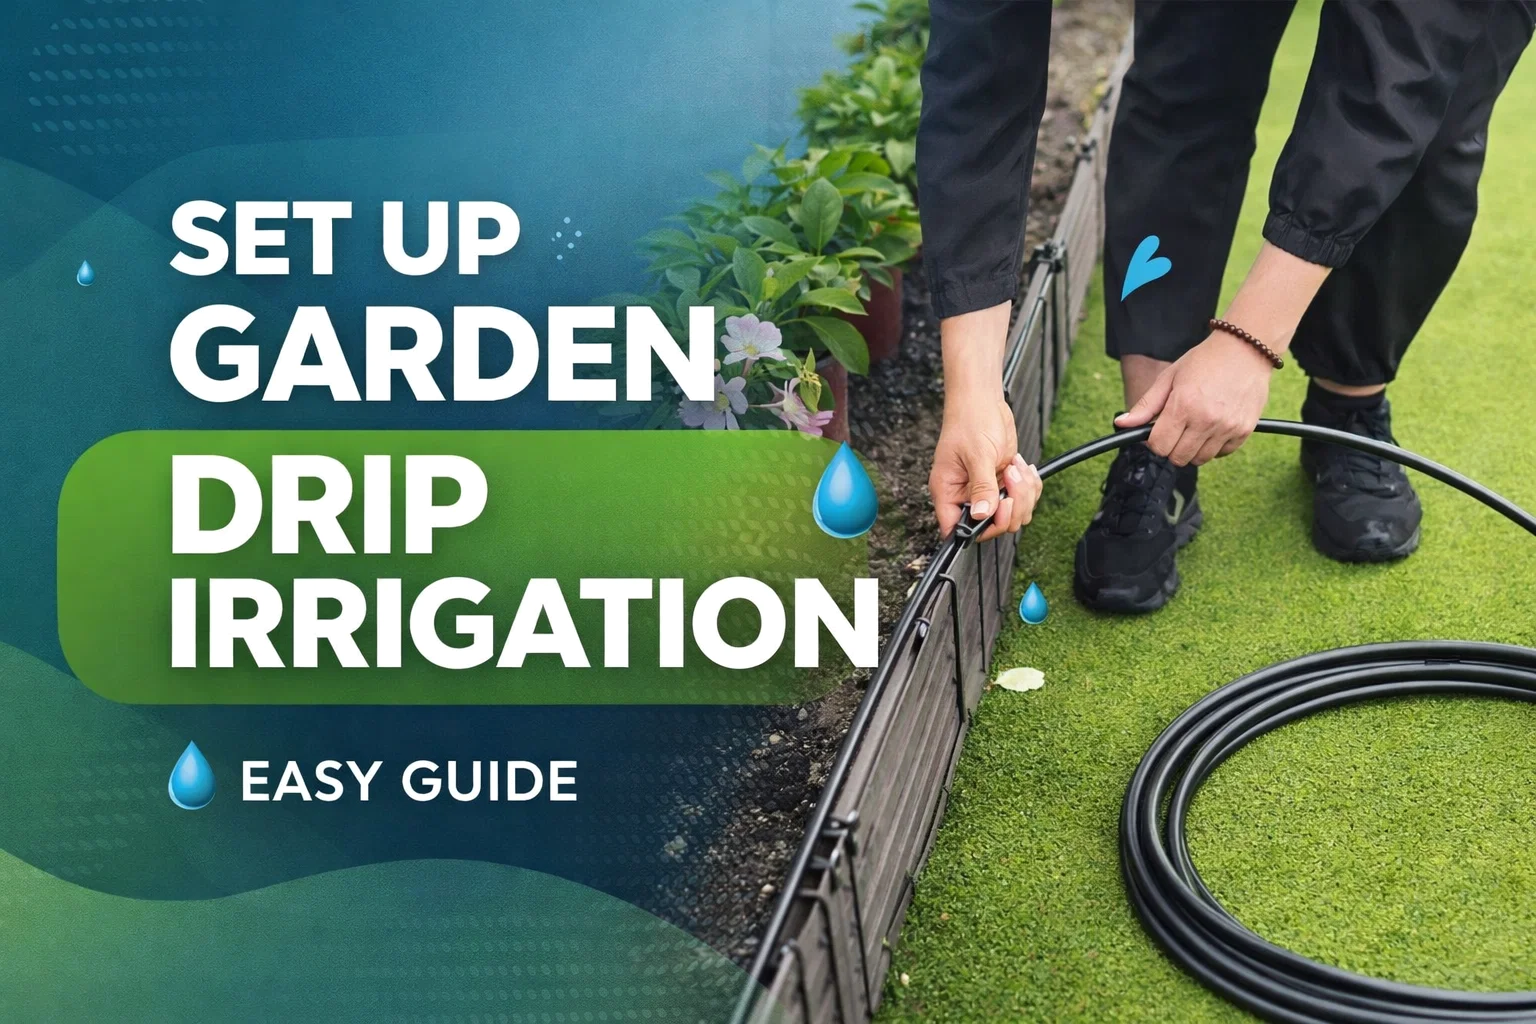
The black tubing held by the installer is the lifeline of the system. Usually made from UV-resistant PE (polyethylene) or nylon, this tubing is designed to withstand direct sunlight without degrading or becoming brittle. Its flexibility is crucial because it allows you to navigate the unique curves and corners of your garden beds or patio architecture.
Precision Misting Nozzles
The nozzles are where the science happens. Brass and stainless steel are preferred materials because they resist corrosion and clogging better than plastic alternatives. Some advanced nozzles feature an anti-drip design, which ensures that when the water pressure is turned off, the system doesn’t leak or create puddles on your walkway.
Connectors and Fittings
T-junctions, elbows, and end plugs allow you to customize the layout. Most modern DIY kits use push-to-connect fittings, which eliminate the need for specialized tools. You simply cut the tubing to your desired length and push it into the fitting for a watertight seal.
Step-by-Step Installation for Maximum Efficiency
Installing a misting system is a rewarding weekend project that requires more planning than physical labor. To get the best results, follow a structured approach to ensure even coverage and durability.
First, measure the perimeter of the area you wish to cool. It is helpful to sketch a quick map of where you want the mist to be most concentrated. For instance, if you have a seating area, you want the nozzles positioned overhead or around the perimeter to create a cooling zone. If you are focused on a greenhouse, the nozzles should be placed to ensure all foliage receives a gentle humidity boost.
Next, prepare your mounting surface. As seen in the image, the installer is working along a garden border. Using cable ties or specialized mounting clips, secure the tubing every two to three feet. This prevents the line from sagging when it is filled with water. Make sure to keep the line taut but not over-stretched, especially around corners.
Once the lines are in place, flush the system before attaching the nozzles. This step is vital because it clears out any plastic shavings or debris that might have entered the tube during the cutting process. After flushing, screw in your nozzles and turn on the water to check for leaks. Adjust the direction of the nozzles so the mist drifts into the desired area with the help of the natural breeze.
The Benefits of Misting for Your Garden and Greenhouse
While humans love the cooling effect, your plants might love it even more. Many ornamental flowers and tropical plants struggle when the humidity drops and the temperature climbs. A misting system serves several purposes beyond just temperature control.
- Humidity Management: For greenhouse enthusiasts, maintaining the right moisture levels is a constant battle. Misting systems provide a consistent environment that mimics a tropical habitat, encouraging faster growth and more vibrant blooms.
- Dust and Pollen Reduction: The fine mist acts as a filter, knocking dust particles and pollen out of the air. This makes the environment much more comfortable for individuals who suffer from seasonal allergies.
- Pest Deterrence: Many common garden pests, such as spider mites, thrive in hot and dry conditions. By keeping the air moist and the foliage cool, you create a less hospitable environment for these nuisances.
Creative Ways to Integrate Misting into Your Landscape
You don’t have to stick to traditional overhead lines. Think about the unique features of your yard. If you have a trampoline for the kids, a misting ring around the safety net can turn a hot afternoon into a refreshing play session. If you have a dedicated yoga deck, a low-profile misting line can help you maintain focus without overheating during your practice.
In the image, the integration along the garden border is a brilliant way to hide the mechanics of the system while still providing functionality. By placing the lines low, the mist rises through the plants, creating a magical, fog-like aesthetic that looks stunning during sunset or when paired with outdoor lighting. This ground-level approach is also excellent for cooling down walkways and stone patios that tend to radiate heat long after the sun goes down.
Maintenance Tips for Longevity
To ensure your misting system lasts for many seasons, a small amount of preventative maintenance goes a long way. Hard water is the primary enemy of misting nozzles. Over time, calcium and mineral deposits can build up, leading to uneven spray patterns or total clogs.
At the end of every season, it is a good idea to remove the nozzles and soak them in a mild vinegar solution or a specialized descaling agent. This dissolves the mineral buildup and keeps the spray fine and consistent. Additionally, if you live in a climate where the ground freezes during winter, make sure to drain the lines completely. Any trapped water that freezes can expand and crack the tubing or fittings.
Installing a simple inline water filter at the beginning of your system can also significantly extend the life of your nozzles. These filters catch sediment and minerals before they ever reach the small orifices, keeping your system running smoothly with minimal intervention.
Final Thoughts on Enhancing Your Outdoor Living Space
The move toward functional outdoor living is more than just a trend; it is about reclaiming every square foot of your property. By taking the time to install an outdoor misting cooling system, you are making a long-term investment in your comfort and the health of your landscape. The process is accessible to any DIY enthusiast and the rewards are immediate. From the moment you turn that tap and feel the first waft of cool air, you will wonder how you ever survived a summer without it. Whether you are aiming for a professional-grade greenhouse setup or a cozy backyard retreat, the key is to start with quality materials and a clear plan. Let your garden be the cool, inviting sanctuary you deserve.