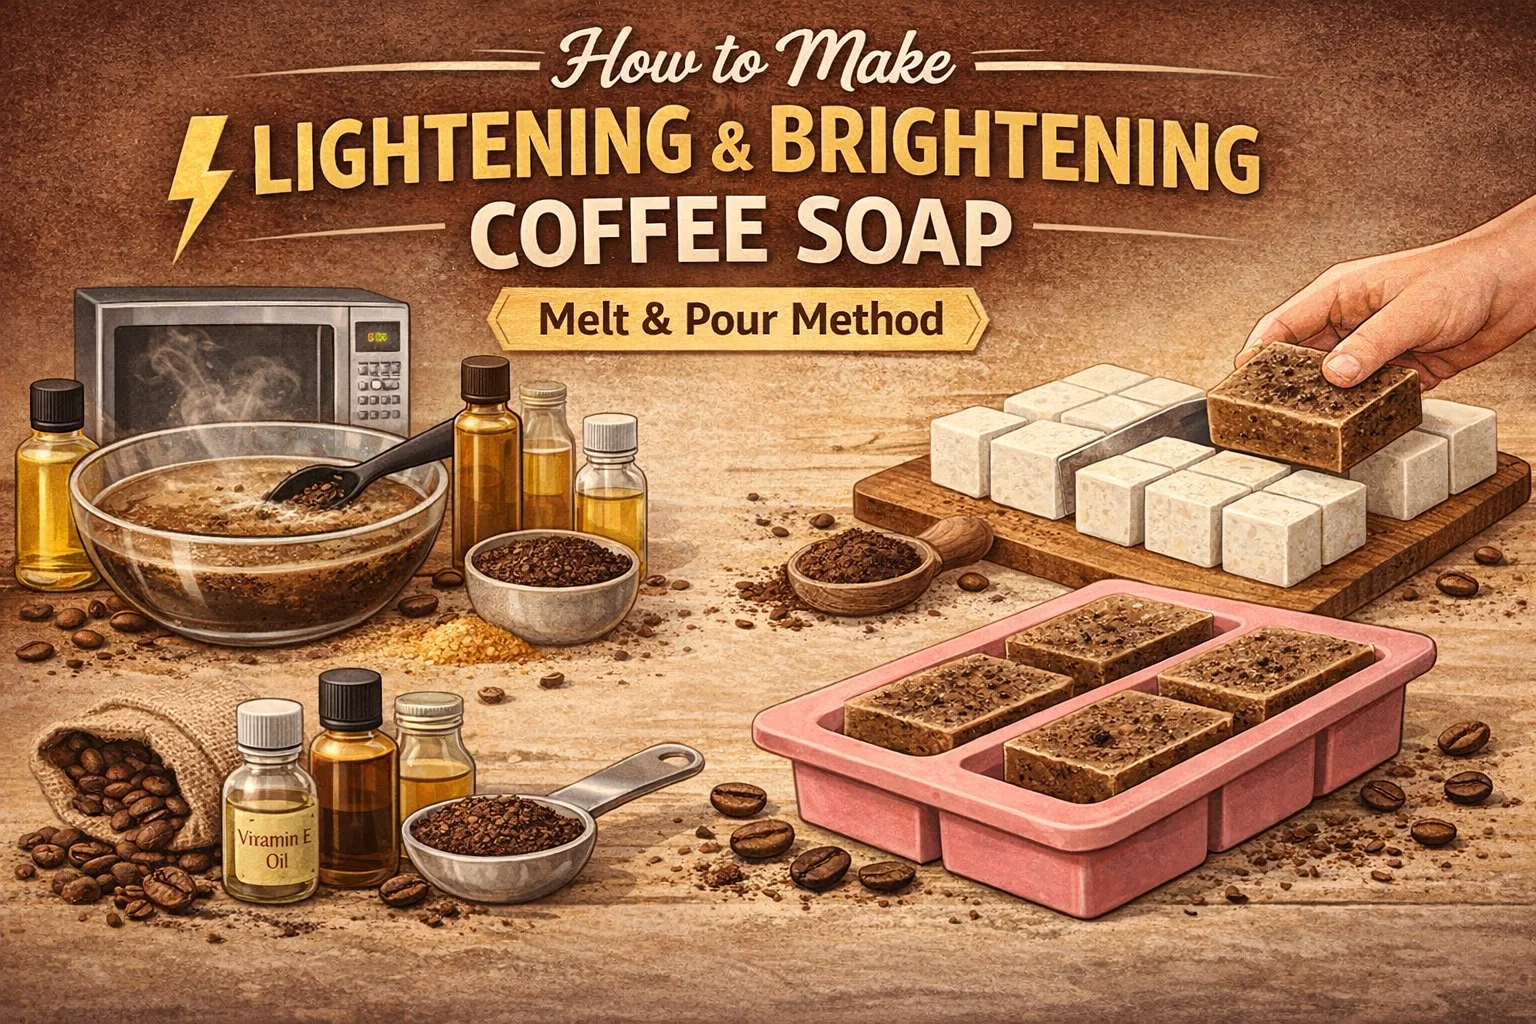
DIY Skin Brightening Coffee Soap Recipe for Dark Spots
Are you ready to unlock the secret to naturally glowing and radiant skin? If you have been searching for a gentle yet highly effective way to brighten a dull complexion and slowly fade those stubborn dark spots, you have found exactly what you need. Today, we are diving deep into the wonderful world of DIY skincare with a fantastic project that is just as fun to make as it is amazing to use. We are talking about crafting your very own lightening and brightening coffee soap right from the comfort of your own kitchen. And the absolute best part is that we will be utilizing the incredibly beginner friendly melt and pour method. You absolutely do not need a degree in chemistry or any prior experience to create a luxurious and spa quality product that your skin will deeply appreciate.
Handmade soaps are taking the skincare community by storm, and for a very good reason. Commercial soaps are often packed with harsh detergents and artificial chemicals that can strip your skin of its natural moisture barrier. By taking control of the ingredients and making your own soap, you are ensuring that only the most nourishing and natural elements are touching your skin. This specific coffee soap recipe is meticulously designed to provide gentle exfoliation while delivering powerful botanical benefits directly to your pores. Let us explore exactly why this recipe is going to become a staple in your weekly beauty routine.
Why Coffee is Your Skin’s Ultimate Best Friend
When you think of coffee, your mind probably jumps immediately to that essential morning cup that helps you wake up and face the day. However, coffee is so much more than just a delicious beverage. When applied topically to the skin, it transforms into a powerhouse ingredient with a multitude of dermatological benefits.
The Power of Gentle Exfoliation
One of the primary reasons we are incorporating fine coffee powder into this soap is for its exceptional exfoliating properties. As we go about our days, dead skin cells accumulate on the surface of our skin. This buildup can lead to a dull, lackluster appearance and can even clog pores, leading to breakouts. The fine granules of the coffee powder act as a physical exfoliant. When you massage the soap over your body, these tiny particles gently buff away that top layer of dead skin. This process reveals the fresh, healthy, and vibrant skin underneath. Unlike harsher exfoliants like large salt crystals or crushed walnut shells that can cause micro tears, finely ground coffee provides a smooth exfoliation that is safe for regular use.
Fading Dark Spots and Promoting Brightness
Beyond simple exfoliation, coffee is renowned for its ability to brighten the skin. The caffeine present in coffee stimulates blood flow when massaged into the skin. This increased circulation brings fresh oxygen and nutrients to the surface, naturally boosting your skin’s radiance. Furthermore, consistent use of coffee based skincare can assist in evening out your overall skin tone. If you struggle with mild dark spots, hyperpigmentation, or areas of uneven color, the regular, gentle removal of pigmented dead skin cells combined with increased circulation can help these areas slowly fade over time, leaving you with a beautifully balanced complexion.
Antioxidant Protection
Coffee is absolutely loaded with antioxidants. These incredible compounds are essential for fighting off free radicals, which are unstable molecules that cause oxidative stress and premature aging in the skin. Every time you lather up with your handmade coffee soap, you are delivering a localized dose of these protective antioxidants, helping to keep your skin looking youthful, firm, and resilient against environmental stressors like pollution and UV exposure.
The Magic of the Melt and Pour Method
If you have ever looked into traditional soap making, you might have been intimidated by the process of handling lye, measuring precise chemical reactions, and waiting weeks for the soap to cure. That is where the melt and pour method comes in to save the day. It is the absolute perfect starting point for DIY enthusiasts.
Melt and pour soap making utilizes a pre made base that has already gone through the saponification process. The difficult chemistry has already been handled for you by professionals. All you need to do is melt the base down into a liquid state, customize it with your chosen additives, colors, and fragrances, and then pour it into a mold to set. It is incredibly safe, highly customizable, and you get to use your gorgeous new soap the very next day. It is essentially like cooking but for your skin.
Detailed Ingredient Breakdown for Maximum Glow
To create a soap that truly brightens and nourishes, we need to gather a team of superstar ingredients. Each component in this recipe has been selected for its specific skin loving properties. Let us take a closer look at what you will be using to create your four to five medium bars of coffee soap.
- Melt and Pour Soap Base: You will need exactly one kilogram of base. You have a few fantastic options here. A Goat Milk base is incredibly creamy and rich in lactic acid, which provides additional gentle chemical exfoliation. A Shea Butter base is ultra moisturizing and perfect for dry skin types. Alternatively, a Clear Glycerin base will allow the beautiful dark speckles of the coffee to show through vibrantly.
- Fine Coffee Powder: You will need about ten grams, which equates to roughly two tablespoons. Make sure the grind is fine to avoid scratching the skin. This is the star ingredient that provides the mechanical exfoliation and the brightening caffeine boost.
- Vitamin E Oil: Just one teaspoon, or five milliliters, of this powerful antioxidant is needed. Vitamin E not only nourishes and heals the skin but also acts to slightly extend the shelf life of the oils in your soap.
- Honey or Glycerin: One tablespoon, or fifteen milliliters. Both of these are natural humectants. A humectant is an ingredient that actually draws moisture from the air and binds it into your skin, ensuring that your soap is hydrating rather than stripping. Honey also boasts wonderful antibacterial properties.
- Sweet Almond or Jojoba Oil: One tablespoon, or fifteen milliliters. These carrier oils are incredibly similar to the skin’s natural sebum. They will provide a luxurious, moisturizing slip to the soap lather, leaving your skin feeling incredibly soft and conditioned after your shower.
- Turmeric Powder (Optional but Highly Recommended): A quarter of a teaspoon. Turmeric is legendary in Ayurvedic skincare for its intense brightening properties and its ability to reduce inflammation. It pairs perfectly with coffee to tackle dark spots.
- Fragrance: Ten to fifteen milliliters of a high quality fragrance or essential oil. A rich Coffee or warm Vanilla fragrance pairs beautifully with the natural scent of the ingredients, turning your shower into a cozy cafe experience.
Gathering Your Essential Soap Making Tools
Before you begin the creative process, it is important to have your workspace set up and your tools ready to go. You will not need any highly specialized equipment for this melt and pour recipe. You will need a heat safe bowl for melting your soap base. A silicone soap mold is highly recommended because it makes removing the finished bars incredibly easy without any sticking. You will need a double boiler setup or simply a microwave to apply the heat. Grab a sturdy spoon or silicone spatula for mixing your ingredients. Finally, keep a small spray bottle filled with rubbing alcohol nearby. This is a secret weapon in soap making that we will discuss in the steps below.
Step By Step Guide: Crafting Your Coffee Soap
Now that we have all our ingredients measured and our tools gathered, it is time to start making our skin brightening masterpiece. Follow these simple steps carefully, and you will have perfect soap bars in no time.
Step 1: Preparing the Soap Base
Begin by taking your one kilogram block of melt and pour soap base and a sharp knife. Carefully cut the large block into smaller, uniform cubes. Aim for cubes that are roughly one inch in size. Cutting the base into smaller, equal pieces ensures that it will melt evenly and quickly, preventing some pieces from burning while others are still solid.
Step 2: Melting the Base Safely
Place your soap cubes into your heat safe bowl. You have two options for melting. If you are using a microwave, heat the soap in short, thirty second intervals. After every thirty seconds, take the bowl out and give it a gentle stir. This prevents hot spots. If you prefer the stovetop, set up a double boiler. Place the bowl over a pot of gently simmering water. The most crucial rule in this step is to absolutely never let the soap base boil. Boiling ruins the texture and creates a rubbery, unpleasant final product.
Step 3: The Crucial Cooling Phase
Once your soap is completely melted and smooth, remove it from the heat source. Do not add your ingredients immediately. You must let the base cool slightly to a temperature of about fifty five to sixty degrees Celsius. If you add your botanical powders and oils while the soap is too hot, the heat can degrade their beneficial properties, and the coffee grounds are more likely to all sink straight to the bottom of the mold instead of suspending evenly throughout the bar.
Step 4: Adding the Brightening Boosters
Now comes the fun part where we customize our soap. Into your slightly cooled base, gently add your two tablespoons of fine coffee powder, the optional quarter teaspoon of turmeric, your one teaspoon of Vitamin E oil, your tablespoon of honey or glycerin, and your tablespoon of sweet almond or jojoba oil. Use your spatula to stir the mixture gently but thoroughly. You want to ensure there are no dry clumps of powder and that the oils are fully incorporated into the base.
Step 5: Incorporating Your Fragrance
Once the boosters are mixed in, add your ten to fifteen milliliters of coffee or vanilla fragrance oil. Stir gently one last time. We add the fragrance at the very end to ensure that the scent does not evaporate out of the warm soap base before it has a chance to set.
Step 6: Pouring and Spritzing
Carefully pour your perfectly mixed liquid soap into the cavities of your silicone soap mold. As you pour, you will likely notice tiny air bubbles forming on the surface of the wet soap. This is where your rubbing alcohol comes in. Take your spray bottle and give the surface of the soap a quick, light spritz of rubbing alcohol. Like magic, the bubbles will instantly pop and disappear, leaving you with a perfectly smooth and professional looking top.
Step 7: The Unmolding and Curing Process
Now you must exercise patience. Leave your soap molds entirely undisturbed on a flat counter. The soap needs time to cool completely and harden. Do not try to move the mold while the soap is still liquid. Allow the soaps to sit for at least twenty four hours. After a full day has passed, you can gently pop the hardened bars out of the flexible silicone mold. Because this is melt and pour soap, there is no lengthy curing time required. Your skin brightening coffee soap is ready to use immediately.
How to Best Use Your New DIY Coffee Soap
To get the absolute best results from your new creation, use it in the shower two to three times a week. Lather the bar in your hands or gently massage the bar directly onto wet skin in circular motions, paying special attention to areas with rough texture or dullness. The physical exfoliation from the coffee grounds is highly effective, so you do not need to scrub aggressively. Let the lather sit on your skin for a minute or two before rinsing so the caffeine and turmeric can work their magic.
Because exfoliation removes the top layer of dead skin cells, your fresh skin will be very receptive to hydration. Therefore, it is absolutely essential that after every use, you step out of the shower, pat your skin dry, and immediately apply a generous layer of your favorite daily body moisturizer to lock in hydration and protect your newly brightened skin.
Conclusion
Creating your own skincare products is a deeply rewarding experience that allows you to tailor your routine to your specific needs. By utilizing the simple melt and pour method, you have crafted a potent, natural remedy for dullness and dark spots. This DIY brightening coffee soap not only saves you money compared to expensive boutique brands, but it also gives you total peace of mind knowing exactly what natural, nourishing ingredients are touching your body. Give this fantastic recipe a try this weekend, enjoy the incredible aromas filling your bathroom, and get ready to reveal your smoothest, most radiant complexion yet. Happy soap making!