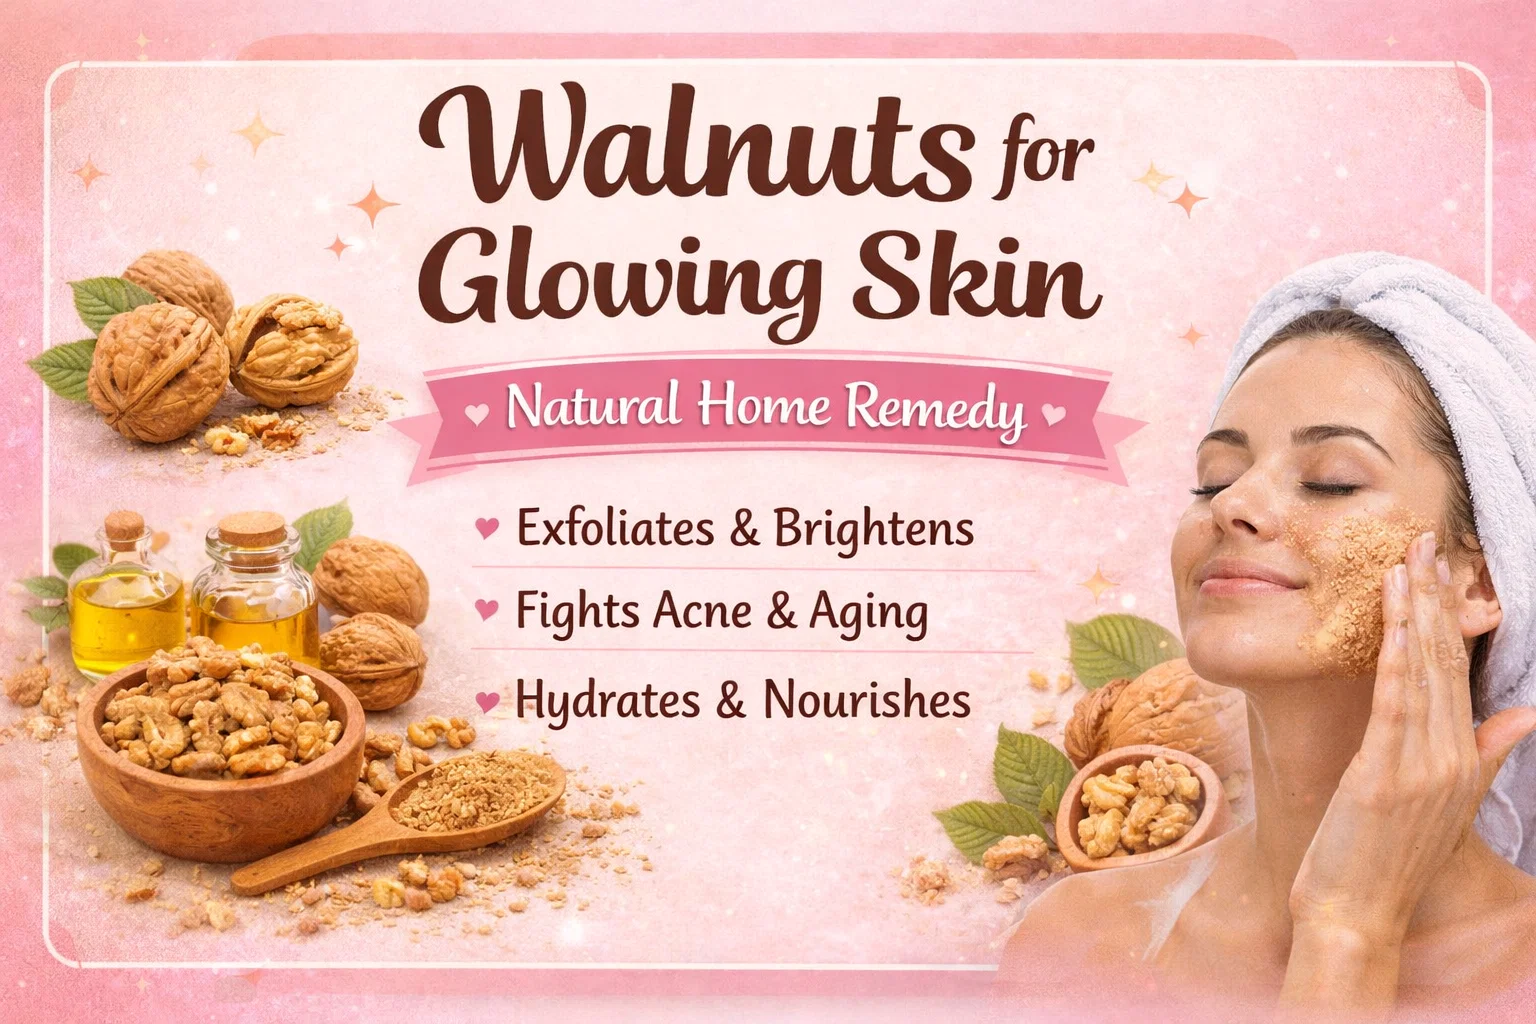
DIY Walnut Scrub for Glowing Skin Natural Remedy for Acne Anti-Aging
Finding the perfect skincare routine often feels like an endless journey through expensive bottled serums and chemical-laden exfoliants. However, some of the most potent beauty secrets are not found in a laboratory but right in your kitchen pantry. Among these natural treasures, walnuts stand out as a premier ingredient for achieving a radiant and youthful complexion. Often celebrated as a brain food, these nutrient-dense nuts are equally transformative when applied to your skin. In this comprehensive guide, we are going to dive deep into why walnuts are the ultimate home remedy for glowing skin and how you can create your own professional-grade scrub using simple, organic ingredients.
The Nutritional Powerhouse Behind the Glow
To understand why walnuts are so effective for your skin, we have to look at their internal chemistry. Walnuts are unique among nuts because they are exceptionally high in omega-3 fatty acids, specifically alpha-linolenic acid. These healthy fats are essential for maintaining the skins lipid barrier, which keeps moisture locked in and environmental toxins out. When your skin is well-hydrated at a cellular level, it naturally appears plumper and more vibrant.
Beyond healthy fats, walnuts are loaded with Vitamin E. This specific vitamin is a powerful antioxidant that protects the skin from oxidative stress caused by UV rays and pollution. It acts as a shield, neutralizing free radicals that would otherwise break down collagen and lead to premature aging. When you combine these fats and vitamins with the high concentration of antioxidants found in walnuts, you get a natural ingredient that doesn’t just sit on the surface but actively works to repair and protect your dermal layers.
Key Benefits of Walnuts for Your Skin
Incorporating walnuts into your beauty regimen offers a multifaceted approach to skincare. Whether you are dealing with texture issues, breakouts, or the early signs of aging, this natural remedy has something to offer.
Exfoliation and Immediate Brightening
One of the most immediate benefits of using a walnut-based treatment is physical exfoliation. When walnuts are finely ground, they create a gentle yet effective abrasive surface. This texture helps to slough away dead skin cells that accumulate on the surface of your face. These dead cells are often the culprit behind a dull, ashy appearance. By removing this top layer, you reveal the fresh, bright skin underneath and allow your other skincare products to penetrate more deeply.
Fighting Acne and Clearing Blemishes
Many people are surprised to learn that walnuts can help with acne-prone skin. Because they contain anti-inflammatory properties, they can help soothe the redness and swelling associated with active breakouts. Furthermore, the gentle exfoliation prevents pores from becoming clogged with sebum and debris, which is the primary cause of blackheads and pimples. Using a natural walnut scrub ensures that your pores stay clear without the harsh irritation that often comes with synthetic acne treatments.
Hydration and Intense Nourishment
Unlike many store-bought scrubs that leave your skin feeling tight and stripped of its natural oils, walnut treatments are incredibly nourishing. The natural oils within the nut itself transfer to your skin during the application process. This ensures that while you are cleaning and exfoliating, you are also replenishing the skins moisture levels. This makes it an ideal choice for individuals with combination or dry skin who need a deep clean without the subsequent dryness.
Anti-Aging and Antioxidant Boost
Aging is often accelerated by environmental damage. The antioxidants in walnuts, including polyphenols, help to combat this damage. Regular use of walnut-infused skincare can help reduce the appearance of fine lines and wrinkles by promoting skin elasticity. By nourishing the skin with Vitamin B and E, you are providing it with the tools it needs to regenerate cells and maintain a youthful, firm structure over time.
The Ultimate DIY Walnut Scrub Recipe
Creating your own skincare at home allows you to control exactly what goes onto your body. You can ensure everything is organic, fresh, and free from preservatives. This specific recipe is designed to balance exfoliation with deep moisturization.
Ingredients You Will Need
- 2 Tablespoons of Ground Walnuts: Ensure these are ground into a fine, sand-like consistency. You want them coarse enough to exfoliate but fine enough not to cause micro-tears in the skin.
- 1 Tablespoon of Raw Honey: Honey is a natural humectant, meaning it draws moisture into the skin. It also possesses antibacterial properties that help clear up blemishes.
- 1 Tablespoon of Yogurt or Olive Oil: If you have oily or combination skin, yogurt is fantastic because the lactic acid provides a secondary, chemical exfoliation. If your skin is very dry, olive oil provides an extra boost of intense hydration.
Mixing Your Scrub
In a small glass bowl, combine the ground walnuts and your choice of yogurt or olive oil. Stir them until a thick paste begins to form. Finally, fold in the honey. The result should be a gritty, slightly sticky paste that stays on your face without dripping. If the mixture feels too thick, you can add a few drops of water or a little more oil to reach your desired consistency.
How to Correctly Use Your Walnut Scrub
The technique you use to apply your scrub is just as important as the ingredients themselves. Follow these steps to ensure you get the best results without irritating your complexion.
Step 1: Prep Your Canvas
Always start with a clean face. Use a gentle cleanser to remove makeup and surface dirt. Leave your skin slightly damp, as this helps the scrub glide across the surface more easily and prevents unnecessary friction.
Step 2: The Circular Massage
Take a small amount of the walnut scrub and apply it to your forehead, cheeks, and chin. Using your fingertips, move in very gentle, upward circular motions. Focus on areas where you tend to get congested, such as the sides of the nose or the center of the chin. Continue this massage for about two to three minutes. Do not press too hard, let the texture of the walnuts do the work for you.
Step 3: Rinse and Reveal
Rinse your face thoroughly with lukewarm water. Avoid hot water, as it can strip the natural oils you just worked so hard to put back in. Splash your face a few times to ensure all the walnut particles are removed. Pat your skin dry with a soft, clean towel. You will notice an immediate difference in how soft and smooth your skin feels to the touch.
Best Practices for Long Term Results
Consistency is the secret to any successful beauty routine. For the best results, aim to use this walnut scrub two to three times a week. Over-exfoliating can lead to sensitivity, so listen to your skin and adjust the frequency as needed. Always follow up your scrub with a good moisturizer or a high-quality facial oil to seal in the benefits.
It is also important to store any leftover scrub in the refrigerator if you used yogurt, as dairy can spoil quickly. If you used the oil and honey version, it can stay at room temperature in a sealed jar for about a week. However, making fresh batches is always recommended to ensure the nutrients are at their most potent.
Conclusion: Embrace Your Natural Radiance
Transitioning to a natural skincare routine is one of the kindest things you can do for your body. By using the power of walnuts, honey, and natural oils, you are avoiding the harsh chemicals found in many commercial products while giving your skin exactly what it needs to thrive. This DIY walnut scrub is more than just a cleaning step, it is a ritual of self-care that promotes long-term health and a radiant, glowing complexion. Start this simple home remedy today and watch as your skin transforms into its most smooth, soft, and vibrant version. Your journey to healthy skin starts right in your kitchen, so go ahead and give your face the organic luxury it deserves.