DIY Welt Pocket Tutorial for Hoodies and Sweatpants Sewing Tips
Adding a professional touch to your handmade garments often comes down to the small, functional details that separate a DIY project from a high-end boutique piece. One of the most sought-after skills for any sewist is mastering the welt pocket. While it might look intimidating at first glance, especially when working with thick, cozy fabrics like fleece or French terry, the process is incredibly rewarding. A well-executed welt pocket provides a sleek, flush finish that adds both utility and style to hoodies, joggers, and lounge sets. If you have ever looked at a store-bought sweatshirt and wondered how they get those crisp, reinforced pocket openings, you are in the right place. This guide will walk you through the nuances of garment construction, focusing on how to achieve that perfect inset pocket every single time.
Understanding the Anatomy of a Welt Pocket
Before diving into the sewing machine, it is essential to understand what makes a welt pocket unique. Unlike a patch pocket, which is sewn onto the surface of the fabric, a welt pocket is built into the garment itself. The welt is the small rectangular strip of fabric that covers the opening, providing a finished edge and structural integrity. In the context of activewear and loungewear, this technique is particularly valuable because it manages the bulk of heavy knit fabrics while maintaining a streamlined silhouette.
The beauty of this design lies in its versatility. While we often see it on the front of hoodies, it is equally effective on the back of sweatpants or even as an interior pocket for a custom jacket. By mastering the fundamental steps of marking, cutting, and turning, you open up a world of design possibilities that elevate your sewing from basic to advanced.
Essential Tools for Precision Sewing
Precision is the secret ingredient for a successful welt. Because you are cutting directly into your main garment piece, there is very little room for error. Having the right tools on hand will make the process significantly smoother. You will need a high-quality fabric marker or tailor’s chalk to outline your pocket placement accurately. Clear rulers are also helpful for ensuring your lines are perfectly parallel.
Beyond marking, sharp embroidery scissors are a must. You will need to make tiny, precise snips into the corners of your pocket opening, and dull blades can lead to frayed edges or over-cutting. Additionally, using a stable interfacing is highly recommended. Applying a small piece of fusible interfacing to the wrong side of the fabric where the pocket will be placed prevents the knit fabric from stretching or distorting during the sewing process.
Step by Step Construction for Knit Fabrics
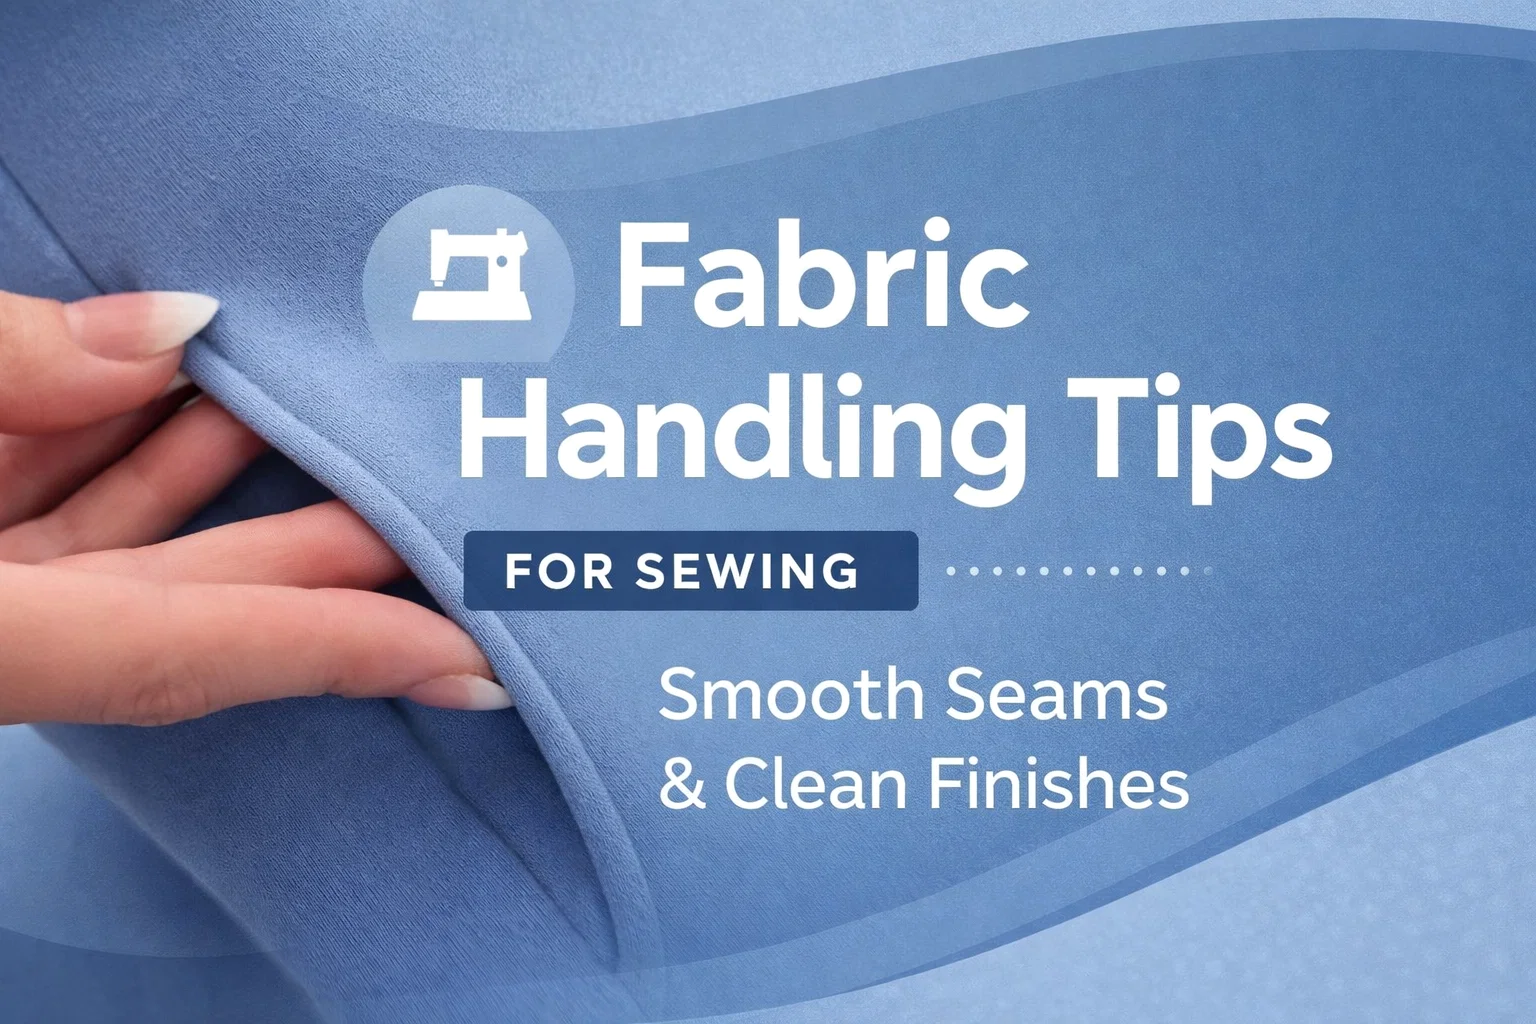
Working with knits like the blue sweatshirt material seen in the image requires a slightly different approach than woven fabrics. Knits have a tendency to curl and stretch, so your first step is always stabilization. Once your interfacing is in place, you will mark your pocket window. Most standard welts are about half an inch wide, but you can adjust this based on the scale of the garment.
Next, you will prepare your welt strip. Folding the fabric precisely and pressing it with a hot iron is crucial. In sewing, the iron is often just as important as the needle. A crisp fold ensures that the finished pocket lays flat against the body rather than bulging out. When you sew the welt strip to the garment, you are essentially creating a frame. You will sew two parallel lines, then cut through the center of the garment fabric, stopping just short of the ends to create small triangles. These triangles are then tucked inside, forming the structural corners of your pocket.
Managing Fabric Bulk in Hoodies
One challenge when sewing hoodies is the thickness of the material. Heavyweight cotton fleece can become quite bulky when multiple layers are folded together. To combat this, you can use a slightly thinner fabric for the internal pocket bag, such as a jersey knit or a lightweight cotton. This keeps the exterior looking professional without adding unnecessary weight to the hip or chest area. When you reach the stage of topstitching, using a slightly longer stitch length can also help the machine glide over the thicker sections without skipping stitches.
Why Detail-Oriented Sewing Matters for Content Creators
If you are sharing your sewing journey on platforms like Pinterest or a personal blog, these technical details are exactly what your audience is looking for. High-quality close-ups of your stitching, like the one showing a hand interacting with the finished pocket, provide social proof of your skills. It demonstrates that your handmade items are durable and thoughtfully constructed. Readers love seeing the “inside” of a project because it demystifies the process and encourages them to try it themselves.
Focusing on niche techniques like the welt pocket also helps with your online visibility. Instead of just posting about a “blue hoodie,” you are providing value through a tutorial on “garment construction” and “professional finishing techniques.” This type of educational content builds a community of fellow makers who value craftsmanship and are eager to learn new ways to improve their hobby.
Customizing Your Pockets for Personal Style
Once you are comfortable with the basic technique, you can start experimenting with creative variations. Consider using a contrasting fabric for the welt to create a “pop” of color, or use a patterned fabric for the internal pocket bag as a hidden surprise. You can also vary the angle of the pocket. While horizontal welts are traditional, slanted pockets are often more ergonomic for resting your hands or holding a phone. These small adjustments allow you to move beyond following patterns and start designing clothes that truly fit your lifestyle and aesthetic.
The Mental Benefits of Slow Sewing
There is a deep sense of mindfulness that comes with technical sewing. Unlike fast fashion, where garments are whipped together with little regard for longevity, taking the time to sew a perfect welt pocket requires focus and patience. It is a form of “slow sewing” that allows you to appreciate the tactile nature of the fabric and the mechanical rhythm of the machine. This process of creating something with your hands from start to finish is incredibly grounding and serves as a wonderful creative outlet in a fast-paced world.
Many makers find that the most challenging parts of a project are actually the most satisfying. The moment you turn that pocket through the opening and see the clean, straight lines appear for the first time is a genuine “eureka” moment. It builds confidence that carries over into other areas of life, proving that with the right preparation and a bit of persistence, you can master complex tasks.
Conclusion and Final Thoughts
The journey from a beginner sewist to a confident garment maker is paved with projects that push your boundaries. Mastering the welt pocket is a major milestone in that journey. It transforms a simple sweatshirt into a piece of functional art and gives you the skills needed to tackle even more complex tailoring in the future. Remember that sewing is a practice, and each pocket you create will be better than the last. Do not be afraid to practice on scrap fabric first to get a feel for the tension and the turn.
As you continue to build your handmade wardrobe, keep looking for those small details that bring you joy and elevate your style. Whether you are sewing for yourself, your family, or sharing your work with the world online, the effort you put into the construction will always shine through in the final product. Grab your favorite fabric, prep your machine, and start creating something beautiful today. Happy sewing!
Did you find this tutorial helpful? Make sure to save this guide for your next garment project so you can refer back to the steps whenever you need a refresher on pocket construction. Save for later!