Easy 5 Minute Chocolate Mug Cake Quick Microwave Dessert Recipe
There is nothing quite like the sudden, intense craving for something sweet, warm, and chocolatey in the middle of the night or right after a long day of work. Usually, the thought of baking a cake involves pulling out heavy mixers, preheating a large oven, and waiting forty minutes for a timer to ding. But what if you could bypass all that labor and have a gourmet quality dessert sitting in your hand in less time than it takes to brew a pot of coffee? The 5 minute chocolate mug cake is the ultimate kitchen hack for modern life, combining the nostalgia of a home cooked treat with the lightning fast speed of microwave technology.
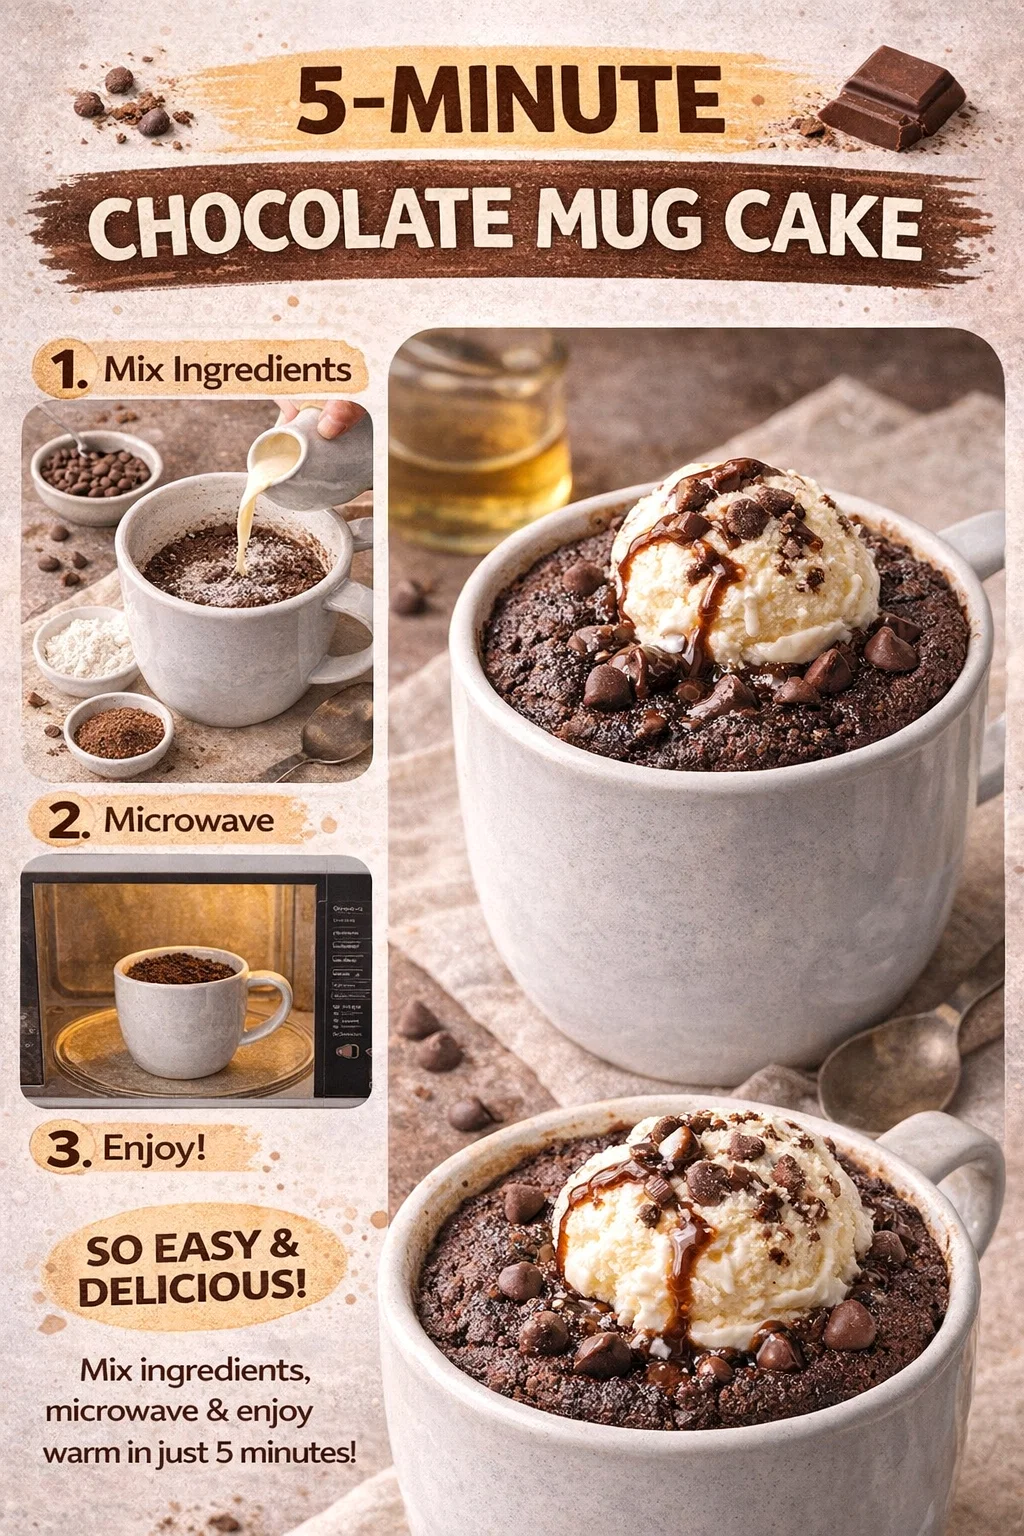
The image we are looking at today captures the essence of this effortless indulgence. With its rich, dark crumb and a melting scoop of vanilla ice cream cascading down the sides of a rustic ceramic mug, it proves that “fast food” can still be soul-satisfying. This guide will walk you through everything you need to know to master the art of the mug cake, from the science of the microwave to the best toppings that will elevate your snack from a simple treat to a five star experience.
The Magic of the Microwave Mug Cake
For many years, microwave baking was looked down upon by traditional pastry chefs. It was often associated with rubbery textures or unevenly cooked centers. However, as our understanding of micro-baking has evolved, so have the recipes. The secret lies in the ratio of moisture to dry ingredients. Because a microwave works by vibrating water molecules to create heat, the environment inside the mug is actually more of a steam-cooker than a traditional dry-heat oven. This results in a cake that is incredibly moist and tender, provided you do not overcook it.
The beauty of the 5 minute chocolate mug cake is its accessibility. You do not need to be a professional baker to get this right. In fact, you do not even need a bowl. Everything happens right inside the mug, which means minimal cleanup and maximum enjoyment. It is the perfect recipe for college students in dorms, busy parents who need a quiet moment of peace, or anyone who simply does not want a whole leftover cake sitting on the counter tempting them for three days straight.
Essential Ingredients for the Perfect Crumb
To achieve that light, airy texture seen in the photo, you need a few pantry staples that work together in harmony. While the recipe is simple, the quality and measurement of these ingredients make a significant difference in the final result.
Flour and Leavening
Standard all-purpose flour is the backbone of this recipe. It provides the necessary structure to hold the cake up. However, because we are cooking this so quickly, we rely heavily on baking powder. A quarter teaspoon might seem small, but it is the engine that drives the rise. It reacts instantly with the heat to create tiny air bubbles, ensuring your cake is fluffy rather than dense like a hockey puck.
The Cocoa Factor
For that deep, dark chocolate color and flavor, high quality unsweetened cocoa powder is a must. Since there are so few ingredients, the flavor of the cocoa will really shine through. If you prefer a more mellow, nostalgic taste, a standard natural cocoa works great. If you want something that tastes like an Oreo or a dark chocolate truffle, try using Dutch-processed cocoa powder. It has a lower acidity and a much more intense, earthy profile.
Sweetness and Fat
Sugar does more than just make the cake sweet; it also contributes to the moisture levels. When sugar melts, it turns into a liquid, helping to keep the crumb soft. As for the fat, using a neutral oil like vegetable or canola oil is often better than butter in a microwave recipe. Oil remains liquid at room temperature, which means your cake will stay soft even as it cools down. If you use butter, the cake can sometimes become firm or slightly tough once it loses its initial heat.
Step by Step Guide to Mug Cake Success
Following the visual cues in our guide, the process is divided into simple phases. Precision in the mixing stage is what separates a lumpy cake from a smooth, velvet-like dessert.
Phase One: The Dry Mix
Start by adding your flour, cocoa powder, sugar, and baking powder into your mug. Use a small whisk or even a fork to stir them together until the color is uniform. This is a crucial step that many people skip. By mixing the dry ingredients first, you ensure that the baking powder is evenly distributed. This prevents the cake from rising lopsidedly or having bitter clumps of leavening agent in one bite.
Phase Two: Incorporating the Wet Ingredients
Add your milk and oil. At this point, you can also add a tiny drop of vanilla extract if you have it on hand, as it helps to round out the chocolate notes. Stir gently but thoroughly. Make sure you use the tines of your fork to reach into the bottom “corners” of the mug. It is very common for a pocket of dry flour to hide at the bottom, which results in an unpleasant surprise when you start eating. Keep stirring until the batter looks like thick, glossy ribbons.
Phase Three: The Rest Period
One of the best tips for a great mug cake is to let the batter sit for about sixty seconds before putting it in the microwave. This allows the flour to fully hydrate and the sugar to begin dissolving. This tiny pause results in a much smoother texture and a better rise. Use this minute to tidy up your cocoa powder and flour jars.
Microwaving for Success
The microwave is a powerful tool, but it is not a “one size fits all” appliance. A 1200 watt microwave will cook a cake much faster than a 700 watt model. The general rule is to start with 60 seconds and check the progress. The cake is done when the top looks set and matte rather than wet and shiny. It should spring back slightly when touched. If it still looks a bit raw in the center, give it another 15 to 20 seconds. Be careful not to overcook it, as the cake will continue to firm up for a minute after you take it out.
Elevating Your Mug Cake with Toppings
While the cake is delicious on its own, the toppings are what turn it into a true masterpiece. In the featured image, we see a beautiful contrast between the warm cake and the cold toppings. This play of temperatures is a hallmark of great desserts.
- Vanilla Ice Cream: A classic choice. As the ice cream melts, it seeps into the warm cake, creating a sort of “lava cake” sauce that is absolutely divine.
- Chocolate Chips: Adding a tablespoon of chocolate chips into the batter before cooking or sprinkling them on top immediately after cooking provides a variety of textures.
- Sea Salt and Caramel: For a sophisticated twist, a drizzle of salted caramel can cut through the richness of the chocolate and add a professional touch.
- Fresh Berries: Raspberries or sliced strawberries add a bright acidity that balances the heavy cocoa flavor perfectly.
Common Troubleshooting Tips
If your first attempt did not turn out exactly like the photo, do not worry. Mug baking is a bit of an experimental science. If your cake was too dry, try reducing the cook time by ten seconds next time, or add an extra tablespoon of milk. If the cake overflowed, your mug might be too small. Always ensure the batter fills no more than half of the mug to allow for the dramatic rise that happens during the cooking process. If the taste was a bit bland, add a tiny pinch of salt to the dry mix. Salt is a flavor enhancer that makes chocolate taste even more like chocolate.
Healthier Alternatives and Substitutions
The versatility of this recipe means you can adapt it to fit various dietary needs. For a vegan version, simply swap the dairy milk for almond, soy, or oat milk. Most cocoa powders are naturally vegan. If you are looking for a gluten free option, a standard 1-to-1 gluten free flour blend usually works quite well in this format because the cake is small and does not require a complex gluten structure. You can even experiment with coconut sugar or maple syrup for a different kind of sweetness, though keep in mind that liquid sweeteners might require a slight reduction in the amount of milk used.
The Joy of Instant Gratification
In a world that often feels fast paced and stressful, finding small ways to bring joy into your day is important. The 5 minute chocolate mug cake represents more than just a recipe; it is a reminder that we can treat ourselves without needing a special occasion. It is about the comfort of a warm mug in your hands, the aroma of cocoa filling the kitchen, and the first spoonful of a dessert made just for you.
Whether you are celebrating a small victory, comforting yourself after a hard day, or just looking for a fun activity to do with kids, this recipe is a reliable friend. It is foolproof, fast, and undeniably delicious. Next time you find yourself staring at the pantry wishing for a treat, remember that you are only five minutes away from chocolate heaven.
Conclusion: Your New Favorite Habit
The journey from a few spoonfuls of flour to a steaming mug of cake is a short one, but the satisfaction lasts much longer. We have explored the importance of mixing, the science of the microwave, and the creative ways you can dress up this simple dish. The image we started with serves as the perfect inspiration to get into the kitchen and start whisking. There is no need for fancy equipment or hours of prep time. All you need is a mug, a microwave, and a craving for something wonderful. Go ahead and give it a try tonight. You might just find that the best things in life really do come in small packages. Happy baking!