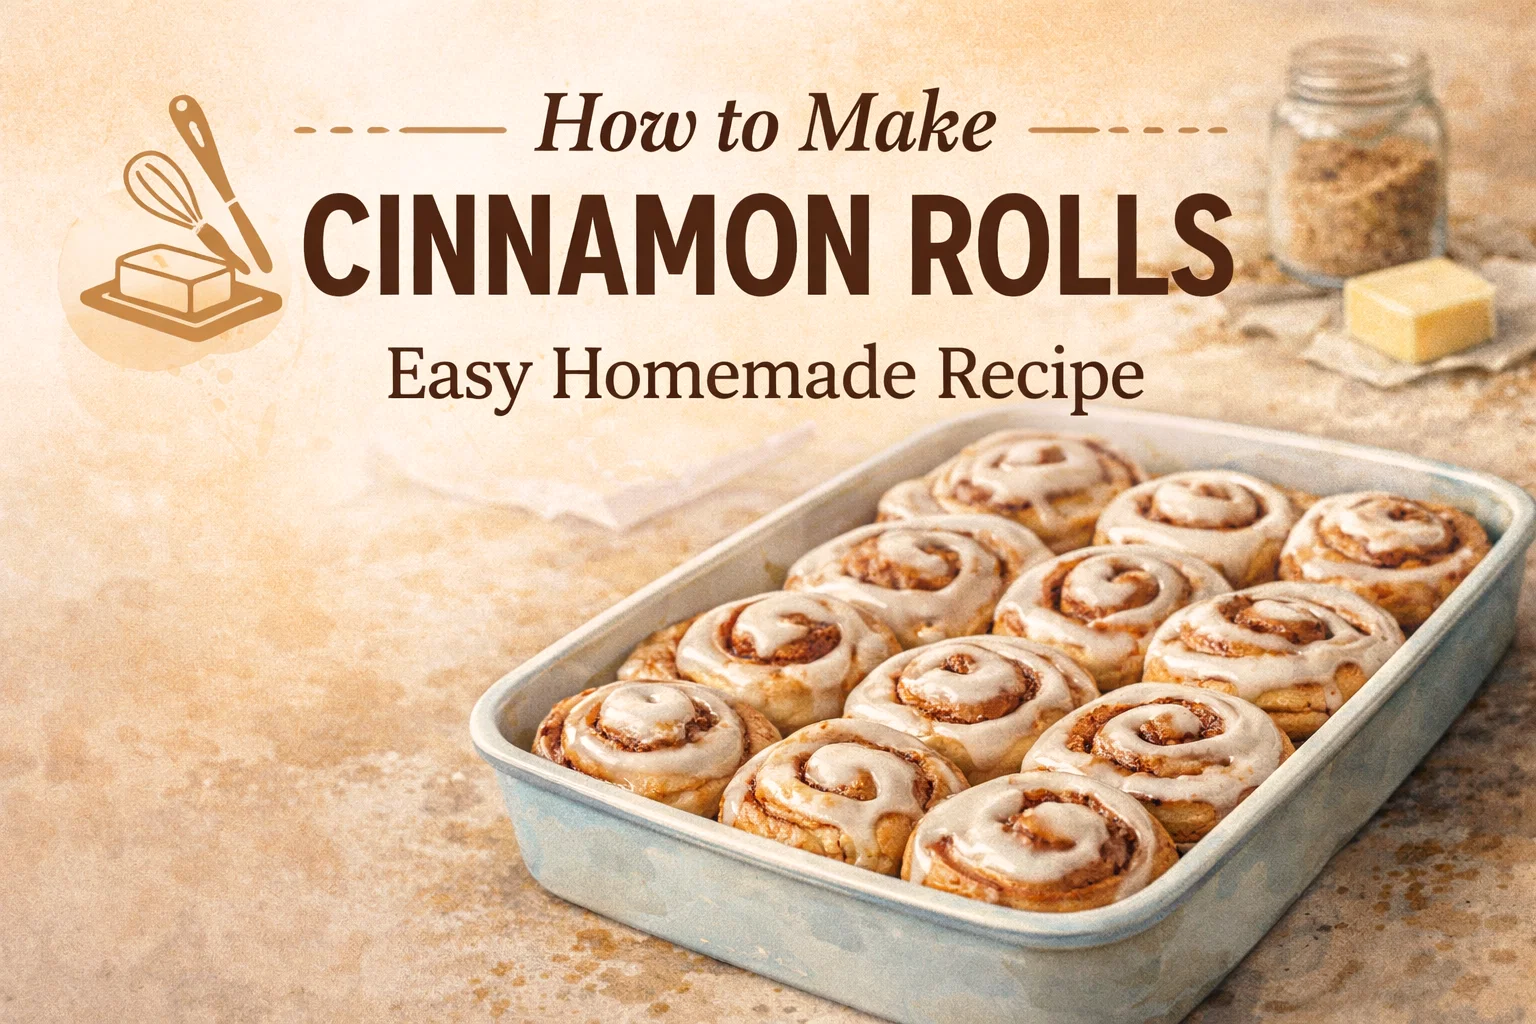
Easy Homemade Cinnamon Rolls Recipe with Cream Cheese Icing Best Soft Fluffy DIY Rolls
There is a unique kind of magic that happens in a kitchen when the scent of cinnamon and warm yeast begins to fill the air. It is a scent that signals comfort, home, and the promise of something truly indulgent. Whether it is a slow Sunday morning or a festive holiday brunch, homemade cinnamon rolls are the ultimate labor of love. While many people reach for a pressurized can in the refrigerated aisle, there is simply no comparison to the pillowy texture and rich flavor of a roll made from scratch. This guide takes the mystery out of yeast dough and provides a foolproof roadmap to creating bakery-quality cinnamon rolls in your own oven.
The Anatomy of the Perfect Cinnamon Roll
To understand why this recipe works so well, we have to look at the components that make a cinnamon roll iconic. It starts with a brioche-style enriched dough. By using warm milk, melted butter, and an egg, we create a foundation that is far softer and richer than standard bread dough. The sugar provides just enough sweetness to complement the spicy filling, while the salt balances the flavors and strengthens the gluten structure.
The filling is where the intensity lives. A combination of softened butter, plenty of brown sugar, and high-quality ground cinnamon creates a gooey, caramelized interior that melts into the dough as it bakes. Finally, the cream cheese icing adds a necessary tanginess. This acidity cuts through the sugar, ensuring that every bite is balanced rather than cloying. When these three elements come together, you get a pastry that is golden brown on the outside and impossibly tender on the inside.
Essential Ingredients for Baking Success
Before you begin mixing, ensure all your ingredients are at the correct temperature. This is the most common pitfall for home bakers. Your milk should be warm to the touch, specifically between 105 and 110 degrees Fahrenheit. If it is too cold, the yeast will stay dormant. If it is too hot, you risk killing the yeast entirely. Similarly, having your egg at room temperature ensures it incorporates smoothly into the dough without chilling the melted butter and causing it to clump.
- Active Dry Yeast: This is the engine of your recipe. Ensure it is fresh by checking the expiration date.
- All-Purpose Flour: While bread flour can be used for a chewier roll, all-purpose flour provides that classic, soft, tear-away texture.
- Brown Sugar: Light or dark brown sugar works perfectly for the filling, providing that essential molasses undertone.
- Cream Cheese: Use the full-fat block variety for the frosting to achieve the creamiest consistency.
Step-by-Step Guide to Mastering the Dough
The process begins with proofing the yeast. Combine your warm milk with a portion of the sugar and sprinkle the yeast on top. Within five to ten minutes, you should see a foamy, bubbly layer forming on the surface. This is the sign that your yeast is alive and ready to work. If the mixture remains flat, stop and start over with fresh yeast.
Once the yeast is active, stir in the melted butter, the egg, and the remaining sugar. Gradually add the flour and salt. You can do this by hand with a sturdy wooden spoon or use a stand mixer fitted with a dough hook. You are looking for a dough that is slightly tacky but pulls away from the sides of the bowl. If the dough is too sticky to handle, add flour one tablespoon at a time, but be careful not to over-flour. Too much flour leads to a heavy, dry roll.
The Importance of the First Rise
Kneading is the next crucial step. This process develops the gluten, which creates the elastic web that traps air bubbles. If you are kneading by hand, it will take about eight to ten minutes of steady folding and pushing. Once the dough is smooth and elastic, place it in a lightly greased bowl. Cover it with a clean kitchen towel and find a warm, draft-free spot. The dough needs about an hour to double in size. This fermentation period is where the flavor develops and the texture lightens.
Rolling, Filling, and Shaping Your Masterpiece
After the dough has risen, gently punch it down to release the air. Turn it out onto a lightly floured surface and roll it into a large rectangle, approximately 12 by 18 inches. Aim for an even thickness throughout so that every roll bakes at the same rate. Spread your softened butter across the dough, leaving a small margin at the very top edge. This margin will act as a seal when you finish rolling.
Mix your brown sugar and cinnamon in a small bowl and sprinkle it generously over the buttered dough. Now, starting from the long edge closest to you, roll the dough tightly into a log. A tight roll ensures those beautiful, defined spirals. To cut the rolls without squishing the delicate dough, use a very sharp serrated knife or even a piece of unflavored dental floss. Simply slide the floss under the log, cross it over the top, and pull quickly to create a clean, perfect slice. Aim for twelve even rolls.
The Secret to Extra Fluffiness: The Second Rise
Many beginners make the mistake of rushing the rolls into the oven as soon as they are cut. However, the second rise, also known as proofing, is vital. Arrange the rolls in a buttered baking dish, leaving a little bit of space between them. Cover them again and let them rise for another 30 to 45 minutes. During this time, the rolls will expand and begin to touch each other. This crowded environment forces the rolls to rise upward rather than outward, resulting in taller, softer pastries.
Baking to Golden Perfection
Preheat your oven to 350 degrees Fahrenheit. Place the rolls on the center rack and bake for 20 to 25 minutes. You are looking for a light golden brown color on the tops. Avoid over-baking, as the residual heat will continue to cook the centers once they are removed from the oven. If the tops are browning too quickly, you can tent the pan loosely with aluminum foil for the final few minutes.
While the rolls are baking, prepare your cream cheese icing. Cream together the softened cream cheese and butter until smooth, then whisk in the powdered sugar and a splash of vanilla extract. For a thinner glaze, you can add a teaspoon of milk. For a thick, decadent frosting, keep the liquids to a minimum. The best time to frost the rolls is about five minutes after they come out of the oven. This allows the frosting to melt slightly into the warm crevices without completely running off the sides.
Pro Tips for Customizing Your Rolls
Once you have mastered the basic recipe, the possibilities for customization are endless. You can add a pinch of nutmeg or cardamom to the filling for a more complex spice profile. For a bit of texture, sprinkle chopped pecans or walnuts over the cinnamon sugar before rolling. If you prefer a fruitier twist, a layer of orange zest in the dough or a handful of raisins in the filling can transform the flavor profile entirely.
Storage and Reheating Advice
Cinnamon rolls are best enjoyed fresh and warm, but they can certainly be saved for later. Store any leftovers in an airtight container at room temperature for up to two days, or in the refrigerator for up to a week. To regain that fresh-baked texture, reheat a single roll in the microwave for about 15 to 20 seconds. If you want to crisp up the edges, a few minutes in a low-temperature oven or toaster oven works wonders.
For those who love a fresh breakfast but hate the early morning wakeup call, you can prepare the rolls through the shaping step the night before. Place the cut rolls in the baking dish, cover tightly with plastic wrap, and refrigerate overnight. In the morning, let them sit at room temperature for about an hour to take the chill off and complete their second rise before baking as usual.
Why Homemade is Always Better
Beyond the superior taste and texture, there is a deep sense of satisfaction that comes from baking your own bread. In a world that moves fast, the process of waiting for dough to rise teaches patience and appreciation for the craft. You control the quality of the ingredients, the amount of spice, and the thickness of the frosting. There are no preservatives or artificial flavors, just simple, honest ingredients transformed by heat and time.
Sharing a pan of warm cinnamon rolls is also one of the kindest gestures you can make for friends and family. It turns an ordinary morning into an event. The sight of someone pulling apart a soft, steaming roll and enjoying that first bite of the center spiral is the greatest reward for any baker. It is a reminder that the best things in life are often the ones we make with our own hands.
Conclusion: Your Baking Journey Starts Here
Baking cinnamon rolls from scratch might seem intimidating at first, but it is truly a sequence of simple, manageable steps. From the initial bubbling of the yeast to the final swipe of cream cheese icing, each stage of the process is an opportunity to connect with the traditions of home baking. This recipe is designed to be approachable for novices while delivering the high-quality results that seasoned bakers crave.
The next time you find yourself with a free morning and a craving for something sweet, skip the store-bought options and head for the pantry. Pull out your flour, find your rolling pin, and embrace the joy of creating something beautiful from scratch. Your kitchen will smell incredible, your spirits will be lifted, and your taste buds will certainly thank you. Happy baking!