Easy Homemade Cute Mochi Donuts Recipe – Chewy Pon de Ring Style Glazed Donuts
Have you ever stepped into a boutique bakery and found yourself mesmerized by those perfectly shaped, bubbly donut rings? They are known as Pon de Ring donuts, a Japanese sensation that has taken the dessert world by storm. Unlike the airy, cake-like texture of a traditional American donut or the dense chew of a sourdough variety, these treats offer something entirely unique: a bouncy, soft, and addictive chewiness known in Japan as “mochi-mochi.” The secret lies in the glutinous rice flour, which transforms a simple fried dough into a gourmet experience. The best part is that you do not need a professional kitchen or a flight to Tokyo to enjoy them. With a few pantry staples and a little bit of patience, you can recreate these adorable and delicious treats right in your own home.
The Magic of Mochi: What Makes These Donuts Different?
To understand why mochi donuts are such a global phenomenon, we have to look at their anatomy. A standard donut relies on wheat flour and yeast to create a structured, bread-like crumb. Mochi donuts, however, swap a significant portion of that wheat for glutinous rice flour. Despite the name, glutinous rice flour is actually gluten-free; the name refers to the sticky, glue-like consistency it takes on when hydrated and cooked. This results in a snack that is light and crisp on the outside but stays remarkably tender and elastic on the inside. It is a textural playground that makes every bite feel like a celebration.
Visually, these donuts are iconic because of their “ring of pearls” shape. Instead of a single solid circle, they are composed of eight small dough balls joined together. This design is not just for aesthetics; it makes the donut incredibly easy to pull apart and share, though once you taste one, you might find that sharing is the last thing on your mind. The cute, bubbly appearance also provides more surface area for glazes to cling to, ensuring you get the perfect ratio of sugar to dough in every mouthful.
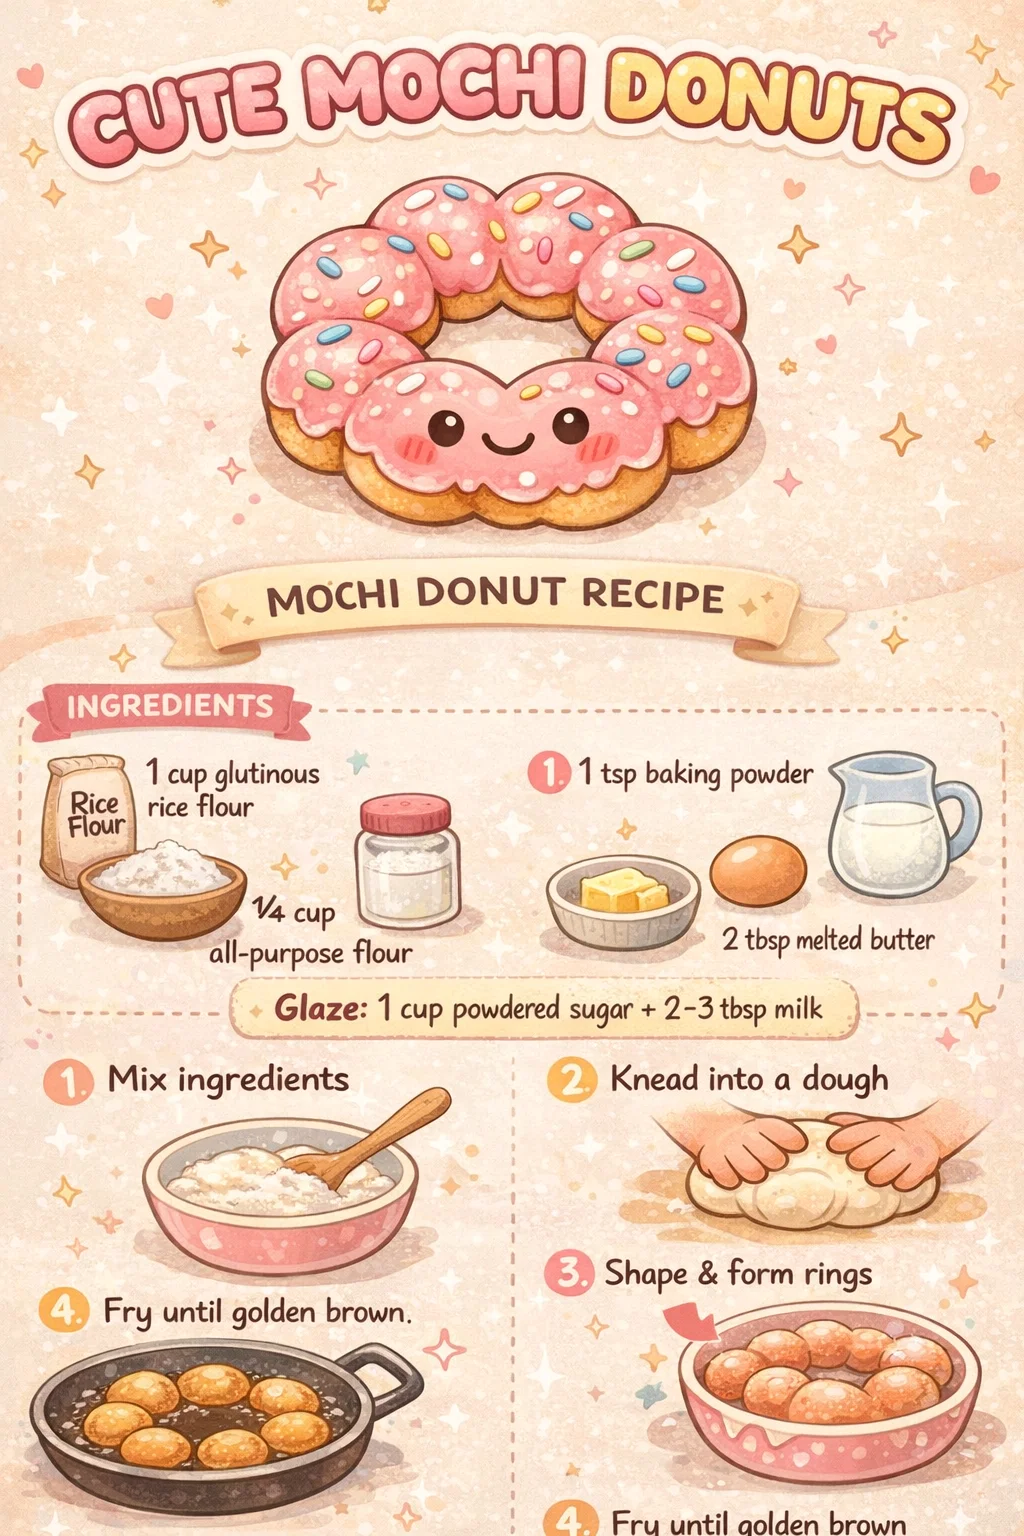
Essential Ingredients for Your Home Bakery
The beauty of the recipe featured in our visual guide is its simplicity. You do not need exotic additives or complicated machinery. Most of these ingredients are likely already sitting in your kitchen cabinets. Let us break down what you will need to get started.
The Flour Power
The foundation of this recipe is the 1 cup of glutinous rice flour. It is important to note that this is different from regular white rice flour. If you use standard rice flour, your donuts will be gritty rather than chewy. Look for “Mochiko” or “Shiratamako” at your local Asian grocer or in the international aisle of your supermarket. To provide a bit of structure so the donut does not collapse, we balance the rice flour with 1/2 cup of all-purpose flour. This blend ensures the donut has enough strength to hold its shape while maintaining that signature bounce.
Sweetness and Rise
We use 1/4 cup of sugar in the dough itself. Since these donuts are traditionally finished with a sweet glaze, we keep the dough sweetness subtle. To get that perfect puff without waiting hours for yeast to rise, 1 teaspoon of baking powder acts as our leavening agent. This makes the recipe much faster and more accessible for a spontaneous baking session.
Binding and Richness
To bring the dry ingredients together, we add one large egg and 2 tablespoons of melted butter. The butter provides a rich, silky mouthfeel, while the egg helps with the golden-brown coloration during the frying process. Finally, a splash of milk (about 2 to 3 tablespoons, adjusted for consistency) turns the mixture into a workable, smooth dough.
Step-by-Step: Mastering the Mochi Donut Process
Baking can sometimes feel intimidating, but this process is designed to be tactile and fun. It is almost like working with play-dough, making it a fantastic activity to do with family or friends.
Step 1: Mixing and Hydration
Start by whisking your dry ingredients together in a large bowl. Creating a uniform mix of the flours and baking powder ensures an even rise. Once combined, create a well in the center and pour in your melted butter, egg, and milk. Use a sturdy wooden spoon or your hands to incorporate everything. At first, it might look a bit shaggy, but as the rice flour absorbs the liquid, it will begin to come together into a cohesive mass.
Step 2: The Art of the Knead
Transfer your dough to a lightly floured surface. You want to knead it until it is smooth and no longer sticks to your fingers. If the dough feels too wet, add a tiny dusting of all-purpose flour. If it feels crumbly or stiff, add milk one teaspoon at a time. A perfect mochi dough should feel supple and soft, similar to the texture of an earlobe. This step develops just enough structure to keep those bubbles intact during the fry.
Step 3: Shaping Your Masterpiece
This is where the magic happens. To get that classic Pon de Ring look, pinch off small pieces of dough and roll them into uniform balls about the size of a marble. You will need about six to eight balls per donut. Arrange them in a circle on a small square of parchment paper, ensuring they are touching each other. When they fry, they will expand and fuse together into a single, beautiful ring. Using parchment paper squares is a pro tip: it allows you to drop the donut into the oil without deforming the shape or burning your fingers.
The Frying Game: Achieving Golden Perfection
Frying can be the most nervous part of any recipe, but the key is temperature control. You want your oil to be around 330 to 350 degrees Fahrenheit. If the oil is too cold, the donuts will soak up grease and become heavy. If it is too hot, the outside will burn before the inside is fully cooked.
Carefully lower the parchment paper with the donut into the hot oil. After about 30 seconds, the paper will naturally separate from the dough, and you can fish it out with tongs. Fry each side for about 1 to 2 minutes until they reach a gorgeous golden brown. Once finished, let them rest on a wire rack or a plate lined with paper towels to drain any excess oil. This resting period is crucial as the residual heat finishes cooking the center, ensuring that perfect chew.
Glazing and Decorating: Express Your Creativity
While the donut itself is a marvel, the glaze is what gives it personality. A simple base of 1 cup of powdered sugar and 2 tablespoons of milk creates a translucent, sweet coating that lets the donut shine. But why stop there? The neutral flavor of the mochi dough makes it a blank canvas for your favorite flavors.
Popular Flavor Variations
- Strawberry Bliss: Add a teaspoon of strawberry powder or a drop of extract to your glaze for a pink, fruity finish.
- Matcha Green Tea: Sift a teaspoon of high-quality matcha powder into your sugar for an earthy, sophisticated vibe.
- Chocolate Ganache: Dip the tops in melted dark chocolate and sprinkle with sea salt for a decadent treat.
- Cereal Milk: Top a vanilla glaze with crushed colorful cereal for a nostalgic, crunchy twist.
For the best results, dip the donuts while they are still slightly warm. This allows the glaze to set smoothly. If you want a thicker coating, let the first layer dry and then dip them a second time. Feel free to add sprinkles, crushed nuts, or even a drizzle of white chocolate to make them look as “cute” as the ones in our guide!
Tips for Success and Troubleshooting
If your first batch does not come out perfectly, do not worry! Even a “failed” mochi donut usually tastes delicious. One common issue is the dough being too tough. This usually happens if the dough was overworked or if there was too much all-purpose flour. Remember, the star is the rice flour.
Another tip is to ensure your dough balls are consistent in size. If one ball is much larger than the others, the ring might cook unevenly. If you find the balls are falling apart in the oil, try pressing them together a bit more firmly when you shape the ring on the parchment paper. The moisture in the dough should act as a natural glue.
Storage and Reheating
Mochi donuts are best enjoyed fresh, ideally within a few hours of frying. Because of the rice flour, they can become firm if left out for too long. If you have leftovers, store them in an airtight container. To bring back that “mochi-mochi” magic, pop them in the microwave for 5 to 10 seconds. This softens the rice starch and restores the chewiness instantly.
Conclusion: Bring the Joy of Mochi Home
Making mochi donuts is more than just a baking project; it is a way to bring a bit of whimsy and international flair into your kitchen. There is something deeply satisfying about the process of rolling those tiny dough balls and watching them transform into golden, bubbly rings of joy. Whether you are making them for a special occasion or just a rainy Sunday afternoon, these donuts are sure to put a smile on everyone’s face.
Now that you have the blueprint for success, it is time to get cooking! Grab your rice flour, heat up the oil, and start creating your own “cute mochi donuts.” Do not forget to experiment with different glazes and toppings to find your signature flavor. Once you master the chewy, bouncy texture of a homemade mochi donut, you might find it hard to go back to the standard version. Happy frying!